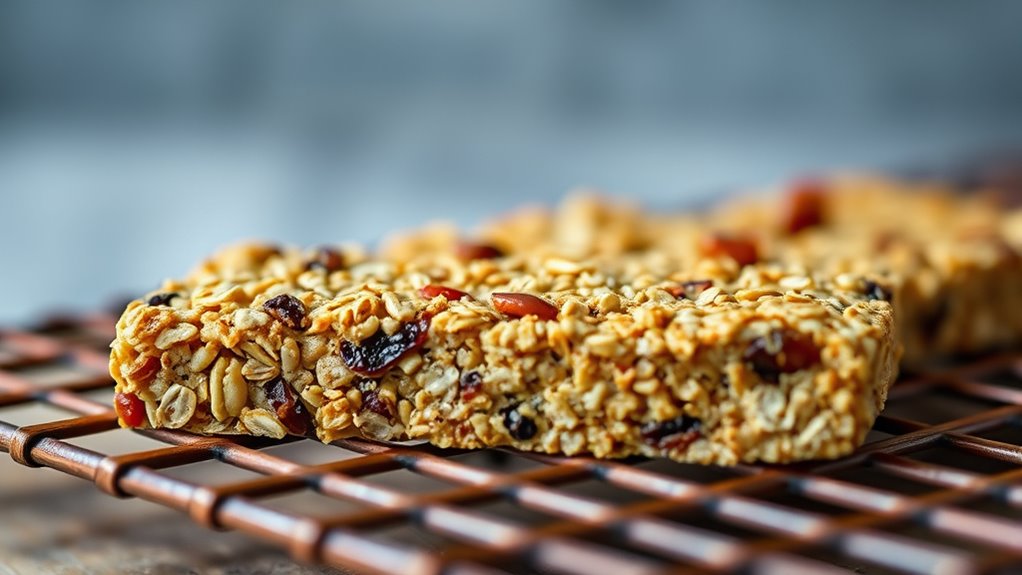
To craft crunchy granola bars, start with quality oats like rolled oats and add your favorite mix-ins such as nuts, dried fruit, or chocolate chips. Use a binding sweetener like honey or syrup to hold everything together, and guarantee the mixture is evenly combined. Bake until golden and crisp, then cool completely to lock in crunch. Store in an airtight container to maintain freshness. Keep exploring for detailed tips on achieving perfect texture and flavor.
Key Takeaways
- Use rolled oats and bind ingredients like honey or syrup to create a cohesive, crunchy texture.
- Incorporate nuts, seeds, and dried fruits for added crunch and flavor enhancement.
- Bake evenly until golden brown and cool completely to set the crisp exterior.
- Press the mixture firmly into the pan for uniform thickness and crunch.
- Store in an airtight container at room temperature to maintain freshness and crispness.
Top picks for "craft crunchy granola"
Open Amazon search results for this keyword.
As an affiliate, we earn on qualifying purchases.
Selecting the Perfect Base Ingredients
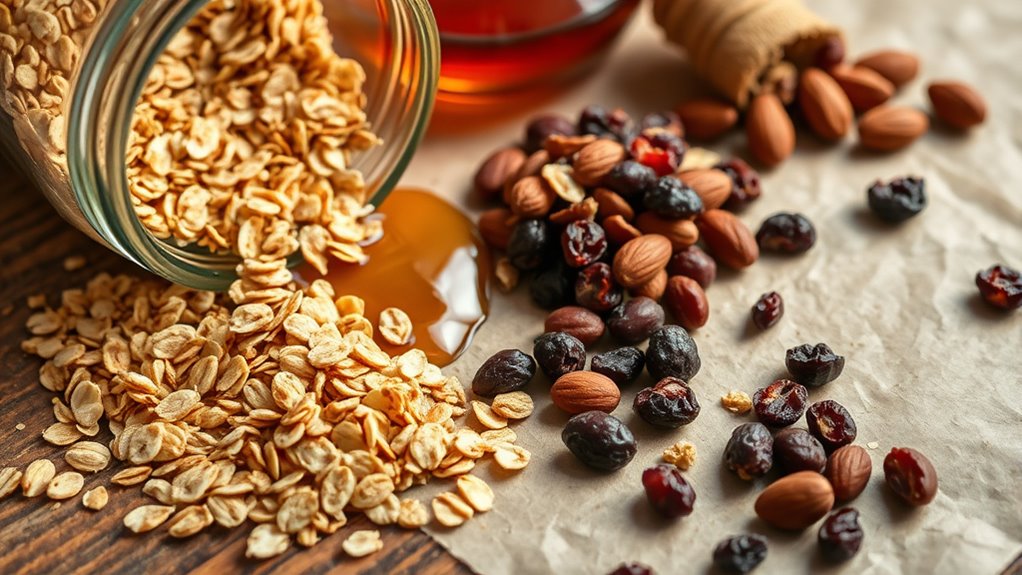
Choosing the right base ingredients is the foundation of great granola bars. Your oat selection plays a pivotal role, as oats provide the structure and chewiness you want. Rolled oats are ideal because they hold together well and give a satisfying texture, but you can experiment with steel-cut or quick oats depending on your preference. When it comes to sweetener options, you have plenty of choices: honey, maple syrup, agave, or brown rice syrup. These not only add sweetness but also help bind the ingredients. Consider your dietary needs and flavor goals when selecting sweeteners. Using quality oats and the right sweetener ensures your granola bars will be both tasty and cohesive, setting the stage for a perfect homemade snack.
Customizing Flavors and Add-ins
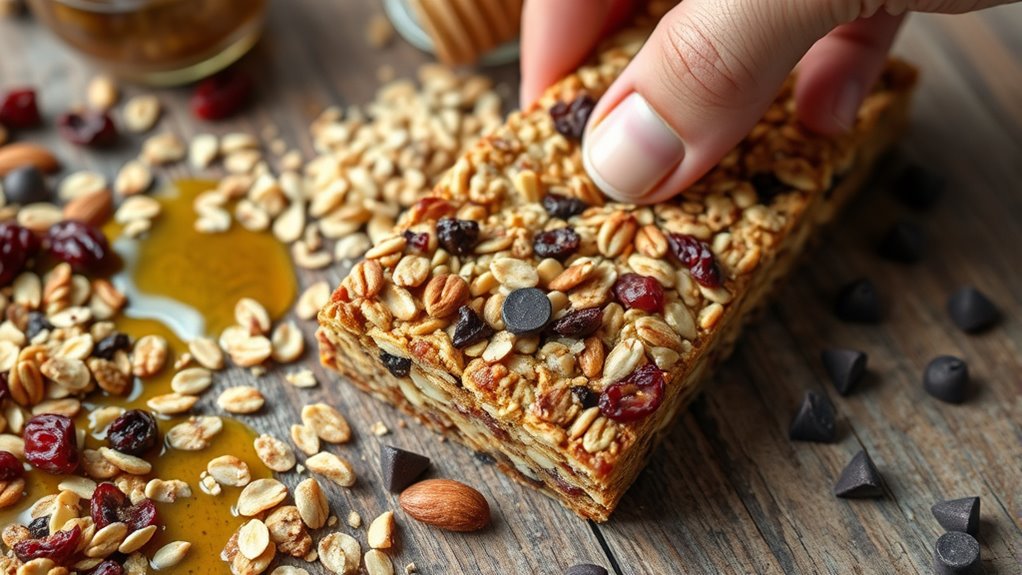
Adding flavors and mix-ins allows you to tailor granola bars to your taste preferences and dietary needs. Experiment with different flavor combinations to create unique, satisfying bars. To enhance their nutritional value and appeal, consider these options:
- Incorporate dried fruits like cranberries or apricots for natural sweetness and vitamins.
- Add nuts or seeds such as almonds or chia seeds for crunch and healthy fats.
- Mix in chocolate chips or coconut flakes for indulgence and texture.
- Use spices like cinnamon or ginger to boost flavor complexity and health benefits.
- Selecting the right dog names can reflect your pet’s personality and make your bond even stronger.
Preparing the Mixture and Achieving the Right Consistency
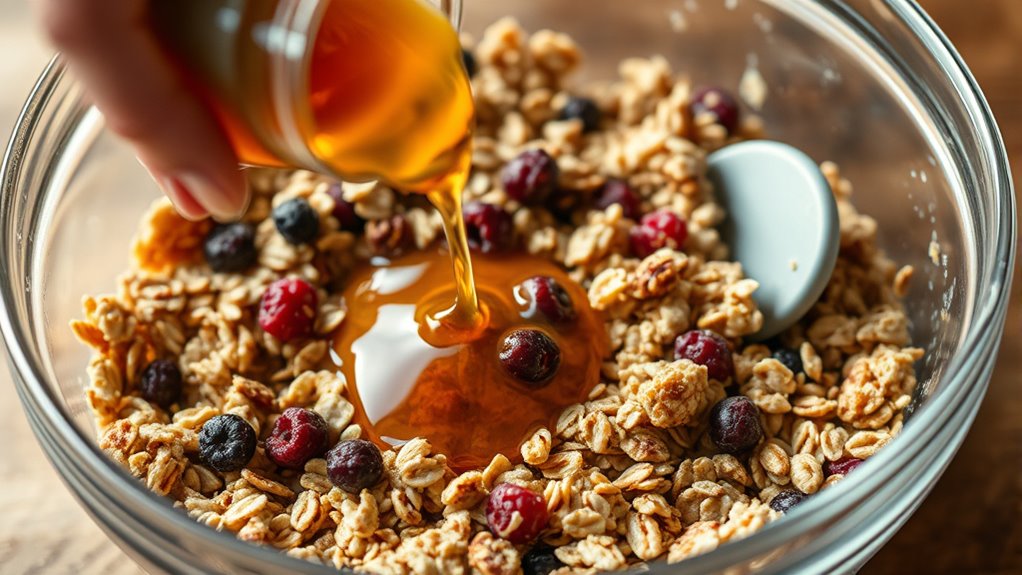
To guarantee your granola bars hold together and have the right texture, focus on preparing a well-mixed, cohesive batter. Binding ingredients like honey, syrup, or nut butter help achieve this, ensuring the mixture sticks together. Texture adjustment comes from balancing dry and wet ingredients; add more oats or nuts for crunch, or extra syrup for stickiness. Additionally, ensuring the mixture has the correct consistency is crucial for successful bar formation.
Baking and Cooling Techniques for Optimal Crunch
Baking and cooling play crucial roles in achieving the perfect crunch for your granola bars. Proper baking ensures even heat distribution, promoting texture enhancement and a crispy exterior. When cooling, it’s essential to follow specific techniques to lock in crunch and improve shelf stability. Additionally, storing the bars in an airtight container helps maintain their crisp texture and prevents moisture absorption. Consider these steps: 1. Bake until golden brown, then remove from the oven to prevent over-softening. 2. Allow the bars to cool completely on a wire rack to promote uniform crispiness. 3. Apply gentle pressure during cooling to help set the texture. 4. Store in an airtight container once cooled to maintain crunch and prevent moisture absorption. Following these methods guarantees your bars develop the ideal texture and stay fresh longer.
Storing and Serving Your Homemade Granola Bars
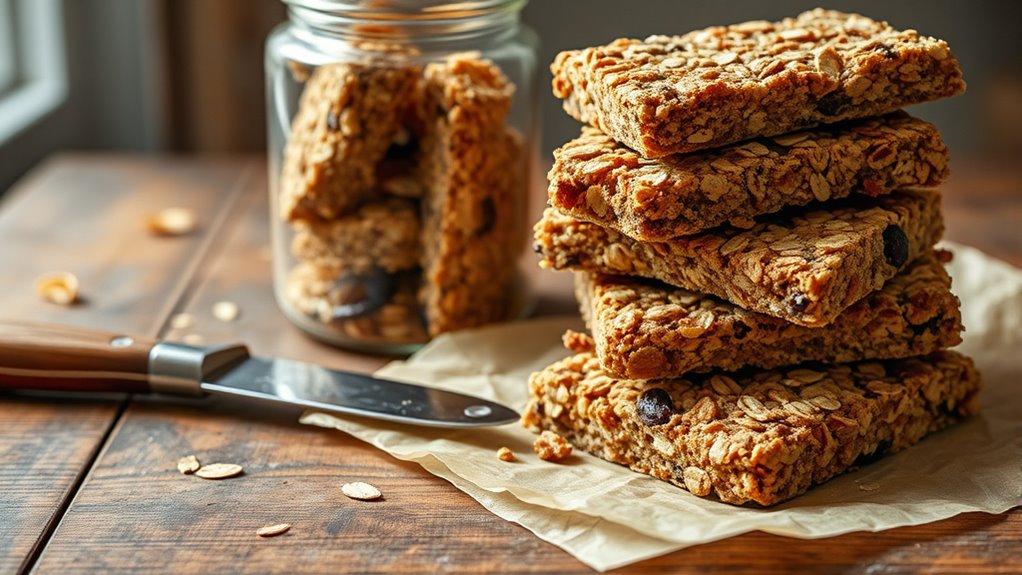
Once your granola bars have cooled completely, storing them properly is key to maintaining their freshness and crunch. Packaging options like airtight containers, resealable plastic bags, or wrapping individual bars in plastic wrap help keep moisture out. For ideal storage duration, keep the bars at room temperature for up to one week, or extend their freshness by refrigerating for two to three weeks. If you want longer storage, freeze the bars in an airtight container for up to three months. When serving, let frozen bars thaw slightly at room temperature for the best texture. Proper packaging and knowing the right storage duration ensure your homemade granola bars stay fresh, crunchy, and delicious whenever you’re ready to enjoy them. Additionally, choosing trusted brands for ingredients can help ensure your bars maintain quality over time.
Frequently Asked Questions
How Long Do Homemade Granola Bars Stay Fresh?
You might wonder how long homemade granola bars stay fresh. Typically, their storage duration is about a week at room temperature if kept in an airtight container. To preserve freshness longer, you can store them in the fridge for up to two weeks or freeze them for up to three months. Proper storage is key to maintaining their crunchiness and flavor, ensuring you enjoy them at their best for as long as possible.
Can I Make Vegan Crunchy Granola Bars?
Yes, you can make vegan crunchy granola bars! Use vegan sweeteners like maple syrup or agave nectar, and incorporate plant-based binders such as mashed bananas, nut butters, or dates. These ingredients help hold everything together while keeping the bars vegan. Simply mix your dry ingredients with your chosen sweetener and binder, then press into a pan and bake. Enjoy your delicious, cruelty-free snack!
What Are the Best Substitutes for Honey?
If you’re looking for substitutes for honey, you can explore natural sweeteners like maple syrup, agave nectar, or brown rice syrup. These syrup alternatives work well as sticky, sweeteners in recipes, offering different flavors and consistencies. When choosing, consider the sweetness level and how the substitute will affect the texture. Experimenting with these options allows you to create delicious, vegan-friendly crunchy granola bars tailored to your taste.
How Can I Prevent Bars From Sticking Together?
Think of your granola bars as tiny treasures that need space to shine. To prevent them from sticking together, use proper layering techniques: line your storage container with parchment paper or wax paper, placing bars in single layers. Wrap individual bars with plastic wrap or foil for extra separation. Store in an airtight container in a cool, dry place, and avoid stacking them too high to keep each bar crunchy and intact.
Is It Necessary to Use Parchment Paper During Baking?
Using baking parchment isn’t always necessary, but it makes cleanup easier and helps prevent sticking. If you don’t have parchment paper, you can try non-stick alternatives like silicone baking mats or lightly greasing your pan with oil or butter. These options work well to guarantee your granola bars don’t stick, while still allowing even baking. So, while parchment paper is convenient, it’s not an absolute must.
Conclusion
Now that you’ve mastered the art of crafting crunchy granola bars, imagine the delicious possibilities waiting to be explored. Will your next batch be topped with unexpected add-ins or a new flavor twist? The secret to perfect bars lies in your hands—so don’t be afraid to experiment and make them uniquely yours. Get ready to enjoy these irresistible treats, but remember, the best part is still ahead. Are you ready to take your creations to the next level?