
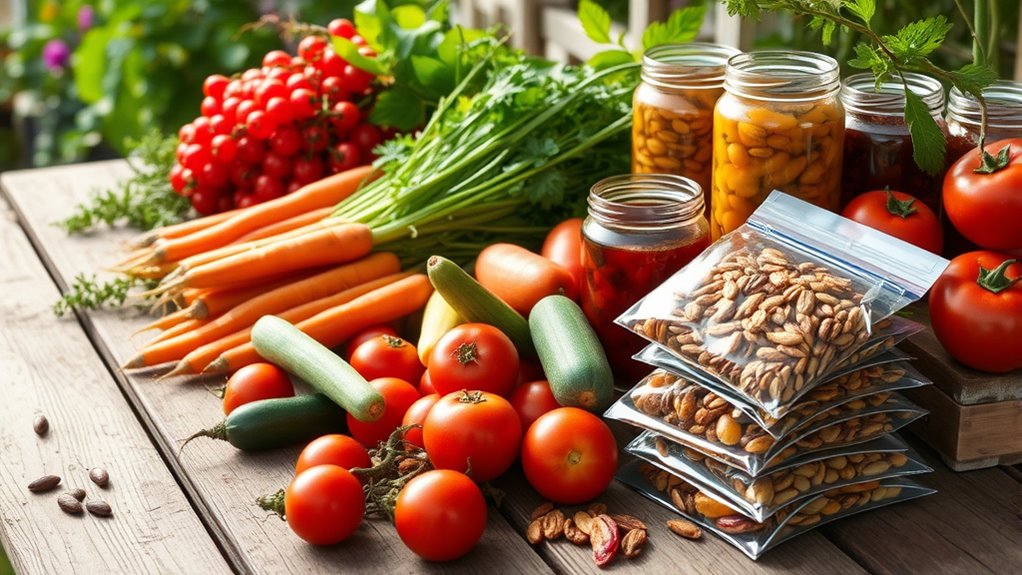
Transforming your garden harvest into shelf-stable snacks starts with selecting fresh, ripe produce and using proper preparation like washing and trimming. Pick the right preservation methods such as canning, drying, or fermenting to suit each fruit or veggie. Organize your preserves carefully, label everything, and store in cool, dark places for safety and quality. If you keep going, you’ll discover how to maximize flavor, safety, and long-term storage for delicious snacks year-round.
Key Takeaways
- Select fresh, ripe produce, thoroughly wash and prepare to ensure quality and safety for preservation.
- Choose appropriate preservation methods like canning, drying, or freezing based on the fruit or vegetable type.
- Properly sterilize jars and utensils, fill with hot preserves, and process in boiling water or pressure canners for shelf stability.
- Label and organize preserved goods, storing in cool, dark places to maintain quality and facilitate easy access.
- Use dehydration or fermentation techniques to create shelf-stable snacks like dried fruits and fermented preserves.
Choosing the Right Preservation Methods
Choosing the right preservation method is essential to guarantee your garden harvest stays fresh and safe for long-term storage. When deciding how to preserve your produce, focus on choosing preservation techniques that suit each type of fruit or vegetable. For example, canning, freezing, or drying can substantially extend shelf life, allowing you to enjoy your harvest year-round. Consider factors like texture, flavor, and storage space when selecting methods. Proper choice of preservation techniques not only preserves quality but also maximizes shelf life extension. Understanding the efficiency ratings of various methods can help you select the most effective options for your needs. By understanding the unique needs of each crop, you can prevent spoilage and nutrient loss. Making informed decisions now ensures your garden bounty remains delicious, nutritious, and ready for use whenever you want.
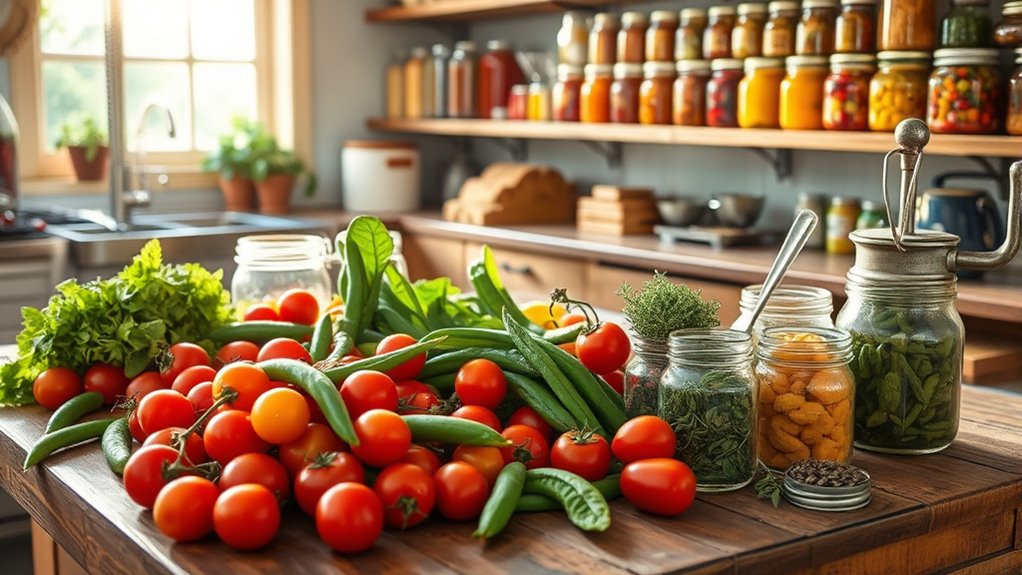
Preparing Your Produce for Canning and Preserving
Start by selecting only fresh, ripe produce to guarantee the best flavor and quality. Next, use proper preparation techniques like washing, peeling, and trimming to get your items ready for canning. These simple steps set a strong foundation for safe and delicious preserved snacks. Additionally, understanding quality control tests can help ensure your raw materials are safe and suitable for preservation.
Selecting Fresh Produce
Before you begin preserving your harvest, it’s essential to select produce that is ripe, firm, and free from blemishes or spoilage. The health of your garden soil influences the quality of your harvest, so ensure your soil is well-nourished and free of disease. Harvest timing matters; pick fruits and vegetables at peak ripeness for optimal flavor and texture. To choose the best produce:
- Examine for firmness and vibrant color.
- Check for blemishes, bruises, or soft spots.
- Confirm they are at their peak ripeness, not overripe or underripe.
Additionally, understanding the benefits of glycolic acid can help improve skin texture and pore appearance, which is useful if you plan to process or prepare fresh produce for preservation.
Proper Preparation Techniques
Once you’ve selected your produce, proper preparation is essential to guarantee safe and effective preservation. Start by inspecting your harvest for pests and damage, removing any compromised items. Wash your produce thoroughly to eliminate dirt and contaminants. To prevent pest issues, consider your garden layout; a tidy, well-maintained space reduces pest attraction. Use this table to visualize how preparation differs:
| Step | Technique |
|---|---|
| Wash | Rinse with cold water |
| Trim | Remove stems and blemishes |
| Blanch | Briefly boil, then chill |
| Pack | Use clean jars and lids |
Pest control and proper cleaning ensure your preserved snacks stay safe and delicious. Taking time to prepare correctly minimizes spoilage and preserves flavor. Additionally, understanding color accuracy can help you select produce that appears fresh and vibrant, enhancing the overall quality of your preserved snacks.
Making Delicious Jams and Fruit Preserves
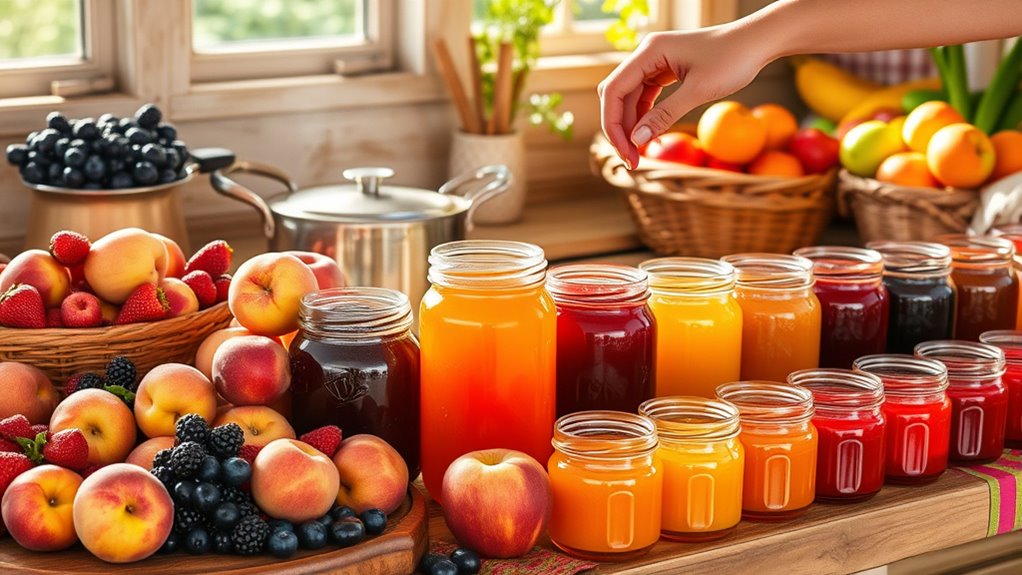
Choosing ripe, fresh fruit is the first step to great jams and preserves. Next, use proper cooking techniques to bring out their natural flavors without overdoing it. Finally, make sure your jars are sterilized correctly to keep your treats safe and long-lasting. Additionally, understanding cookie consent requirements can help ensure your website remains compliant when sharing recipes and preserving content online.
Selecting Fresh Fruit
Selecting the right fruit is essential for making delicious jams and preserves. Opt for local fruit when possible, as it’s fresher and often more flavorful. Focus on seasonal harvesting to ensure the fruit is ripe and at its peak sweetness, which enhances your final product. When choosing fruit, keep these tips in mind:
- Look for firm, blemish-free produce with vibrant color.
- Avoid overly soft or overripe fruit, which can lead to poor gel formation.
- Prioritize seasonal harvesting to maximize flavor and conserve natural sugars.
Proper Cooking Techniques
To create flavorful jams and preserves, mastering proper cooking techniques is essential. Start by selecting the right flavor pairings—combine fruits with complementary tastes to enhance depth. Use a heavy-bottomed pot to guarantee even heat distribution and prevent scorching. Stir consistently to achieve the desired consistency without overcooking. Proper boiling times are vital; too short and your preserves may be runny, too long and they could become too thick. Once cooked, transfer the hot preserves into clean storage containers, choosing jars with airtight seals to maintain freshness. Leave appropriate headspace and avoid overfilling to prevent spills during processing. Incorporating the right kitchen tools can also make the process easier and more efficient. These techniques help you craft delicious, shelf-stable jams that capture the best flavors of your harvest while ensuring they stay fresh longer.
Correct Sterilization Methods
Proper sterilization is essential to prevent bacterial growth and guarantee your jams stay safe and fresh. To achieve effective contamination prevention, use proper sterilization techniques. First, thoroughly wash your jars and lids with hot soapy water, then rinse and boil them in water for at least 10 minutes. Second, sterilize utensils and tools by boiling or using a dishwasher with a high-temperature cycle. Third, ensure that jars are kept hot until filling to prevent contamination. When filling jars, leave the recommended headspace, wipe rims clean, and immediately process in a boiling water bath or pressure canner. These methods eliminate bacteria, molds, and yeasts, ensuring your jams are shelf-stable and safe to enjoy. Proper sterilization techniques are your best defense against spoilage. Additionally, utilizing data analytics can help monitor and improve your canning process for consistent safety and quality.
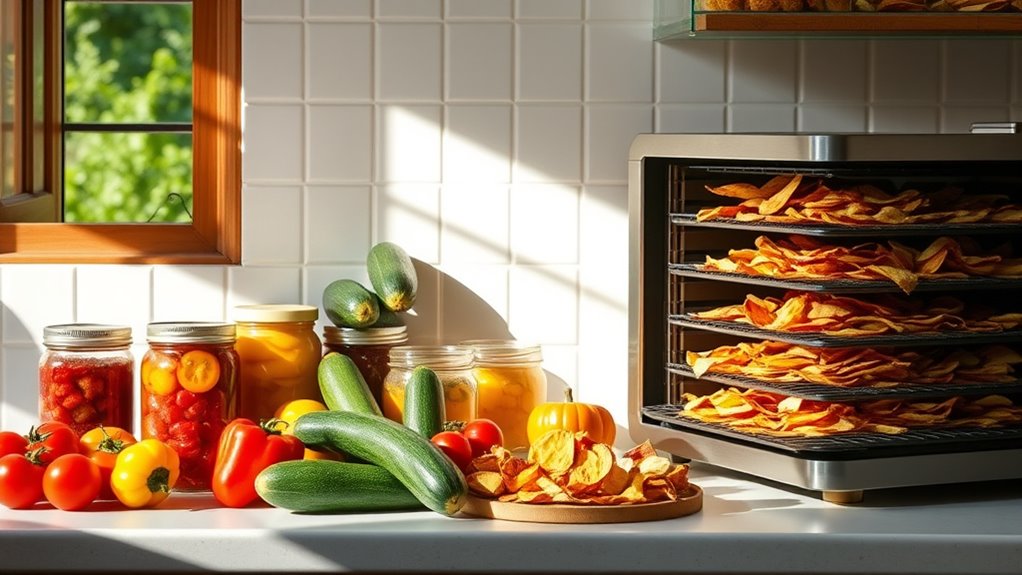
Crafting Crispy Dried Fruits and Vegetables
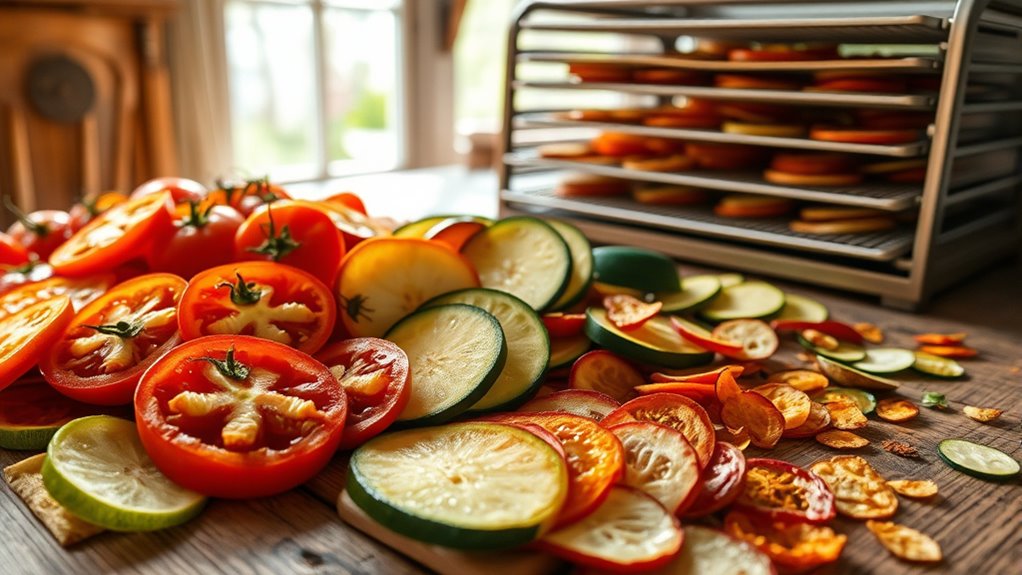
Transforming fresh fruits and vegetables into crispy dried snacks is a simple way to preserve their flavor and nutrients. Using dehydration techniques, you remove moisture while maintaining the food’s natural sweetness and crunch. To achieve the perfect texture, thinly slice your produce evenly, then use a food dehydrator or an oven set to a low temperature. Proper dehydration prevents spoilage and creates a snack with a satisfying crispness. You can also enhance flavor during the process by lightly seasoning or adding a sprinkle of spices before drying. This not only boosts taste but also makes your snacks more appealing. With careful dehydration and flavor enhancement, you turn garden harvests into shelf-stable, delicious treats you’ll enjoy long after harvest season. Additionally, understanding potential pitfalls in adopting new payment technologies can help ensure your business’s operations remain secure and compliant as you scale your snack business.
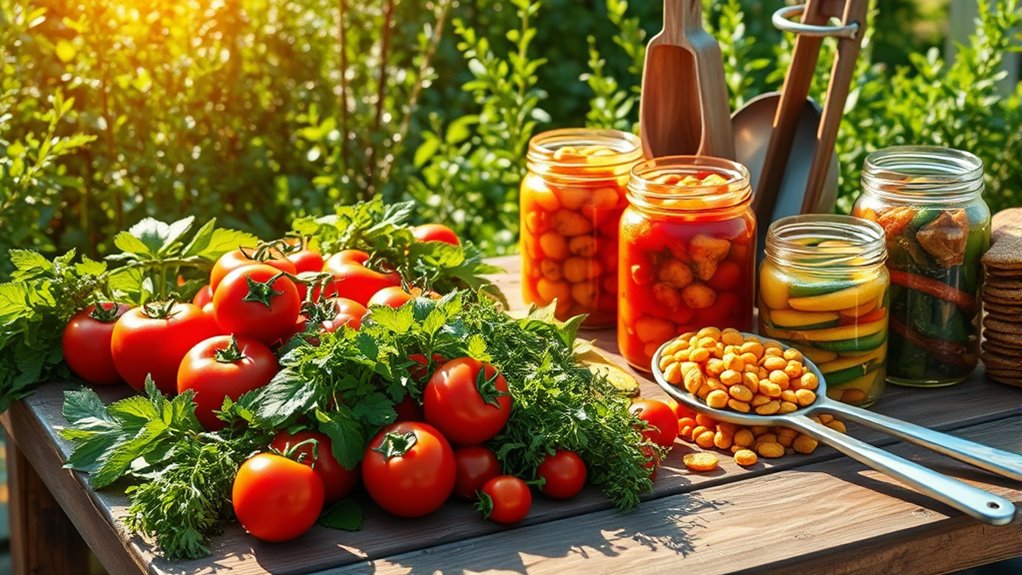
Creating Flavorful Pickles and Fermented Snacks
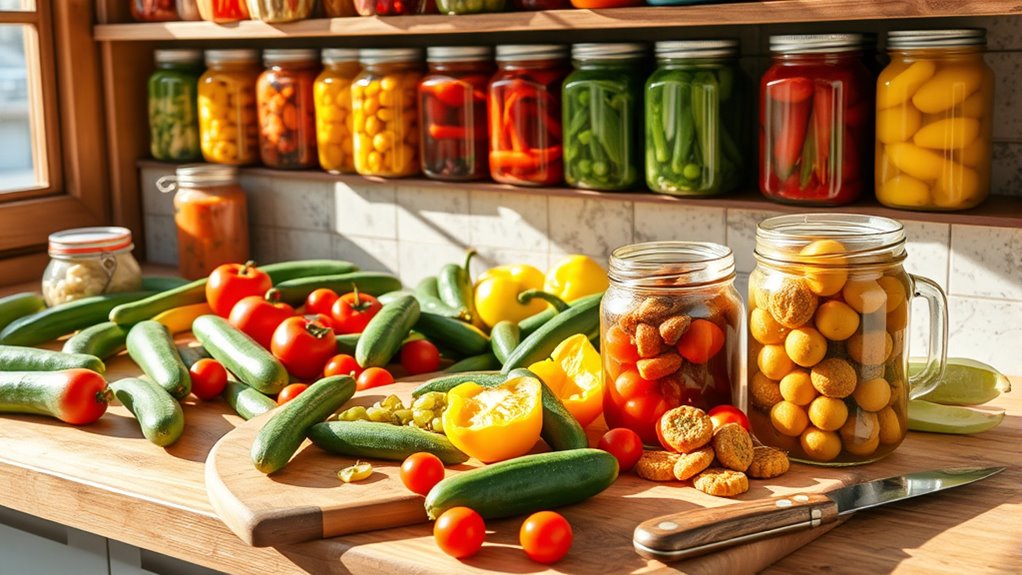
Creating flavorful pickles and fermented snacks is an easy way to preserve garden bounty while adding complex, tangy layers of flavor. To achieve this, focus on mastering fermentation flavors and pickling techniques. First, select fresh, firm vegetables or fruits. Second, experiment with fermentation flavors by adding herbs, spices, or garlic to create unique profiles. Third, use proper pickling techniques—submerging ingredients fully in brine and maintaining consistent temperatures. These steps help develop depth and tang, ensuring your fermented snacks are both delicious and shelf-stable. Remember, fermentation flavors intensify over time, so be patient and taste periodically. With attention to detail, you’ll craft vibrant, flavorful pickles that elevate your preserved garden harvest into irresistible, shelf-stable treats. Incorporating proper fermentation methods enhances flavor development and safety.
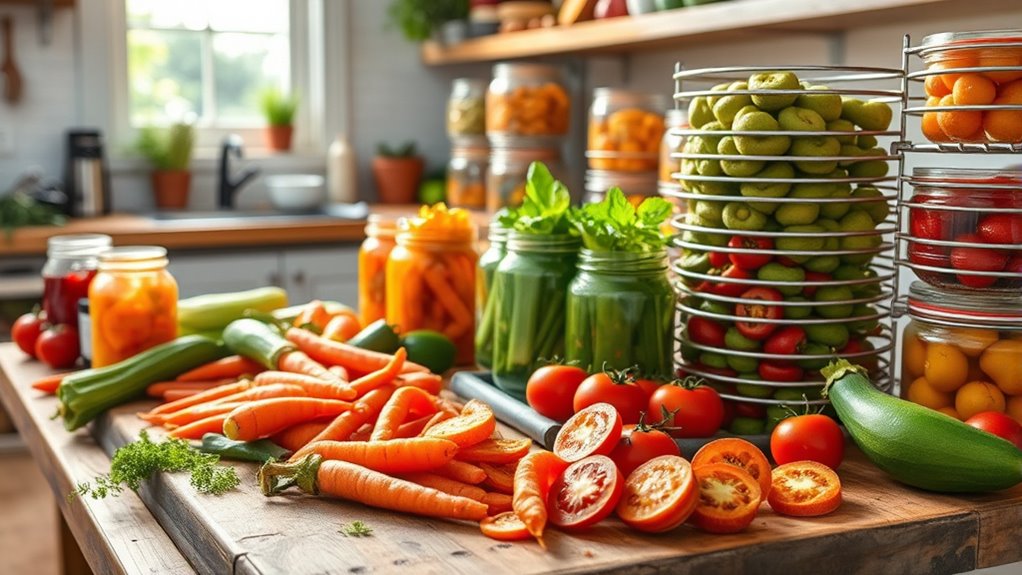
Storing and Organizing Your Shelf-Stable Goods
Once you’ve perfected your pickling and fermentation techniques, the next step is to store and organize your shelf-stable goods so they stay fresh and easy to access. Effective shelf organization helps prevent spoilage and simplifies locating your preserved items. Use clear containers or jars to keep everything visible, and group similar products together, such as jams, pickles, or dried snacks. Implement labeling techniques by adding dates and contents to each jar or container—this helps track freshness and prevents confusion. Consider using a consistent labeling system, like color-coded tags or printed labels, to streamline your storage process. Regularly rotate your stock, placing newer items behind older ones, ensuring nothing goes to waste. Organized storage makes your shelf-stable snacks more enjoyable and accessible whenever you need them. Incorporating food safety practices, such as inspecting for signs of spoilage, is essential for maintaining quality over time.
Tips for Ensuring Quality and Safety During Preservation
To guarantee your preserved foods remain safe and high-quality, it’s essential to follow proper handling and processing techniques at every stage. First, always use clean, sterilized storage containers to prevent contamination. Second, ensure your processing methods, like boiling water baths or pressure canning, are appropriate for the food type to eliminate bacteria and spoilage enzymes. Third, maintain label accuracy by recording the date, contents, and processing method on each container. This helps you track freshness and avoid using outdated products. Additionally, store your jars in a cool, dark place to preserve flavor and prevent spoilage. By adhering to these steps, you protect your harvest and enjoy safe, nutritious snacks for months to come.
Frequently Asked Questions
How Long Do Homemade Shelf-Stable Snacks Typically Last?
Shelf-stable snacks typically last between several months to a year, depending on how well you store them. Proper storage duration is key to spoilage prevention, so keep your snacks in airtight containers and cool, dry places. Always check for signs of spoilage before eating, like off smells or mold. With good practices, you can enjoy your homemade snacks safely for a long time.
Can I Combine Different Fruits or Vegetables in One Preserve?
Imagine creating a flavor explosion with every bite—that’s what happens when you try fruit blending or vegetable mixing in one preserve. You can combine different fruits or vegetables, but be cautious about balancing acidity and pectin levels to guarantee safety and quality. Some pairings work beautifully, while others can spoil or change texture. Always follow tested recipes or guidelines to turn your garden harvest into delicious, shelf-stable snacks.
Are There Any Allergens I Should Be Aware of in Preserved Snacks?
When considering preserved snacks, you should definitely be aware of potential allergens. Always check allergen labeling on packaging for ingredients like nuts, dairy, or soy, which are common allergens. It’s important to adhere to allergy precautions, especially if you’re sharing snacks with others or making them at home. Being vigilant about allergen information helps prevent allergic reactions and ensures everyone can enjoy the snacks safely.
What Are Eco-Friendly Options for Preserving Garden Harvests?
You can explore eco-friendly options for preserving your garden harvest by using composting techniques to enrich your soil naturally, reducing waste. Opt for sustainable packaging like glass jars or biodegradable containers to minimize plastic use. These methods help you preserve your harvest responsibly, cut down on environmental impact, and support a sustainable lifestyle. Embracing composting and eco-friendly packaging guarantees your gardening efforts stay eco-conscious and beneficial for the planet.
How Can I Customize Flavors in My Preserved Snacks?
You can customize flavors in your preserved snacks through flavor infusion and spice blending. Start by adding herbs, spices, or aromatic ingredients during the preservation process to enhance natural flavors. Experiment with different spice combinations, like chili and cumin or cinnamon and cloves, to create unique taste profiles. Adjust the intensity to suit your preference, and always taste test before finalizing. This way, your snacks will reflect your personal flavor preferences and stand out.
Conclusion
By turning your garden bounty into shelf-stable snacks, you’re planting seeds of sustainability and flavor that can bloom all year. With careful preservation, your pantry becomes a treasure trove of sunshine, capturing summer’s warmth in jars and bites. Embrace each step with patience and care, knowing you’re crafting memories as vibrant as a sun-drenched garden. Your efforts transform fleeting harvests into timeless delights—truly, a symphony of flavor waiting to be savored.