
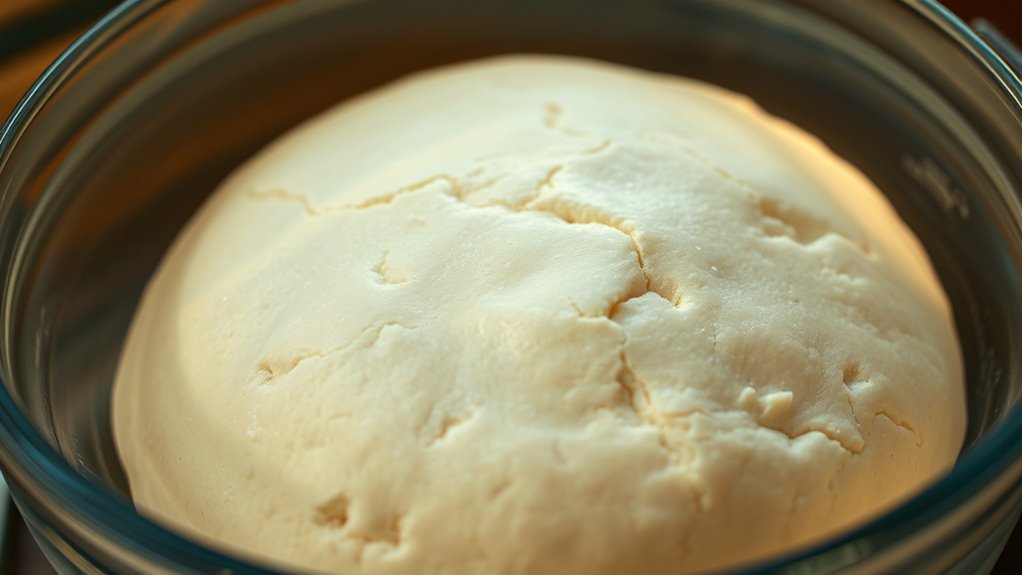
To proof bread dough using gentle circulated warmth, place your dough in a proofing box or covered container with a consistent temperature around 75-78°F and humidity near 75%. Use a fan or small vent to circulate air softly without drying out the dough. Guarantee steady heat and humidity, monitor conditions regularly, and avoid drafts. Keeping these factors steady helps your dough rise evenly and develop the perfect texture. If you’d like more tips, keep exploring to master the process.
Key Takeaways
- Use a proofing box or warm, draft-free area with stable temperature between 75°F and 78°F.
- Ensure gentle air circulation with a fan or open window to promote even fermentation.
- Maintain humidity around 75% using a damp cloth, water pan, or humidifier to prevent drying.
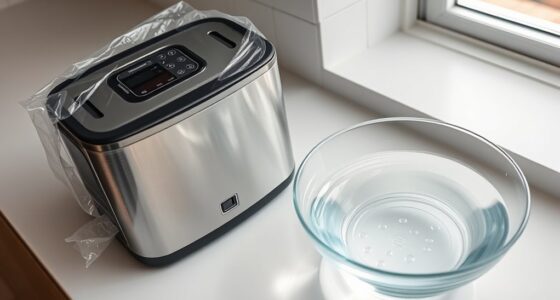
- Cover dough with plastic wrap or a damp cloth to retain moisture and prevent surface drying.
- Regularly monitor temperature and humidity with thermometers and hygrometers, adjusting as needed for optimal proofing.

Cuisinart Air Fryer Toaster Oven, 1800W, 8-in-1 with Air Fry, Convection, Broil & Warm, 0.6 Cubic Feet, 60-Minute Timer, TOA-70NAS, Stainless Steel
VERSATILE COOKING FUNCTIONS: This premium 1800-watt Cuisinart Air Fryer Toaster Oven is equipped with an air fry setting...
As an affiliate, we earn on qualifying purchases.
Understanding the Importance of Proper Proofing Conditions
Proper proofing conditions are essential for achieving the perfect bread dough. When the environment supports ideal fermentation speed, the yeast activates at just the right rate, ensuring consistent rise and flavor development. If conditions are too warm or too cold, fermentation slows down or speeds up excessively, affecting dough elasticity and structure. Proper temperature and humidity help maintain dough’s elasticity, making it easier to shape and ensuring a light, airy crumb. Too much warmth can cause overproofing, collapsing the dough, while too little can hinder yeast activity. By controlling these proofing conditions, you create an ideal environment for the dough to develop its full potential, resulting in bread with excellent texture, flavor, and rise. Understanding fermentation is crucial for bakers aiming for optimal results.

BLACK+DECKER Crisp 'N Bake Air Fry Countertop Convection Toaster Oven, Medium Capacity, 4-Slice, 5-in-1, Fits 9” Pizza, 30-Min Timer, Bake, Broil, Air Fry, Toast, Keep Warm, Stainless Steel
5-IN–1 MULTIFUNCTIONAL COOKING- Enjoy versatile cooking with Air Fry, Bake, Broil, Toast, and Keep Warm settings. Perfect for...
As an affiliate, we earn on qualifying purchases.
Choosing the Right Equipment for Circulated Warmth

Choosing the right equipment guarantees your dough proof properly. Look for options that offer consistent temperature control and gentle air circulation. This helps create the ideal environment for perfect rise every time. Additionally, selecting equipment that promotes active listening and empathy can help you better understand the nuances of your dough’s needs during proofing.
Consistent Temperature Control
To maintain a consistent temperature for proofing bread dough, selecting the right equipment is essential. Proper temperature control ensures ideal yeast activation and supports dough elasticity, leading to better rise and texture. Using a reliable proofing box or temperature-controlled environment keeps the warmth gentle and steady. This prevents fluctuations that can disrupt fermentation. When choosing equipment, consider these key points:
- Accurate temperature regulation
- Even heat distribution
- Easy humidity control
- Reliable insulation for steady warmth
- Incorporating automation technologies can help maintain consistent conditions and reduce manual adjustments.
Gentle Air Circulation
Ensuring gentle air circulation around your dough is vital for even proofing without disturbing its delicate structure. Proper circulation helps maintain consistent fermentation speed, preventing uneven rises or flat spots. When choosing equipment, look for options that provide soft, steady airflow, such as a proofing box with built-in fans or a covered proofing chamber with adjustable vents. This gentle movement promotes uniform heat distribution, supporting optimal dough elasticity. Too much airflow can dry out the surface or cause irregular fermentation, while too little may slow fermentation excessively. By selecting equipment that offers controlled, gentle air circulation, you ensure your dough proofs evenly, resulting in a consistent texture and perfect rise. Proper airflow is key to achieving reliable, professional-quality bread, especially when using circulated warm air systems designed for bread proofing.

Emeril Lagasse Extra Large French Door Air Fryer Toaster Oven Combo, 24 Cooking Functions and Digital Controls, 7 Accessories Included, Stainless Steel Finish, 26QT Capacity
A VERSATILE AIR FRYER AND MULTI-COOKER COMBO: Elevates practically any meal, from air frying quick after-school snacks to...
As an affiliate, we earn on qualifying purchases.
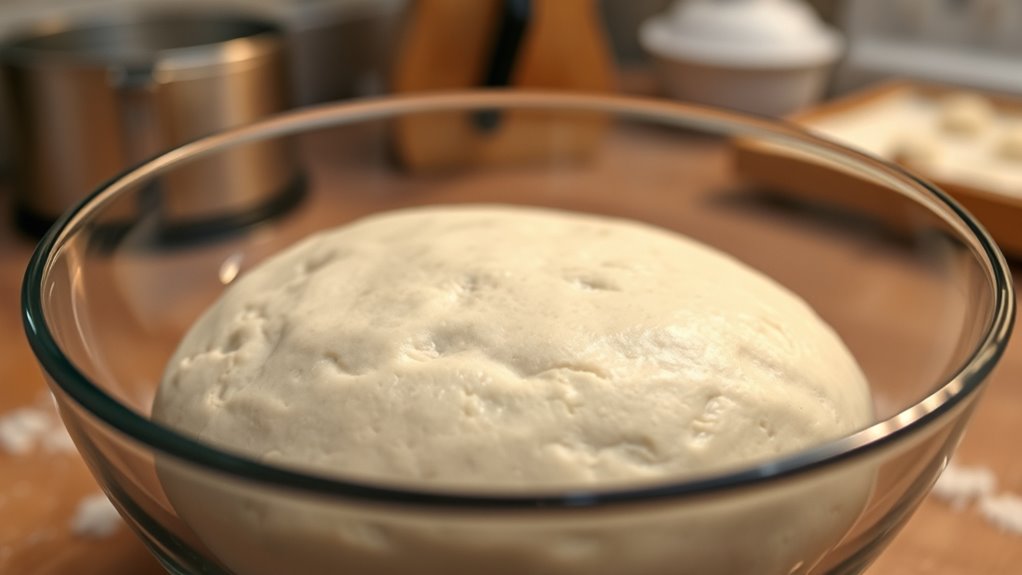
Preparing Your Dough for the Proofing Process
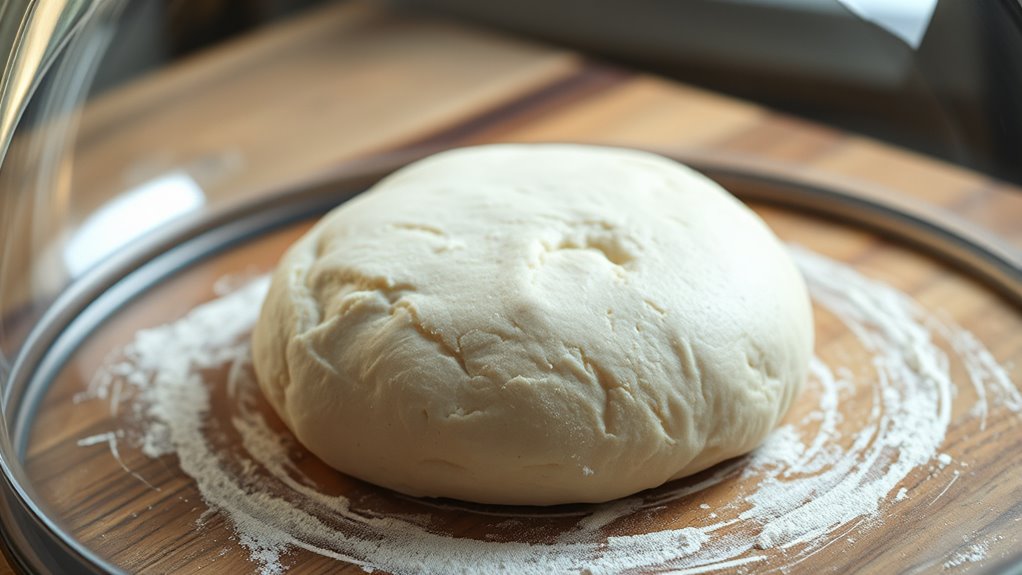
Before placing your dough to proof, it’s important to prepare it properly. First, ensure your dough has good elasticity, which helps it expand evenly during proofing. Gently shape the dough into a smooth ball, removing excess air. Cover it with a damp cloth or plastic wrap to prevent drying out. This step encourages ideal flavor development and consistent rise.
- Use a lightly floured surface to prevent sticking
- Avoid overworking the dough, which can reduce elasticity
- Let the dough rest briefly before proofing to relax gluten
- Make sure your dough is at the right hydration level for better fermentation
Proper preparation sets the stage for a successful proof, resulting in a better rise, improved dough elasticity, and richer flavor. Taking these steps ensures your bread will develop the perfect texture and taste.

Ninja Air Fryer Toaster Oven Combo | 8-in-1 Functionality | Flip Up & Away for Storage Space | Air Fry Basket, Sheet Pan, Wire Rack & Removable Crumb Tray |1800 Watt | Stainless Steel | SP151
RECLAIM YOUR COUNTER SPACE: Takes up 50% less space when you flip it up and away to store...
As an affiliate, we earn on qualifying purchases.
Setting up Your Proofing Environment With Gentle Circulation
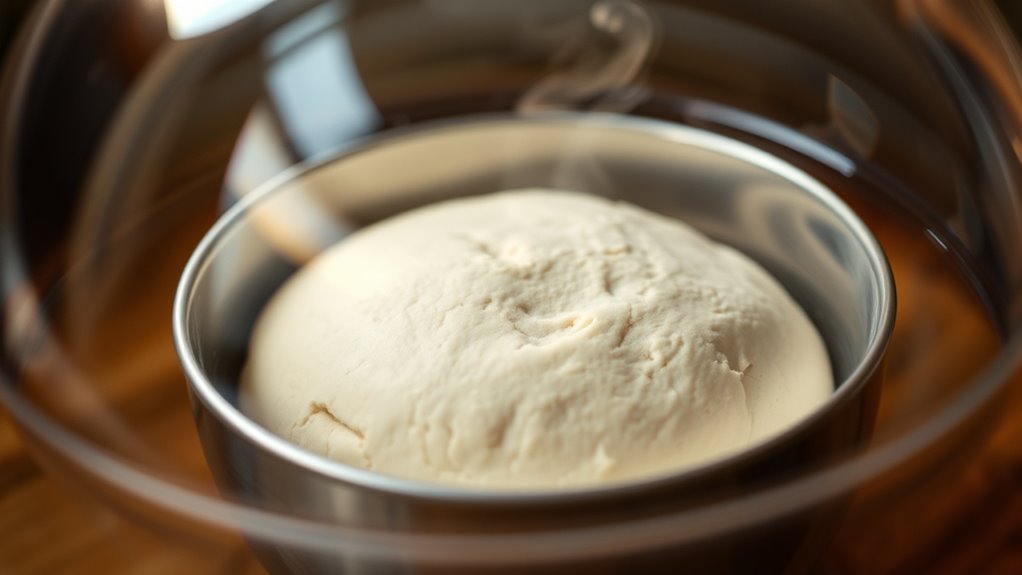
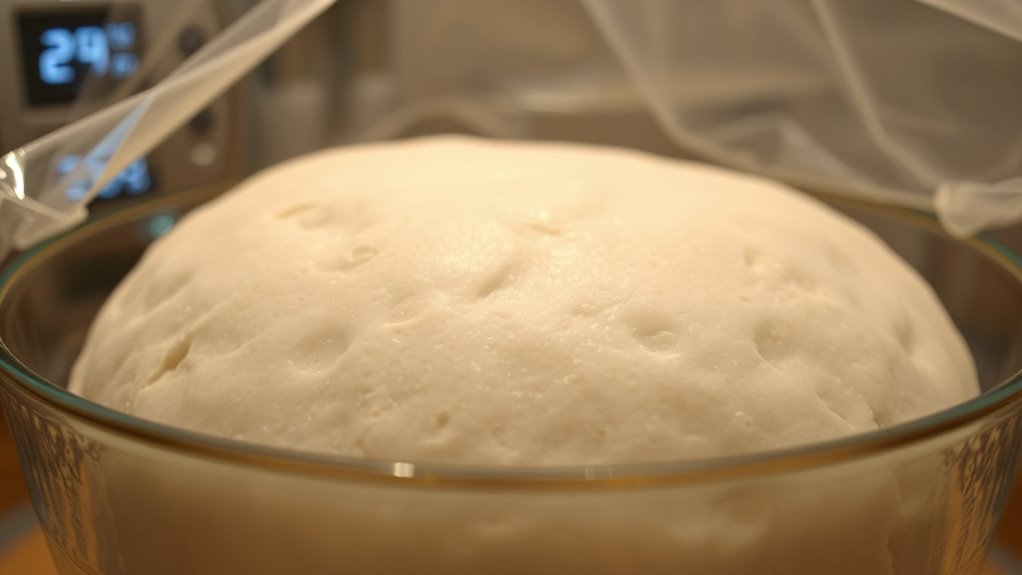
To make certain your dough proofs perfectly, set up an environment with a consistent temperature between 75°F and 78°F. Use gentle airflow techniques, like a soft fan or open window, to circulate air without disturbing the dough. Keep humidity levels steady around 75%, so your dough stays moist and rises evenly. Incorporating hydrotherapy principles can help maintain optimal moisture levels and temperature stability during proofing.
Optimal Temperature Range
Maintaining the right temperature for proofing bread dough is essential for ideal fermentation. The best temperature range is typically between 75°F and 82°F (24°C to 28°C). Staying within this range encourages consistent yeast activity, leading to better dough rise and flavor development. To achieve this, focus on temperature stability and airflow management, avoiding sudden fluctuations that can disrupt fermentation. Proper temperature control is crucial for a successful proofing process.
- Keep your proofing environment free from drafts or cold spots
- Use a thermometer to monitor temperature regularly
- Maintain gentle circulation without creating direct airflow on the dough
- Adjust your proofing space to sustain a consistent temperature throughout the process
Gentle Airflow Techniques
Creating a gentle airflow around your proofing dough helps maintain a stable environment without disrupting yeast activation. Proper circulation prevents hot spots and uneven temperature fluctuations that could hinder fermentation. Use a small fan on a low setting or position a piece of breathable fabric over your proofing container to guarantee air moves softly around the dough. This gentle airflow encourages consistent yeast activity, leading to even rise and better gluten development. Avoid direct drafts or strong currents, which can deflate the dough or cause irregular fermentation. By controlling airflow carefully, you create an ideal environment for your dough to proof steadily. This technique supports healthy yeast activation while promoting strong gluten formation, resulting in a well-risen, resilient loaf. Creating a stable environment with proper airflow helps optimize fermentation conditions and ensures consistent dough quality.
Consistent Humidity Levels
How can you guarantee your dough proofing environment stays consistently humid? Maintaining steady humidity prevents crust formation and promotes ideal fermentation speed, which enhances dough elasticity. To achieve this, keep the environment moist without over-saturating the dough. Use a damp cloth or place a shallow dish of water nearby to maintain humidity levels. Cover your dough with plastic wrap or a damp towel to lock in moisture. Ensure gentle circulation doesn’t dry out or overly dampen the environment.
- Regularly check humidity levels with a hygrometer
- Use a proofing box or oven with controlled humidity
- Avoid drafts that dry out the environment
- Adjust water sources as needed for consistent moisture
Monitoring and Adjusting Temperature and Humidity
Monitoring and adjusting temperature and humidity levels is crucial to guarantee your bread dough proofs properly. Maintaining the right temperature ensures consistent fermentation speed, preventing over- or under-proofing. Too warm, and the dough ferments too quickly, reducing dough elasticity and resulting in dense bread. Too cool, and fermentation slows, leading to an under-proofed loaf. Use a reliable thermometer to check your proofing environment regularly. If the temperature fluctuates, adjust by moving your proofing box or adding warm water to increase humidity. Humidity control helps keep the dough moist and elastic, preventing it from drying out or forming a tough crust. Proper temperature regulation is essential for achieving the ideal proof, and using a proofing box with adjustable settings can make this process easier. By carefully monitoring and fine-tuning these factors, you create an ideal environment that promotes even proofing and a perfect, airy crumb.
Troubleshooting Common Issues During Proofing
Even with careful control of temperature and humidity, you might still encounter issues during proofing. Problems often stem from incomplete yeast activation or improper dough hydration. If the dough isn’t rising properly, check these points:
- Yeast activation: Ensure your yeast is fresh and activated at the right temperature before mixing.
- Dough hydration: Too dry or too sticky dough can hinder rising; adjust water content accordingly.
- Proofing environment: Avoid drafts or uneven circulating warmth that can disrupt consistent proofing.
- Time management: Overproofed dough collapses; underproofed dough won’t rise enough. Trust visual cues over time alone.
- Temperature regulation is crucial for activating yeast effectively and ensuring reliable proofing results.
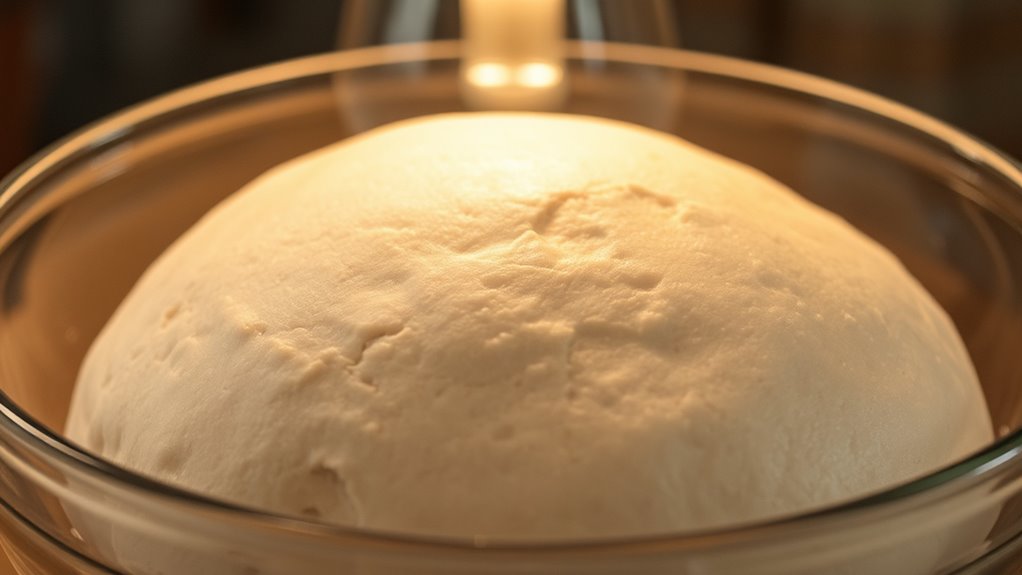
Finishing Touches: Recognizing When Dough Is Ready to Bake
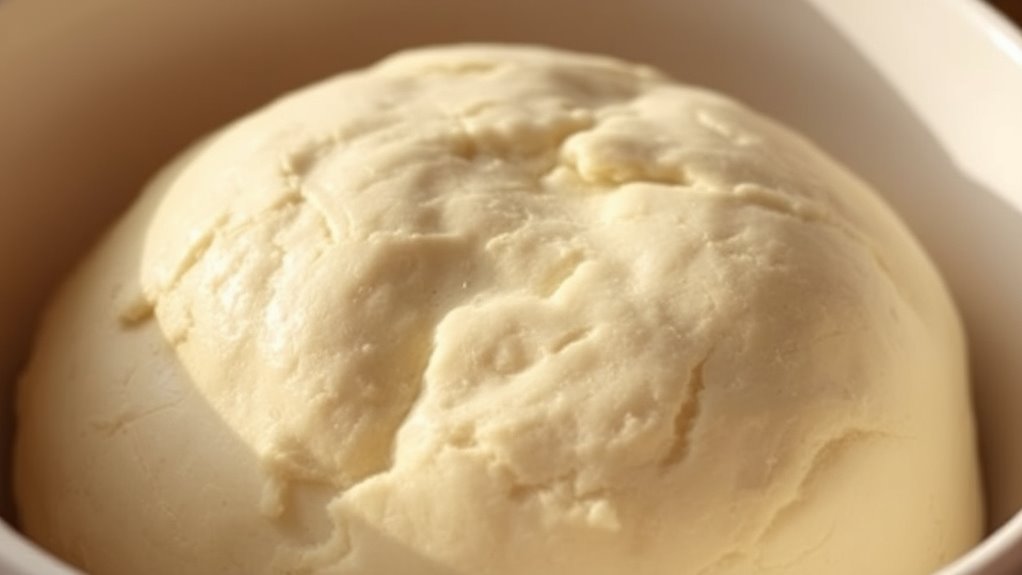
Knowing when your dough is ready to bake is essential for achieving the best rise and texture. Pay attention to yeast activity; it should be evident through visible bubbles and a slight increase in size. Gently press your finger into the dough—if it springs back slowly and leaves a slight indentation, it’s a good sign that the dough has developed proper elasticity. Proper dough elasticity indicates that gluten has formed enough to hold the gases produced during fermentation. Avoid over-proofing, which can deflate the dough, or under-proofing, which results in a dense loaf. When your dough is airy, slightly domed, and passes the finger poke test, it’s ready to bake. These signs confirm that fermentation has completed, and your bread will have the ideal rise and texture. Automated insights can help you monitor fermentation progress more accurately, ensuring consistent results.
Frequently Asked Questions
Can I Proof Dough Without Specialized Equipment?
You can proof dough without specialized equipment by creating a warm, draft-free environment. To encourage proofing warmth, place your dough in a warm spot like inside an oven with just the light on or near a radiator. Cover it with a damp cloth to maintain humidity. Keep an eye on dough consistency; it should double in size within the right proofing warmth. This simple method works well for consistent, effective proofing.
How Long Should the Proofing Process Take?
Think of proofing as giving your dough a gentle nap—timing is key. Usually, fermentation timing takes about 1 to 2 hours at room temperature, or until the dough doubles in size. You want to watch for increased dough elasticity, which shows it’s ready. Under-proofing leaves it dense, while over-proofing risks collapsing. Keep an eye on it, and trust your senses to determine the perfect rise.
Is It Necessary to Cover the Dough During Proofing?
You should cover your dough during proofing to maintain dough elasticity and guarantee even fermentation speed. Covering keeps moisture in, preventing the surface from drying out, which can hinder gluten development. It also creates a warm, humid environment that promotes consistent fermentation. Without covering, your dough might develop a dry crust, slowing fermentation and affecting the final texture. So, always cover your dough to achieve the best rise and elasticity.
What Signs Indicate Over-Proofed Dough?
Remember when you baked bread in grandma’s old oven? Over-proofed dough shows clear fermentation signs: it becomes overly puffy, and its dough elasticity diminishes, feeling slack or overly soft. You might notice large air bubbles or a sour smell. If it’s overly risen and loses its structure, it’s a sign you should shape and bake soon. Keep an eye out for these clues to avoid over-proofing and get perfect bread every time.
Can Temperature Fluctuations Ruin the Proofing Process?
Temperature fluctuations can definitely ruin your proofing process. When temperatures aren’t stable, your dough may over-proof or under-proof, affecting texture and rise. To prevent this, you should maintain temperature stability and humidity control in your proofing environment. Consistent warmth helps yeast activate evenly, ensuring a perfect rise. Avoid drafts or sudden temperature changes, and use a proofing box or warm spot with controlled humidity to get the best results.
Conclusion
By maintaining gentle circulated warmth, you create the ideal environment for perfect proofing. Did you know that dough proofs 30% faster at the best temperature of around 75°F? Keeping conditions steady guarantees your bread rises evenly and develops great texture. So, monitor your environment carefully, adjust as needed, and trust your senses. With patience and the right setup, you’ll enjoy bakery-quality bread right from your own kitchen. Happy baking!