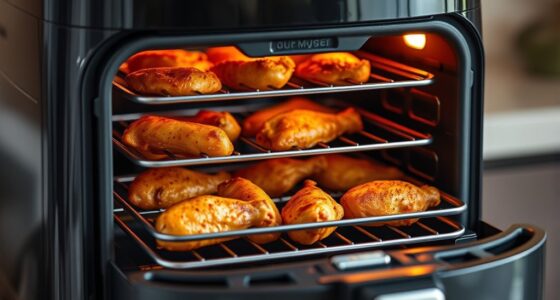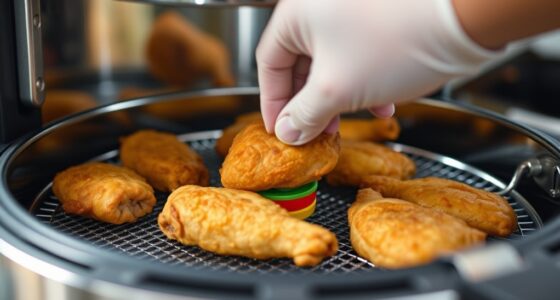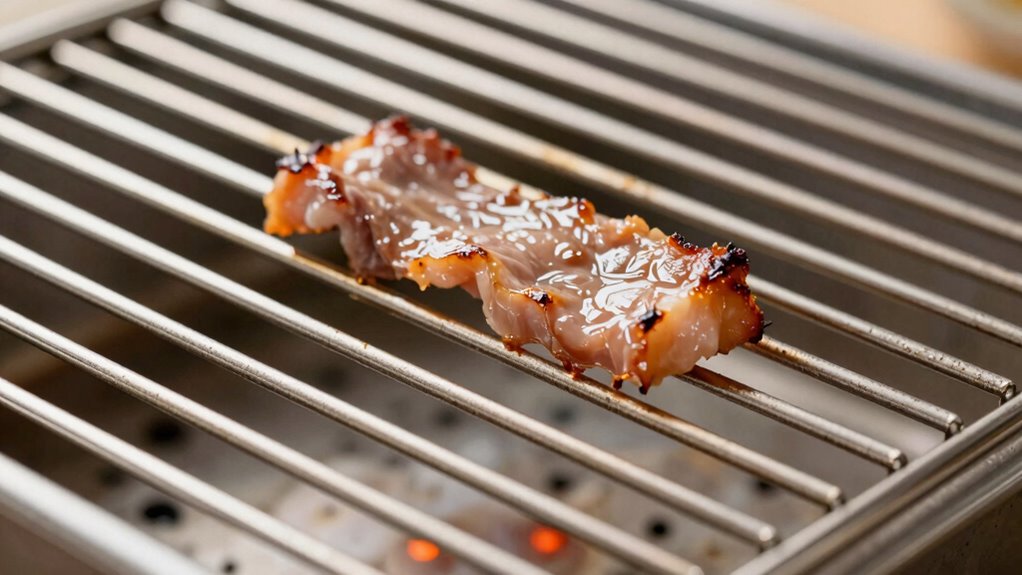
To use a rack without losing browning power, make sure to preheat your oven first, so heat is evenly distributed. Pat your food dry to remove excess moisture, and lightly coat it with oil or glaze for extra crispiness. Keep the food spaced out to promote even airflow, and avoid overcrowding. Elevating the rack on a foil-lined sheet helps with drippings and prevents sogginess. For finer tips, continue exploring how to get perfect, golden-baked results every time.

Get kitchen gear delivered free — and shop member deals
- Fast, free delivery on millions of items
- Access to Prime Big Deal Days deals on October 6–7
- Prime Video, Amazon Music and more included
Key Takeaways
- Preheat the oven fully before placing food on the rack to ensure proper browning.
- Pat dry ingredients thoroughly to reduce moisture that can hinder browning.
- Apply a light coating of oil or glaze to enhance color and crispiness.
- Avoid overcrowding the rack to allow hot air to circulate evenly around the food.
- Use high heat during the final stages of cooking to achieve a crispy, golden finish.
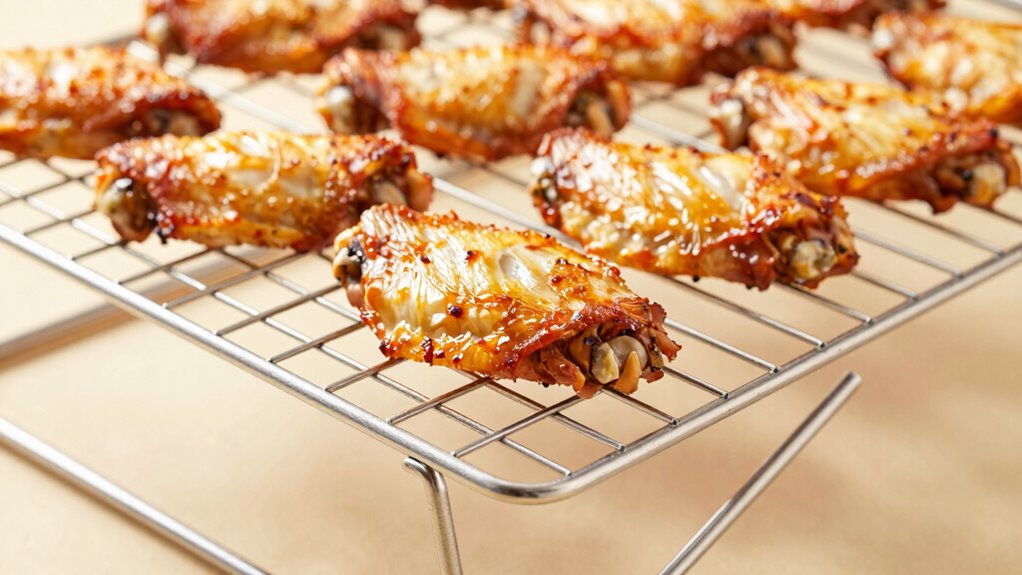
Have you ever wondered how to use a rack without sacrificing that perfect browning? Achieving that crispy, golden finish while using a rack requires understanding some key cooking techniques and proper rack maintenance. When you elevate food on a rack, you allow hot air to circulate evenly, which promotes uniform cooking and browning. However, if you’re not careful, moisture can get trapped, making the food soggy instead of crispy. To prevent this, you need to master the right cooking techniques that maximize browning without compromising texture. For instance, preheating your oven and ensuring your food is dry before placing it on the rack are simple yet effective steps. Pat your meat or vegetables dry to remove excess moisture, which can inhibit browning. Also, consider applying a light coating of oil or a glaze to enhance color and crispiness. Using high heat in the final minutes of cooking can boost browning, but be cautious not to burn your food—timing is everything. Regularly inspecting your racks for rust or damage ensures optimal airflow and prevents uneven cooking, extending their lifespan. Rack maintenance plays a crucial role in keeping your equipment in top shape and ensuring the best results. Dirty or rusted racks can hinder airflow and cause uneven cooking, so regular cleaning is essential. Wash your racks with warm, soapy water after each use, and for stubborn residue, soak them in a vinegar solution or use a gentle scrubber. Inspect your racks periodically for rust or damage; replacing worn or rusted racks prevents contamination and ensures optimal airflow. A clean, well-maintained rack not only promotes better browning but also extends the lifespan of your kitchen tools. When placing food on the rack, make sure it’s stable and evenly spaced, avoiding overcrowding, which can trap steam and reduce crispiness. Elevate your rack on a baking sheet lined with foil or parchment paper to catch drippings and make cleanup easier, helping you maintain your rack’s pristine condition. Additionally, considering the material of your rack can influence heat conduction and browning efficiency. Proper rack positioning can also promote even cooking and browning across your dishes. Keep in mind that the right airflow is essential for achieving that perfect crispy exterior, so adjusting your rack placement accordingly is beneficial. Incorporating these cooking techniques and focusing on rack maintenance ensures you get that desirable browning without sacrificing crispness. Use your rack as a tool to elevate your dishes, but never overlook the importance of proper cleaning and handling. By keeping your equipment in good shape and adjusting your cooking methods, you’ll consistently achieve beautifully browned, crispy results. Remember, the secret isn’t just in the ingredients but also in how you prepare and care for your tools. With a little attention to detail, your rack can become your best ally in creating perfectly browned, irresistibly crispy dishes every time.
oven baking rack for crispy food
As an affiliate, we earn on qualifying purchases.
As an affiliate, we earn on qualifying purchases.
Frequently Asked Questions
Can I Use Any Type of Rack for Browning?
You can’t use any type of rack for browning without risking performance issues. Rack compatibility and material considerations are key—look for racks made from heat-conductive materials like cast iron or steel. Avoid racks with non-stick coatings or low-quality metals, as they can hinder browning. A sturdy, oven-safe rack that distributes heat evenly guarantees you get the perfect browning without compromising the quality of your food.
How Long Should I Preheat the Rack?
Preheat your rack for about 10 to 15 minutes to guarantee even browning and ideal temperature. Follow the rack temperature guidelines based on what you’re cooking—usually around 350°F to 400°F. This preheating duration allows the rack to reach the right temperature quickly, preventing sticking and promoting a nice, even browning. Always check your recipe for specific temperature recommendations to get the best results.
Does Rack Material Affect Browning Quality?
Think of your rack as a stage for perfect browning; the material truly sets the scene. A sturdy, oven-safe rack guarantees consistent heat transfer, boosting browning quality without risking safety. Metal racks, especially stainless steel or chrome, are durable and distribute heat evenly, enhancing your cooking. Avoid flimsy or non-oven-safe materials, which might compromise oven safety and lead to uneven browning. Choose wisely to keep your dishes beautifully caramelized.
Is It Safe to Reuse a Rack Repeatedly?
Yes, it’s generally safe to reuse a rack multiple times if you clean it thoroughly after each use. Reusable concerns mainly involve ensuring no food residues or bacteria remain, which could pose safety considerations. Regularly inspect your rack for damage or rust, and sanitize it properly. As long as you follow proper cleaning and maintenance, reusing a rack is safe and helps reduce waste, without compromising browning quality or safety.
How Do I Clean a Rack Without Damaging It?
You might find it surprising, but gentle cleaning techniques are your best bet for rack maintenance. Use warm water and mild dish soap, then scrub with a soft brush or sponge to remove grime without damaging the surface. Avoid harsh chemicals or steel wool that can scratch or corrode. Rinse thoroughly, dry completely, and your rack stays in top shape, preserving its browning power and ensuring safe, effective use each time.
Conclusion
By mastering the art of using a rack without sacrificing browning power, you’ll turn every dish into a culinary masterpiece! Imagine your food as a blazing inferno of flavor, perfectly crispy on the outside and tender inside — all thanks to your savvy technique. No more soggy, lackluster results. With these tips, you’ll become a kitchen legend, transforming mundane meals into sizzling, browning marvels that’ll leave everyone begging for your secret. Get ready to impress like never before!
Fall Picks
fall essentials
As an affiliate, we earn on qualifying purchases.