
To cook shrimp perfectly without overcooking, start with fresh, properly sized shrimp and watch for color changes from translucent gray to opaque pink. Maintain a steady, gentle simmer or medium-high heat depending on your method, and use a timer to avoid guessing. Look for a loose “C” shape and bright pink color as signs of doneness. Rest briefly before serving for the best tenderness. Keep these tips in mind, and you’ll master juicy, tender shrimp every time.
Key Takeaways
- Cook shrimp for 2-3 minutes per side until they turn opaque and curl into a loose “C” shape.
- Maintain medium-high heat to ensure even cooking without overdoing it.
- Remove shrimp from heat as soon as they turn pink and opaque to prevent rubberiness.
- Use visual cues like color change and shape to judge doneness accurately.
- Rest cooked shrimp for 2-3 minutes before serving to enhance texture and flavor.
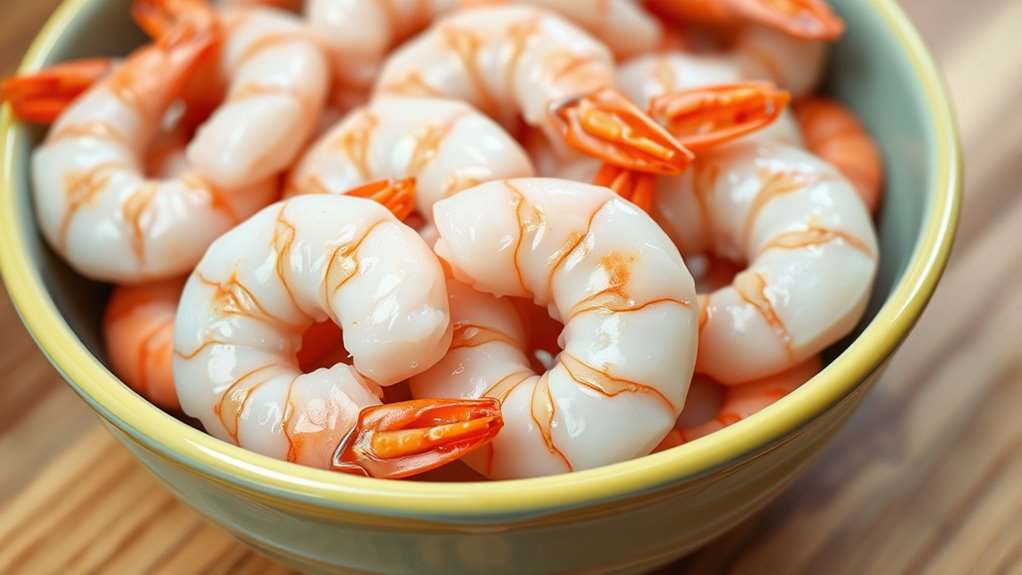
Choosing Fresh and Properly Sized Shrimp

Choosing fresh and properly sized shrimp is essential for achieving the best flavor and texture in your dish. Start by selecting shrimp that look firm, with a clean, ocean-like smell—avoid any that smell off or have a slimy texture. Proper sizing ensures even cooking; smaller shrimp cook quickly, while larger ones need more time. When prepping, consider marinating techniques that enhance flavor without overcooking, but do this only after shell removal. Removing the shrimp shell helps you control seasoning and marinades better, plus it speeds up cooking and improves texture. Keep in mind, fresh shrimp should be used soon after purchase for ideal quality. By choosing the right size and freshness and handling shell removal carefully, you set a strong foundation for delicious, perfectly cooked shrimp. Proper handling of shrimp is also important to maintain its quality and prevent overcooking.
Understanding the Ideal Cooking Time for Shrimp
Knowing the right cooking time helps you achieve perfectly tender shrimp every time. Usually, shrimp are done when they turn opaque and develop a pinkish hue. Keep an eye on these visual cues to avoid overcooking and make certain of ideal texture. Additionally, understanding the conflict resolution skills involved in cooking can help you manage timing precisely and prevent overcooking.
Optimal Cooking Duration
To achieve perfectly cooked shrimp, it’s vital to understand the ideal cooking duration. Generally, shrimp cook quickly, usually in 2 to 3 minutes per side, depending on size. Overcooking leads to tough, rubbery results, so keep a close eye. When seasoning your shrimp, add options like garlic, lemon, or herbs during the last minute of cooking for flavor. Proper storage tips are necessary too; store raw shrimp in the coldest part of your fridge and cook within 1-2 days to maintain freshness. Cooking times may vary slightly based on size, so adjust accordingly. Remember, shrimp are done when they turn pink and curl into a loose “C” shape. Monitoring cooking time ensures tender, flavorful results every time. Additionally, being mindful of storage and freshness helps prevent overcooking and ensures optimal texture and flavor.
Visual Cues for Doneness
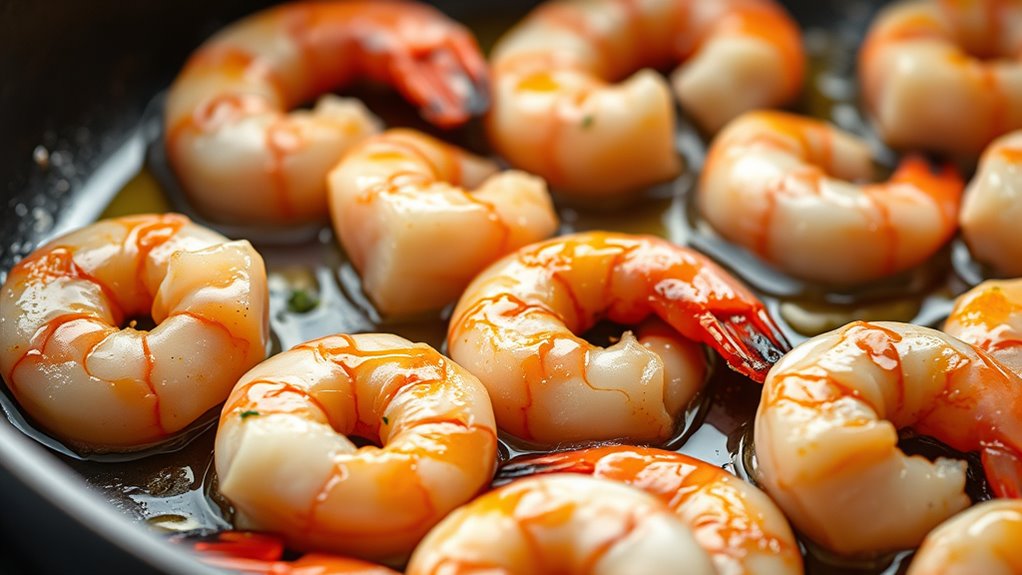
When shrimp are nearing the end of their cooking time, their appearance provides clear visual clues that they are done. You’ll notice a color change from translucent gray to opaque pink or coral. This color shift indicates they’ve cooked through. Additionally, size shrinkage is a key cue; properly cooked shrimp will slightly contract, becoming firmer and smaller. Be cautious—overcooked shrimp turn rubbery and lose their delicate texture. Keep an eye on these visual cues: the shrimp should be uniformly pink with no grayish areas, and they’ll curl into a loose C-shape rather than an O. Properly cooked shrimp also exhibit a consistent texture, indicating even cooking throughout. Using these signs helps you avoid overcooking, ensuring your shrimp stay tender and flavorful. Trust these visual cues to achieve perfect doneness every time.
Using Visual Cues to Determine Doneness
You can tell shrimp are perfectly cooked by paying close attention to their appearance. As they cook, their color change from translucent gray to opaque pink and white is a key indicator. Once the shrimp turn a uniform pink with bright red tails, they’re usually done. Also, observe their curling shape; properly cooked shrimp curl into a loose “C” shape. If they form a tight “O,” they’ve likely overcooked. Overly curled or shriveled shrimp indicate they’ve been on the heat too long. Conversely, shrimp that are still translucent or loosely curled need more cooking time. Using these visual cues helps you avoid overcooking while ensuring your shrimp are tender, juicy, and delicious. Focus on color and shape for perfect results every time. Additionally, understanding the importance of cooking time and temperature can help you achieve consistent doneness.
The Importance of Proper Temperature Control

Maintaining proper temperature control is essential for cooking shrimp perfectly, as it directly influences their texture and doneness. When you control the heat, you prevent overcooking and keep the shrimp tender and juicy. This is also the best time to apply seasoning techniques, ensuring flavors don’t get lost or become bitter from high heat. Proper temperature management helps you achieve a professional plating presentation, making your dish look as good as it tastes. Keep these tips in mind:
- Use a medium-high heat for even cooking
- Avoid overcrowding the pan to prevent temperature drops
- Monitor heat levels during cooking process
- Adjust temperature as needed for consistent results
- Rest shrimp briefly before plating for better presentation
- Understanding Kia Tuning concepts such as ECU remapping can inspire you to fine-tune your kitchen equipment for optimal performance.
Controlling temperature guarantees delicious, visually appealing shrimp every time.
How to Use a Timer for Accurate Cooking

Using a timer is one of the simplest ways to guarantee your shrimp are cooked perfectly every time. Set your timer based on the size and thickness of your shrimp—smaller shrimp need less time, around 2-3 minutes, while larger ones may need up to 4-5 minutes. This prevents overcooking and ensures a tender texture. When preparing shrimp, consider your seasoning techniques; adding salt or marinade can influence cooking time slightly. Also, proper shrimp storage before cooking—keeping them cold and refrigerated—helps maintain freshness and even cooking. Once your timer goes off, check for doneness by ensuring the shrimp turn pink and opaque. Using a timer keeps you precise, minimizes guesswork, and helps you achieve consistently perfect results every time. Additionally, understanding the appropriate cooking methods can further improve your shrimp dishes.
Techniques for Sautéing Shrimp Perfectly

To sauté shrimp perfectly, you need to focus on proper heat levels and timing. Using the right pan helps guarantee even cooking and prevents sticking. Mastering these techniques will give you tender, juicy shrimp every time.
Proper Heat Levels
Getting the heat just right is crucial when sautéing shrimp to prevent overcooking and guarantee they stay tender. Too high, and they’ll seize up; too low, and they’ll turn rubbery. Aim for medium-high heat to develop a good sear without overdoing it. Keep the pan hot enough to sizzle when you add the shrimp, but not so hot that spices burn quickly. Experiment with spice combinations to enhance flavor without sacrificing tenderness. Use proper plating techniques to showcase the perfectly cooked shrimp, highlighting their color and texture. Remember, consistent heat ensures even cooking, so avoid frequently adjusting the burner. With the right heat, you can create a delicious dish that balances flavor, texture, and presentation seamlessly. Maintain steady medium-high heat, preheat your pan thoroughly, add oil just before cooking, and keep spices from burning by timing their addition. Adjust heat as needed for even cooking. Controlling heat levels is essential for achieving the perfect texture and flavor in sautéed shrimp.
Timing for Perfect Texture
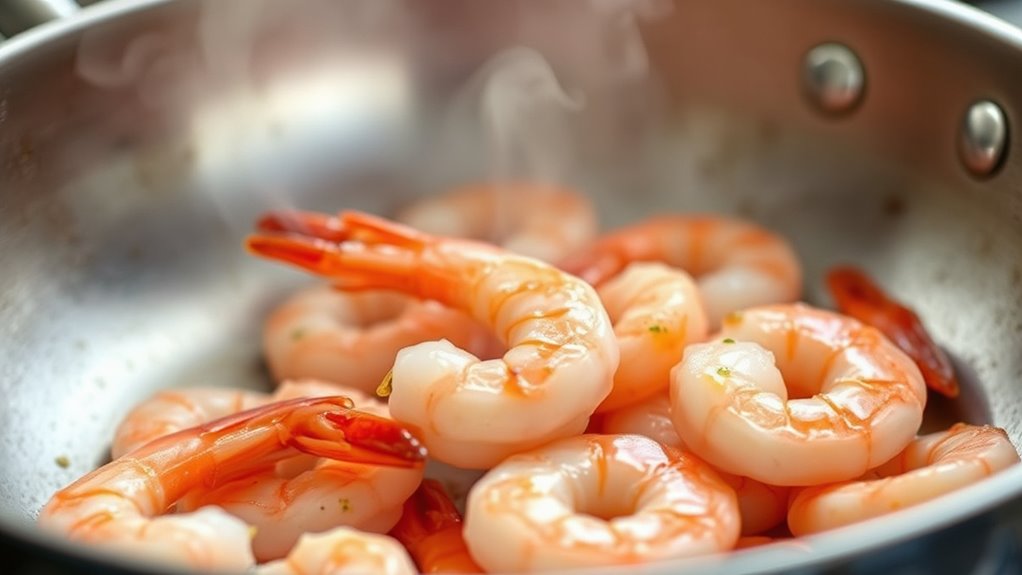
Timing is key to achieving perfectly cooked shrimp with a tender, juicy texture. You want to cook shrimp just until they turn opaque and firm—usually about 2 to 3 minutes per side. Keep an eye on their color and texture, as overcooking leads to dryness. When sautéing, consider your seasoning options; simple salt and pepper work well, but herbs and spices can enhance flavor without adding extra cooking time. Proper shrimp storage guarantees freshness, which affects how quickly you need to cook them. Use shrimp that are well-chilled and store them properly before cooking. Remember, the moment they turn pink and opaque, it’s time to remove them from heat. Timing your cook precisely guarantees succulent shrimp every time. Monitoring the freshness and quality of your shrimp can also prevent overcooking and ensure the best texture by checking for freshness.
Choosing the Right Pan
Choosing the right pan can make all the difference in achieving perfectly sautéed shrimp. Your pan selection impacts heat distribution and ease of cooking, especially when using non-stick surfaces. A good sauté pan should have sloped sides for easy tossing and enough surface area for even cooking. Non-stick surfaces prevent shrimp from sticking and tear, allowing for quick, gentle cooking. Opt for a pan that heats evenly and responds well to temperature changes. Avoid overly thin pans that can cause hot spots or warping. Additionally, selecting a diverse design can enhance your cooking experience and match your kitchen decor.
Grilling Shrimp Without Overcooking
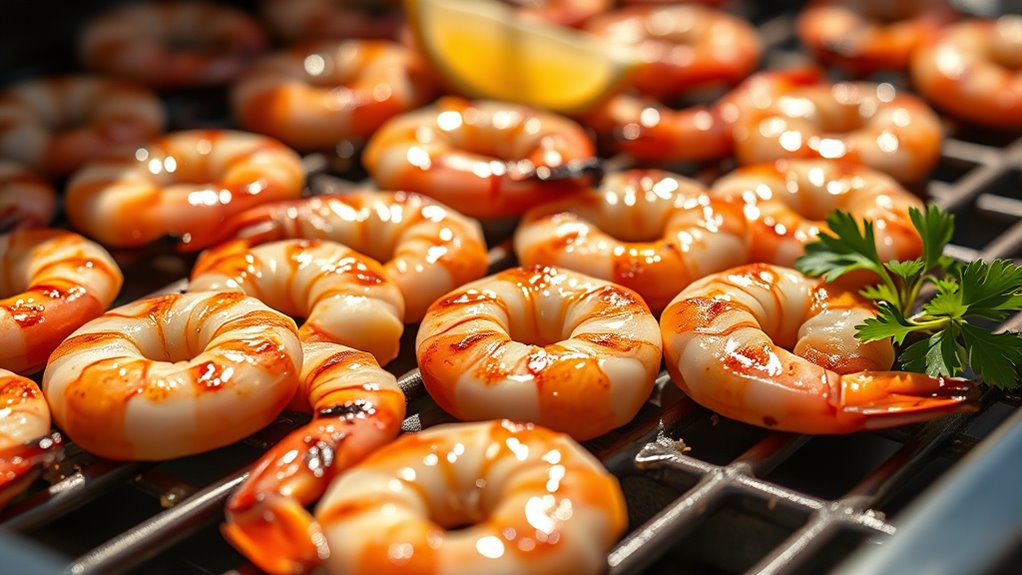
To grill shrimp perfectly, you need to pay close attention to the cooking process, as overdoing it quickly turns tender shrimp into rubbery, unappetizing bites. Start by preheating your grill to medium-high heat and oil the grates to prevent sticking. Shrimp cook fast, so grill them for about 2-3 minutes per side, until they turn pink and opaque. Experiment with seasoning variations—try lemon, garlic, or spicy marinades—to enhance flavor without overcooking. Proper plating techniques also matter; arrange the shrimp attractively on a platter, perhaps garnished with herbs or citrus slices, to elevate presentation. Keep a close eye during grilling, and remove the shrimp promptly once they reach the right doneness to ensure juicy, flavorful results.
Boiling Shrimp to Juicy Perfection
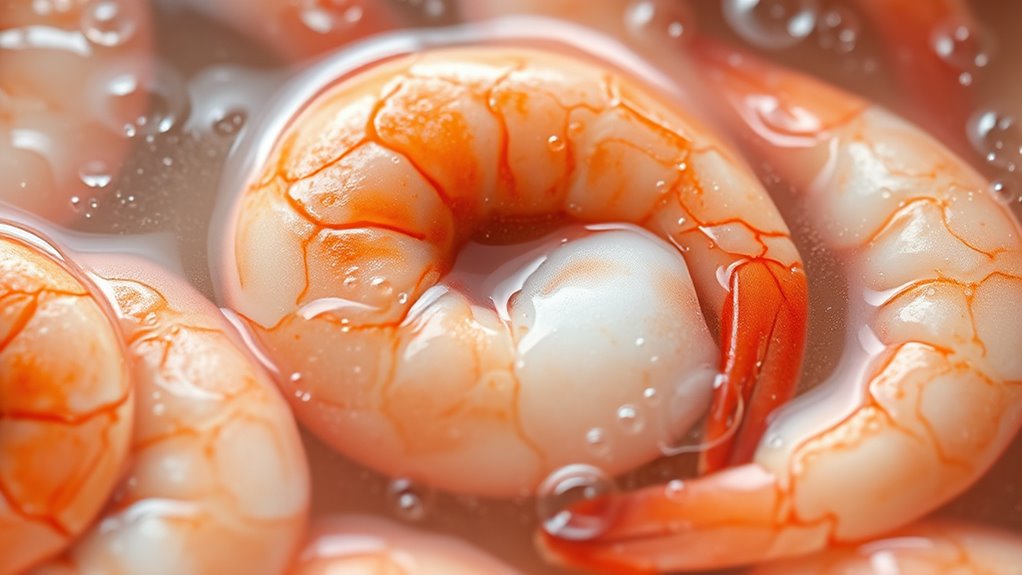
To boil shrimp perfectly, you need to get the timing just right, usually around 2-3 minutes once the water boils. Keep the temperature steady—don’t let it spike—and consider whether fresh or frozen shrimp will give you the best results. Knowing these key points helps make sure your shrimp stay juicy and tender every time.
Optimal Boiling Time
When boiling shrimp, timing is everything to guarantee they come out juicy and tender. Typically, 2-3 minutes after the water returns to a boil is ideal. Overcooking leads to tough, rubbery shrimp, so keep a close eye. To enhance flavor, add seafood seasoning to the boiling water, but avoid overdoing it. Proper shrimp storage beforehand ensures freshness and prevents mushiness.
Consider these tips:
- Use a timer to monitor boiling time precisely
- Test one shrimp for doneness rather than relying solely on time
- Keep shrimp submerged and evenly spaced
- Remove shrimp promptly once they turn pink and opaque
- Rinse with cold water to stop cooking
Mastering ideal boiling time ensures juicy, flavorful shrimp every time.
Temperature Control Tips
Controlling the temperature during boiling is vital for achieving juicy, tender shrimp. Keep the water at a gentle simmer rather than a rolling boil to prevent overcooking. Use seasoning techniques like adding herbs, spices, or lemon slices to infuse flavor without raising the temperature too high. Proper shrimp storage is also essential; keep shrimp cold until boiling to maintain freshness and prevent bacterial growth. When boiling, avoid overcrowding the pot, which can cause uneven cooking and temperature drops. Use a thermometer if needed to guarantee water stays around 190-200°F. Adjust the heat as necessary, maintaining a steady simmer. This gentle temperature control helps the shrimp cook evenly, retain moisture, and absorb seasonings effectively.
Fresh vs. Frozen Shrimp
Whether you’re using fresh or frozen shrimp, achieving juicy, tender results hinges on proper preparation and cooking techniques. Fresh shrimp often have a more delicate flavor and should be cooked promptly to preserve their texture. Frozen shrimp are convenient and can be just as flavorful if properly thawed, but seasonal variations may influence their taste and availability. When boiling, consider flavor pairings like lemon, garlic, or herbs to enhance the dish. Keep in mind that frozen shrimp tend to cook slightly faster due to their moisture content. To maximize tenderness, avoid overcooking regardless of the type. Proper seasoning, careful timing, and understanding seasonal variations can make all the difference in delivering perfectly cooked, juicy shrimp every time.
- Thaw frozen shrimp properly before boiling
- Use seasonings that complement seasonal flavors
- Incorporate herbs like parsley or dill for flavor pairings
- Adjust cooking time based on shrimp size and freshness
- Add lemon or garlic to the boiling water for extra flavor
Resting and Serving Your Shrimp Correctly

To make certain your shrimp stay tender and flavorful, it’s important to rest them briefly before serving. Resting allows juices to redistribute, keeping each bite juicy. For the best plating presentation, arrange your shrimp attractively on a platter. Consider marinating techniques beforehand to enhance flavor and color. Use this table to help you serve shrimp perfectly:
| Step | Action | Tips |
|---|---|---|
| Resting period | Let shrimp sit 2-3 minutes | Keeps them moist and tender |
| Marinating | Briefly marinate before cooking | Use citrus or herbs for flavor |
| Plating | Neatly arrange on plate | Use garnishes for visual appeal |
| Serving | Serve immediately | Maintain warmth for best taste |
| Presentation | Add color contrast | Use fresh herbs or lemon slices |
Proper resting and presentation elevate your dish, impressing everyone at the table.
Common Mistakes to Avoid When Cooking Shrimp

One common mistake when cooking shrimp is overcooking them, which causes the meat to become tough and rubbery. To avoid this, pay attention to timing and temperature. Over-marinating shrimp or using heavy shrimp seasoning can also lead to uneven cooking or overpower the delicate flavor. Here are some mistakes to watch out for:
- Using too much shrimp seasoning, which can mask flavor and affect texture
- Marinating shrimp for too long, making them mushy
- Cooking at excessively high temperatures, risking overcooking quickly
- Not removing shells properly, leading to uneven heat distribution
- Ignoring the importance of quick cooking methods like sautéing or boiling
Frequently Asked Questions
Can I Cook Shrimp From Frozen Without Overcooking?
You can cook shrimp straight from frozen without overcooking if you use proper defrosting methods and cooking temperature. Thaw shrimp quickly in cold water or a microwave, or cook directly from frozen by increasing cooking time slightly. Keep the heat moderate, around medium-high, to avoid overcooking. Watch for pink color and firm texture, and remove shrimp promptly once cooked. This way, you’ll get tender, perfectly cooked shrimp every time.
What Are the Best Cookware Options for Preventing Overcooking?
To prevent overcooking shrimp, choose the right cookware. Non-stick pans are great because they allow you to control heat easily and prevent sticking, giving you better control over cooking time. Stainless steel cookware heats evenly, reducing hot spots that can cause overcooking. Both options help you monitor and adjust cooking quickly, ensuring your shrimp stay tender and juicy. Use these cookware types for precise control and perfect results every time.
How Does Shrimp Size Affect Cooking Time and Doneness?
Shrimp size influences cooking time and doneness, making it essential to monitor carefully. Larger shrimp require longer cooking to reach perfect doneness, while smaller ones cook quickly and can overcook easily. You should adjust your cooking time based on shrimp size, ensuring you don’t undercook or overcook. By paying attention to shrimp size, you can achieve tender, juicy shrimp every time, avoiding the pitfalls of over- or undercooking.
Are There Specific Seasonings That Help Prevent Overcooking?
When considering seasoning techniques, certain spices like paprika, garlic powder, and lemon zest can enhance flavor without risking overcooking. These seasonings don’t affect cooking time but add flavor, making your shrimp taste better even if slightly overdone. To prevent overcooking, focus on timing and heat control. Using flavorful seasonings helps with flavor enhancement, ensuring your shrimp remains delicious while you master perfect doneness.
How Can I Tell if Cooked Shrimp Is Underdone or Overdone Visually?
Spotting shrimp’s status starts with subtle visual cues. When cooked just right, shrimp turns from translucent gray to an opaque pinkish-white, with a slight curl. Overdone shrimp becomes firm, rubbery, and develops a dull, chalky color. Understood, the shrimp remains translucent and soft, hinting it needs more time. Pay close attention to color changes and texture—these visual cues reveal whether your shrimp is perfectly cooked or needs a bit more love.
Conclusion
Cooking shrimp is like dancing—timing and precision make all the difference. I once overcooked a batch, turning tender shrimp into rubbery regret. But with a little attention to visual cues and temperature, you’ll master it every time. Think of your shrimp as a delicate melody—when played just right, it hits all the notes. Keep practicing, stay attentive, and you’ll serve up perfectly cooked shrimp that everyone will savor.