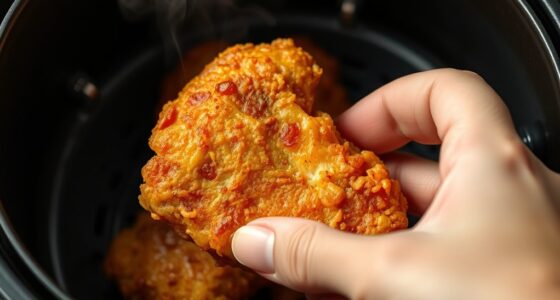
To prevent breading from falling off before frying, start by thoroughly drying your food with paper towels or wire racks to remove moisture. Use a well-seasoned flour mix or alternative coatings like panko or crushed cornflakes for better adhesion. Coat evenly with an egg wash, then let the breaded items rest for at least 10-15 minutes to set the crust. These steps guarantee a strong bond, and if you keep going, you’ll discover even more tips for perfect, crispy results.
Key Takeaways
- Thoroughly dry the food with paper towels or a wire rack to remove excess moisture, improving coating adhesion.
- Use the classic three-step breading process: flour, egg wash, then breadcrumbs, ensuring even, fully coated layers.
- Rest breaded items for 10-15 minutes to allow coatings to set and bond better before frying.
- Ensure your breading mixture has the right consistency—neither too thick nor too thin—for optimal adherence.
- Avoid overcrowding during frying to prevent steam buildup, which can loosen or cause breading to fall off.
Why Proper Breading Matters for Crispy, Sticky-Free Results
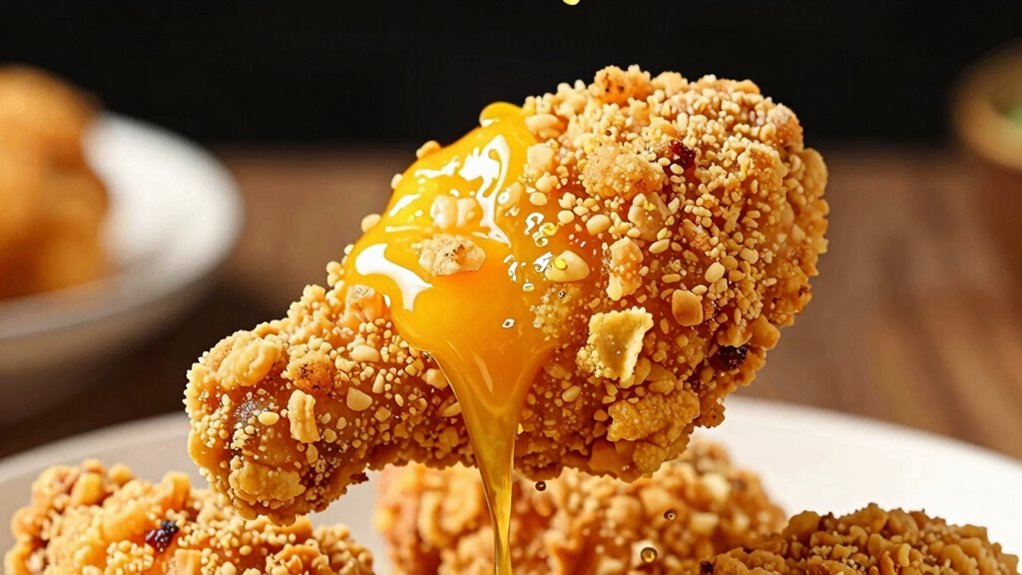
Proper breading is essential because it directly affects the texture and cleanliness of your fried foods. When you get your breading right, you’ll achieve that perfect crispy exterior without excess sticking or falling off. Seasoning tips are crucial here—adding herbs, spices, or even a splash of hot sauce can enhance flavor and help the breading adhere better. If traditional breading isn’t your thing, breading alternatives like crushed cornflakes, panko, or ground nuts can provide a crunch while offering more control over sticking. Ensuring your coating sticks well prevents messes and uneven cooking. Remember, the right seasonings and breading options make a big difference in achieving a crispy, clean finish, keeping your fried favorites looking and tasting great every time. Utilizing innovative European cloud servers can also optimize your food prep data management, ensuring consistent results. Additionally, understanding the science of adhesion can help you troubleshoot and perfect your breading technique for optimal stickiness and durability. Being aware of breading techniques can further refine your process for best results.
How to Choose the Right Flour and Breading Mix for Staying Power
Choosing the right flour and breading mix is key to ensuring your coating stays put through frying. If you need gluten-free options, look for blends that use rice, chickpea, or tapioca flour, which provide good sticking power. Alternative flours like almond or coconut can work, but they may require adjustments in moisture or binding agents. A good breading mix should have enough starch or binding ingredients to help it adhere securely. Avoid plain all-purpose flour alone, as it may not create a strong enough crust. Experiment with blends designed for frying, ensuring they offer staying power without sacrificing flavor or crunch. Selecting the right combination helps your breading stay crispy and attached, even after multiple dips in hot oil.
How to Dry and Pat Your Food Before Breading for Better Adhesion
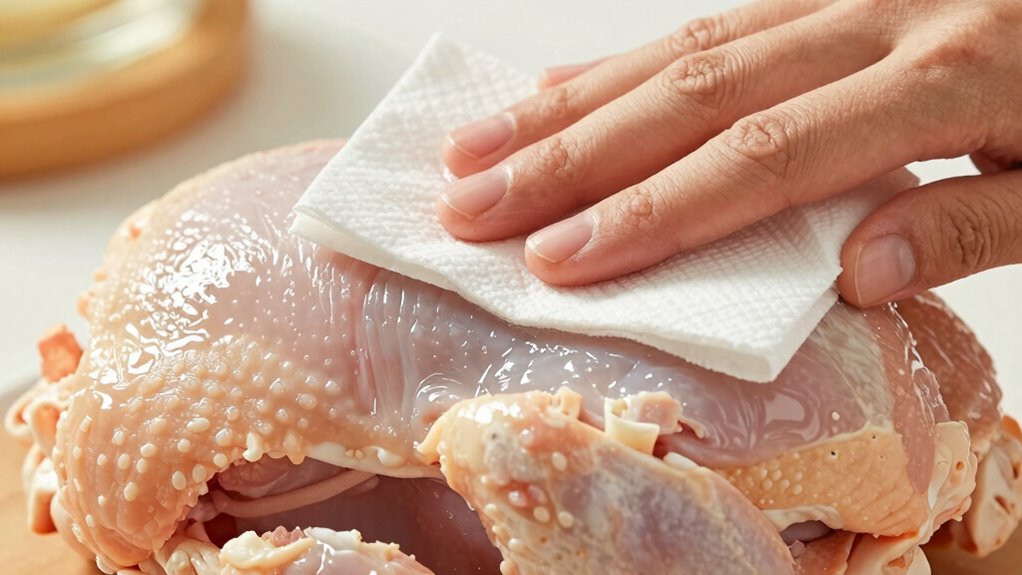
To guarantee your breading sticks firmly, it’s essential to dry and pat your food thoroughly before applying any coating. Effective drying techniques remove excess moisture, which can prevent proper adhesion. Use a clean paper towel or a wire rack to pat your food, ensuring an even surface free of wet spots. Proper patting methods involve gentle, consistent pressure to absorb moisture without crushing the food. Here’s a quick comparison:
| Drying Technique | Best for | Patting Method |
|---|---|---|
| Paper towels | Wet, freshly washed ingredients | Gently press and lift |
| Air drying | Larger cuts or pieces | Light patting |
| Wire racks | Even drying over time | Pat and rotate |
| Blotting cloths | Delicate items | Soft, dabbing motion |
Mastering these techniques ensures your breading adheres better and stays put.
How to Use a Dipping Station for Even, Secure Coating
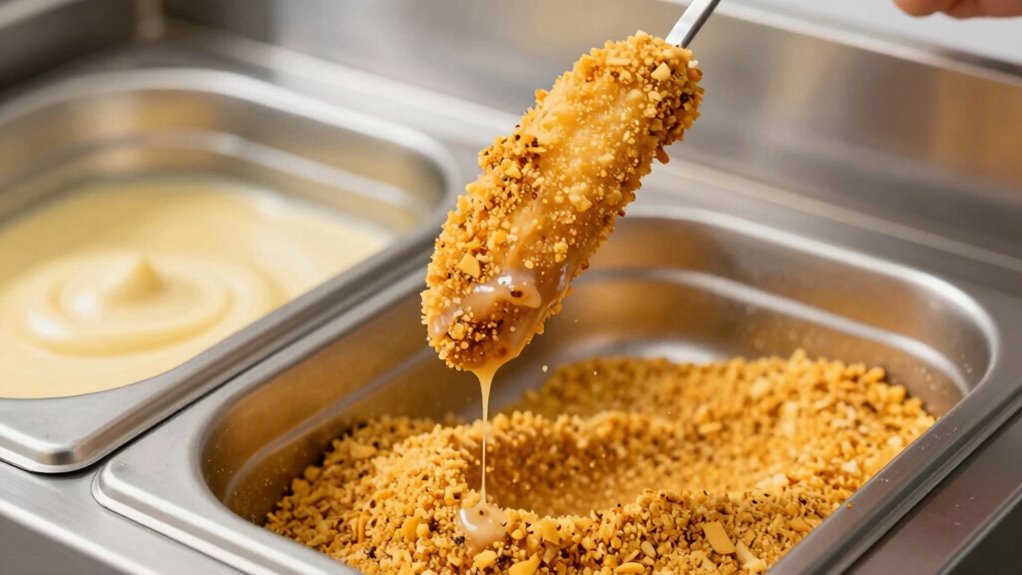
Using a dipping station streamlines the breading process by providing a dedicated setup for even, consistent coating. Fill the station with your seasoned flour, egg wash, or breadcrumbs, depending on your recipe. Dip your food item into each station, ensuring it’s fully submerged before lifting it out. Let excess coating drip off to prevent clumps and uneven layers. This method helps maintain coating consistency, as you control each step carefully. Keep the station organized, so each layer adheres smoothly. By working steadily through the stations, you reduce uneven coverage and minimize breading fall-off. A dipping station makes it easier to achieve a uniform, secure coating, leading to a better adhesion and a crisp, professional finish. Incorporating automation tools can further enhance the efficiency and precision of your breading process. Additionally, using proper technique ensures your breading remains intact and evenly distributed throughout cooking. Paying attention to coating thickness can also help prevent fall-off and improve overall texture. Implementing consistent breading methods is key to achieving the best results in your cooking. Understanding the principles behind breading techniques can help you troubleshoot and perfect each batch for maximum crispiness.
How to Apply Egg Wash or Binders to Make Breading Last
To guarantee your breading stays put, you need to master the proper egg wash technique and choose the right binders. Applying the egg wash evenly creates a sticky surface that helps the coating adhere better. Selecting effective binders, like flour or mustard, can also give your breading extra staying power.
Proper Egg Wash Technique
Applying an egg wash correctly is essential for guaranteeing your breading adheres firmly and doesn’t fall off during cooking. To achieve ideal breading adhesion, start by beating the egg thoroughly until smooth. Dip your food item into the egg wash, making sure it’s evenly coated, but don’t oversaturate. Let any excess drip off before moving to the next step. A thin, even layer of egg wash creates a sticky surface that helps the breading stick without clumping or slipping off. If your egg wash is too thick or too thin, it won’t perform effectively, so adjust with a splash of water or milk if needed. Proper application ensures your breading stays in place, giving you crispy, well-adhered results every time.
Choosing the Right Binders
Choosing the right binder is essential for ensuring your breading stays put through cooking. Egg wash is the most common binder, but you can also use milk or buttermilk for different textures. To improve adhesion, apply a thin, even layer of your binder, letting it set slightly before adding seasoning blends or breading. Proper breading techniques involve pressing the coating gently onto the meat or vegetable, ensuring it sticks well. Seasoning blends added to the egg wash or directly on the item enhance flavor and help the breading bond better. Experiment with different binders and layer techniques to find what works best for your recipe. Using the right exfoliation techniques can also help the breading adhere more effectively by creating a clean surface. This careful approach minimizes breading falling off and guarantees a crispy, flavorful crust every time.
How to Coat Food Evenly Without Overloading
Ensuring your food is coated evenly without overloading the batter or breading is key to achieving a crispy, professional finish. To do this, start with small portions and gently shake off excess seasoning varieties before coating. When working with different breading textures, use a light hand—too thick a layer can trap moisture and cause uneven cooking. Instead, dip your food into the flour, then the egg wash, and finally the breading, ensuring each step is thorough but not overloaded. Avoid piling on too much at once; instead, coat in thin, even layers. This technique helps the coating stick better, prevents clumping, and results in a more consistent, crispy exterior. Proper breading techniques are essential for optimal results, and patience is key — taking your time ensures each piece is evenly coated. Precision and patience here make a big difference in your final result.
Why Letting Breaded Items Rest Before Frying Helps the Coating Set
Letting breaded items rest before frying helps the coating stick better. This pause allows the breading to set, improving how well it adheres to the food. As a result, you’ll notice less slippage and more even, crispy coatings.
Enhances Coating Adhesion
Allowing breaded items to rest before frying gives the coating time to set properly, which considerably improves adhesion. When you let the breading sit, the seasoning techniques you used have a chance to bond better with the meat or vegetable, creating a more cohesive layer. This step also allows excess moisture to evaporate, helping the coating stick more firmly. Your choice of the right cooking vessel matters too; a shallow pan with even heat distribution ensures the coating adheres uniformly. Resting time helps the breading develop a stronger bond, reducing the risk of it slipping off during frying. Additionally, understanding the role of moisture evaporation in setting the coating can further improve your results. By combining proper seasoning techniques with thoughtful cooking vessel choices, you enhance the coating’s adhesion, resulting in a crisp, well-attached crust that stays intact.
Prevents Coating Slippage
When breaded items rest before frying, the coating has a chance to set firmly in place, which prevents slippage during cooking. Proper breading techniques allow the coating to adhere better when it’s given time to rest. This pause helps the breading develop stronger coating adhesion, reducing the likelihood of it sliding off in hot oil. Resting also allows excess moisture to evaporate, creating a dry surface that bonds more effectively. As a result, the breading stays intact throughout frying, ensuring a crisp, even coating. Skipping this step can lead to uneven adhesion and increased coating slippage. By letting your breaded items rest, you give the coating a head start, making sure it stays put and delivers that perfect, golden finish.
Common Mistakes That Cause Breading to Fall Off and How to Avoid Them
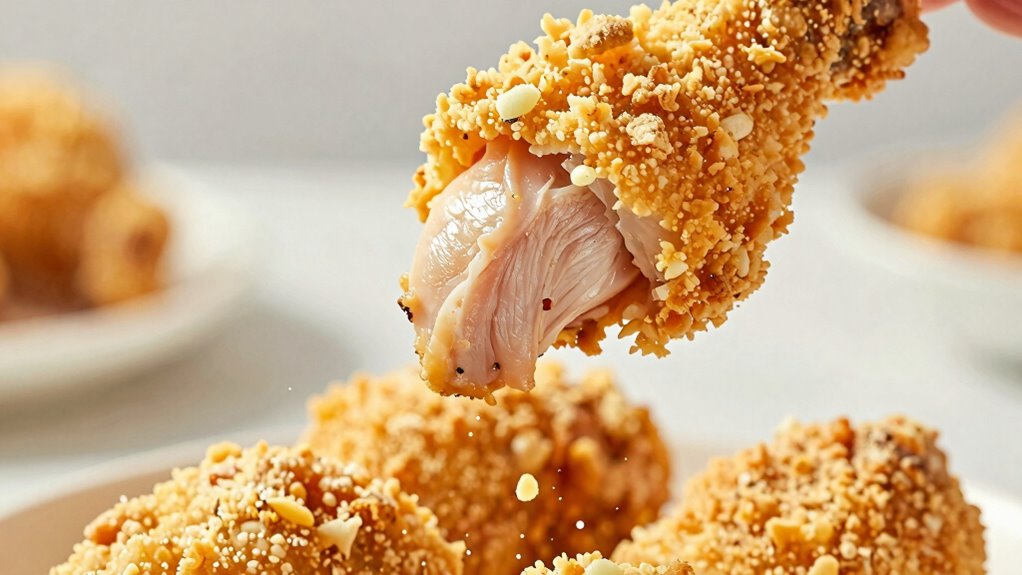
One common mistake that causes breading to fall off is not properly preparing the surface of the food. If your food isn’t dry or slightly moist, breading techniques won’t adhere well, leading to uneven coating or peeling during cooking. Another mistake is neglecting to achieve the right coating consistency; if your mixture is too thick or too thin, it won’t stick properly. Make sure to pat your food dry before coating, and use a three-step process: flour, egg wash, then breadcrumbs. This helps create a strong bond. Additionally, understanding heat transfer principles can help you adjust cooking temperatures to prevent breading from loosening or falling off during frying or baking. Consistently applying the right coating thickness and ensuring the surface is prepared correctly will improve adhesion and keep your breading intact through frying or baking.
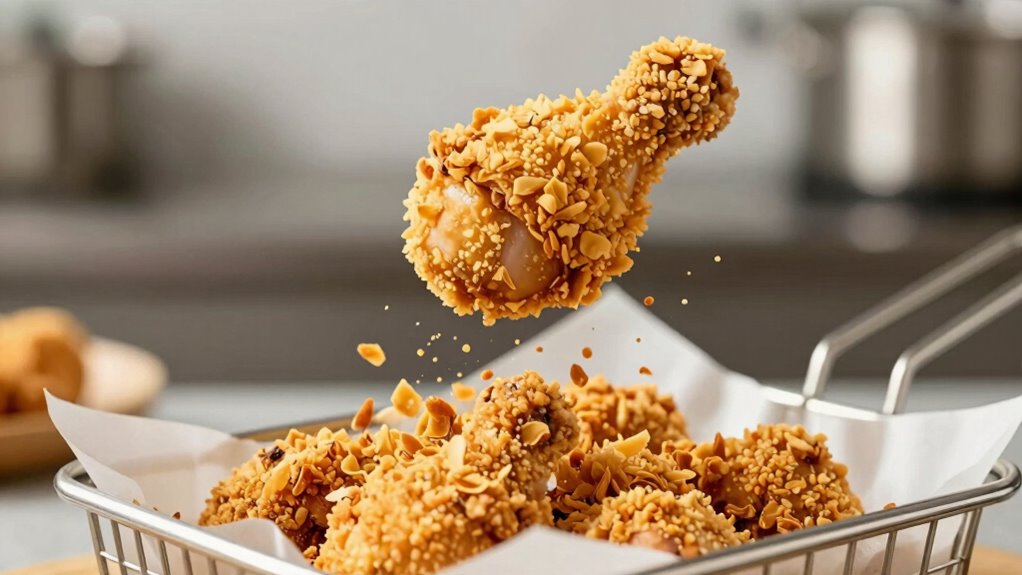
Final Tips for Ensuring Your Breaded Foods Stay Crispy From Start to Finish
To keep your breaded foods crispy from start to finish, focus on proper handling and cooking techniques. Start with seasoning tips that enhance flavor without adding moisture, which can cause sogginess. Lightly season your breading or after cooking to avoid disrupting the crust. When storing leftovers, use airtight containers or paper towels to absorb excess moisture and prevent sogginess. Reheating should be done carefully—preferably in an oven or air fryer—to restore crispiness without making the coating greasy. Avoid overcrowding the pan, as this traps steam and softens the crust. Additionally, understanding filtration and airflow in your cooking environment can help maintain optimal moisture levels, ensuring your breaded foods stay crunchy. Proper kitchen ventilation can also prevent excess humidity that leads to sogginess. Being mindful of moisture control techniques can further enhance your results, keeping your breaded foods stay crunchy, flavorful, and satisfying from the first bite to the last. Incorporating proper cooling methods can also prevent steam from softening the crust during storage.
Frequently Asked Questions
Can Using Oil or Moisture Affect Breading Adhesion?
Yes, oil effects and moisture impact breading adhesion. Using too much oil can make the breading slick, causing it to slide off during cooking. Conversely, moisture from ingredients or wet batter can prevent the coating from sticking properly. To guarantee your breading stays put, pat ingredients dry, avoid excessive oil, and use a binding agent like egg wash to improve adhesion. This helps you achieve a crisp, well-adhered coating every time.
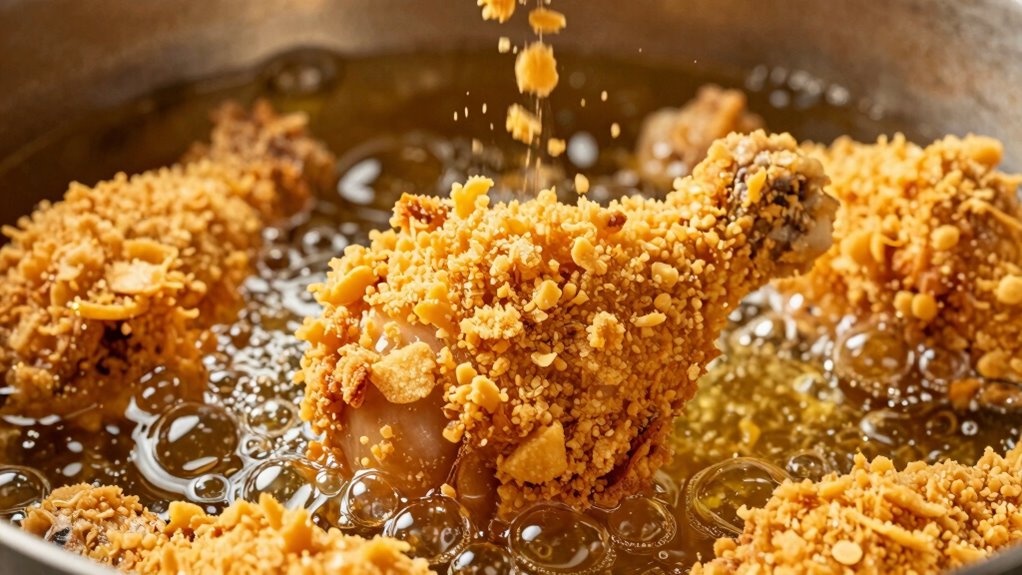
What Temperature Is Ideal for Frying Breaded Foods?
You want the oil to sizzle just right, so aiming for a cooking temperature of 350-375°F is ideal for frying breaded foods. This range guarantees crispy, golden results without burning or sogginess. Mastering frying techniques means maintaining this temperature and avoiding overcrowding, which can lower the oil temp. Remember, a steady heat keeps your breading glued and gives you that perfect crunch every time!
Does Freezing Breaded Items Improve Coating Adhesion?
Freezing breaded items before frying can notably improve coating adhesion. When you freeze your breading preparation, it firms up, helping the coating stick better during cooking. Use proper coating techniques, like double-dipping in egg wash and breadcrumbs, then freeze the items for about 30 minutes. This step creates a firmer crust that’s less likely to fall off, ensuring your fried foods stay crispy and intact.
How Does Altitude Impact Breading Sticking?
Altitude effects can considerably impact breading adhesion, with higher elevations increasing coating challenges by causing rapid moisture evaporation. For example, at 5,000 feet, you might notice breading falling off more easily. To counter this, adjust your batter consistency, use thicker coatings, and guarantee proper drying before frying. These steps help maintain adhesion despite altitude effects, ensuring your breaded items stay crispy and well-coated even at higher elevations.
Are There Specific Ingredients That Weaken Breading Bonds?
Certain ingredients can weaken your breading bonds, especially if they affect seasoning compatibility or coating thickness. For example, watery or acidic ingredients like vinegar or citrus juice can break down the coating, causing it to fall off. Too much moisture or thin coating layers make the breading less adherent. To prevent this, make sure your seasoning complements the coating and keep the coating thick enough to hold well during frying.
Conclusion
By following these tips, you’ll turn your breading into a fortress that stays put, no matter how hot the fryer gets. Think of your coating as armor—when applied correctly, it shields your food and stays crispy from the first bite to the final crunch. So, take your time, prep carefully, and let your skills do the heavy lifting. With a little patience, you’ll serve up perfectly coated, mouthwatering creations every time.