
To get an accurate internal temperature, insert your thermometer into the meat’s thickest part, avoiding bones, fat, or edges. Make sure the probe is fully inside and centered for a reliable measure. Avoid contact with bones, which can skew results. Proper placement is key to preventing overcooking or undercooking. Keep practicing good technique, and if you continue exploring, you’ll discover more tips for perfect results every time.
Key Takeaways
- Insert the thermometer into the meat’s thickest part, avoiding bone, fat, or edges for an accurate reading.
- Ensure the probe is fully inserted, reaching the meat’s center without forcing, to measure true internal temperature.
- Keep the probe away from bones and cartilage, as they conduct heat differently and can skew results.
- For baked goods, insert into the center, avoiding icing layers, to check for proper doneness.
- Verify proper placement regularly and avoid contact with pan or grill surfaces to prevent false readings.

Alpha Grillers Meat Thermometer Digital – Instant Read Food Thermometer for Cooking & Grilling – Professional Kitchen Birthday Gifts for Men, Him, Dad, Husband, Boyfriend
- Fast Response Time: Reads temperature in 1-2 seconds
- Versatile Use: Suitable for grilling, baking, and more
- Easy to Read Display: Large backlit digital screen
As an affiliate, we earn on qualifying purchases.
As an affiliate, we earn on qualifying purchases.
Choosing the Right Spot for Meat Thermometers
When placing a meat thermometer, selecting the right spot is essential for accurate readings. You need to consider the meat’s thickness and where the temperature zones are most representative. For thicker cuts, aim for the center, where heat takes longer to penetrate, ensuring a true internal temperature. For thinner cuts, position the thermometer towards the middle or thickest part, avoiding edges that heat faster and can give false readings. Remember, the goal is to measure the meat’s core, where temperature changes are most consistent. Avoid the surface, fat, or bone, as these areas can distort your reading. By choosing a spot within the meat’s thickest part and relevant temperature zones, you’ll get a precise measurement, ensuring your meat is cooked safely and perfectly. Proper placement also helps you make the most of your airless paint sprayer by preventing over-application or uneven coating. Additionally, understanding how spiritual energy influences overall well-being can remind you to approach cooking and caring for yourself with mindfulness and balance. Being aware of the signs of spoilage can further help you determine the freshness and safety of meat and other ingredients.
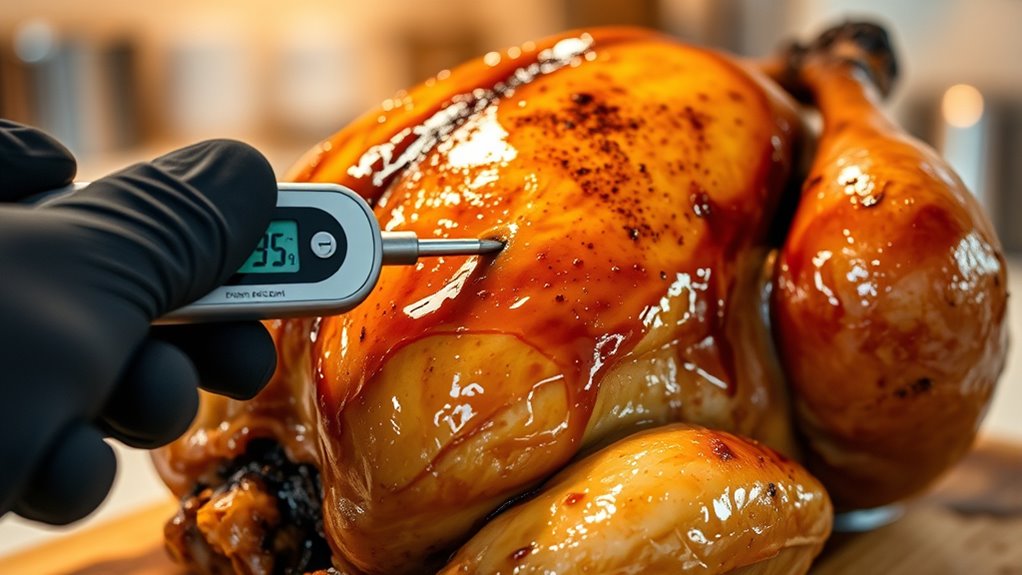
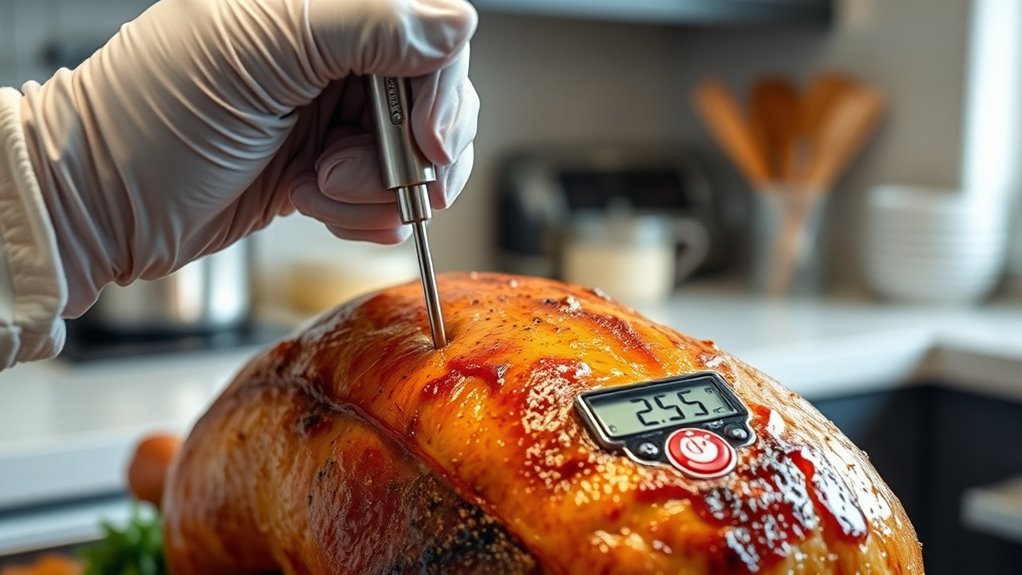
Inserting the Thermometer Into Poultry and Whole Roasts
When inserting the thermometer into poultry or a whole roast, make sure to position it correctly for an accurate reading. Keep the probe away from bones, as they can give false readings and affect your results. Proper technique guarantees you get an accurate temperature without damaging the meat. Using a reliable thermometer placement method ensures consistent and safe cooking outcomes. Additionally, choosing the appropriate headphone jack type for your device can improve audio quality and compatibility. Understanding the cost of electric bikes can help in selecting the right equipment for outdoor cooking adventures, such as portable electric grills or battery-powered appliances. For optimal results, consider the rustic decor elements to enhance the presentation and ambiance of your cooked dish. Being aware of Halloween celebrations around the world can inspire festive themes and decorations to elevate your holiday table presentation.
Proper Insertion Technique
Have you ever wondered if you’re inserting the thermometer correctly into poultry or whole roasts? Proper insertion technique is key to getting an accurate reading. First, focus on probe placement—insert the thermometer into the thickest part of the meat, avoiding any bones or fat. For best results, ensure the probe goes to the correct insertion depth, usually about halfway into the thickest section. Hold the thermometer steady and push it in until the tip is fully submerged, but don’t force it if resistance is met. This guarantees contact with the meat’s center and avoids false readings. Remember, consistent probe placement and correct depth are essential for an accurate internal temperature, helping you cook your poultry or roast to perfection. Incorporating vertical storage solutions can help keep your kitchen organized, making it easier to access tools like your thermometer when needed. Additionally, understanding the importance of Porsche Tuning principles can inspire you to optimize your cooking setup for better performance and precision. Proper temperature monitoring techniques are crucial for food safety and achieving the desired doneness. Using accurate thermometers ensures reliable readings every time, preventing undercooked or overcooked results.
Avoiding Bone Interference
To get an accurate temperature reading, it’s important to avoid bone interference when inserting your thermometer into poultry or whole roasts. Bones conduct heat differently than meat, which can give you a falsely high reading, compromising internal placement accuracy. To prevent this, aim for the thickest part of the meat, avoiding contact with bones.
| Tip | Explanation |
|---|---|
| Use the tip of the thermometer | Ensures precise internal placement without hitting bones |
| Insert at a slight angle | Helps avoid bones and reach the center of the meat |
| Check for resistance | If you feel resistance, you’re hitting bone—reposition |
| Confirm placement | Ensure the thermometer is in the muscle, not against bone |
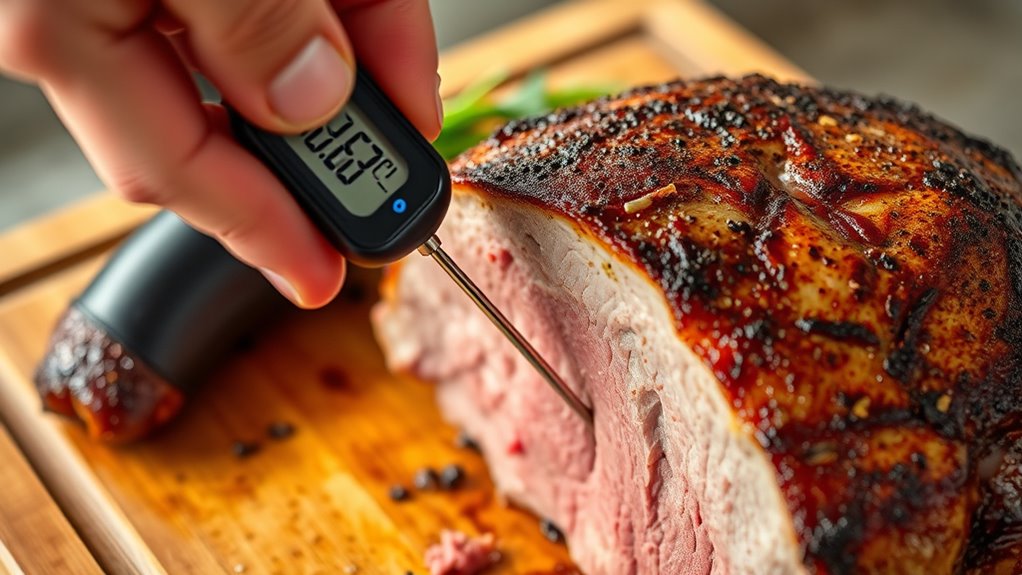
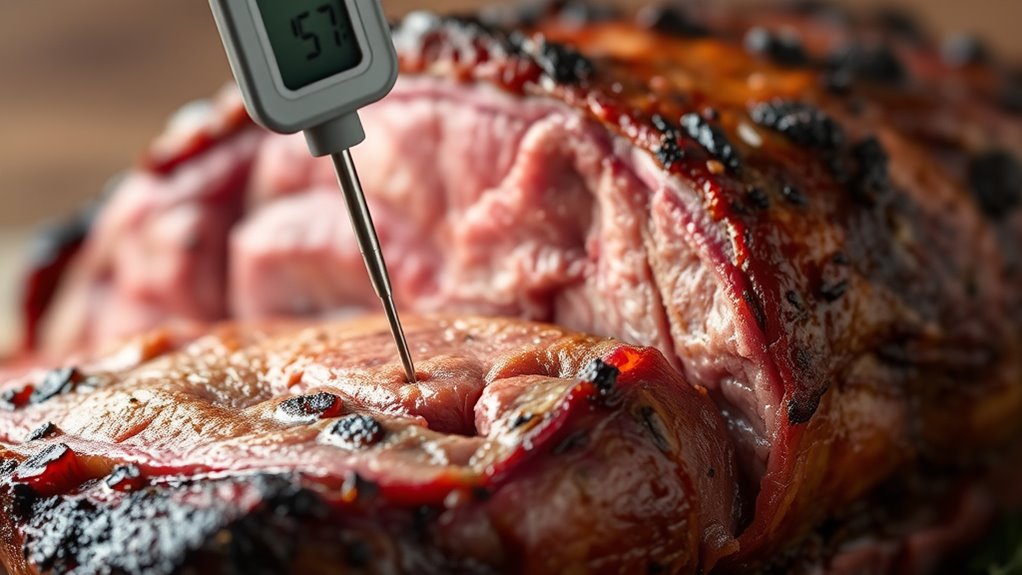
Proper Placement for Thick Cuts of Meat
When checking the temperature of thick cuts, insert the thermometer into the meat’s thickest part. Make certain you avoid touching any bones, as they can give an inaccurate reading. Proper placement ensures you get an accurate measure of the meat’s true temperature. Using a reliable meat thermometer can further improve the accuracy of your readings. Additionally, verifying the correct placement regularly helps maintain consistent and precise measurements. Proper placement also minimizes the risk of cross-contamination during testing. To ensure the meat reaches a safe temperature, consult recommended internal temperatures for different types of meat. Understanding contrast ratio can assist in visualizing how well the thermometer displays temperature differences, ensuring you interpret readings correctly.
Insert at Thickest Part
For thick cuts of meat, inserting the thermometer at the thickest part guarantees an accurate reading of the internal temperature. This area provides the best indicator of doneness because it reflects the meat’s overall temperature, especially across different meat thicknesses. Be sure to identify the thickest section before inserting the probe. Avoid placing the thermometer near the edges or fat, as these can give misleading readings. To verify accuracy, insert the probe into the center of the thickest part, avoiding temperature zones that might cook faster or slower. This way, you get a true measure of whether the meat has reached the desired internal temperature, ensuring safe and perfect results every time. Additionally, knowing the proper thermometer placement can help prevent overcooking or undercooking, ensuring optimal results. Proper meat temperature is essential for both food safety and quality. Understanding the thermal conductivity of meat can also improve your ability to judge doneness more precisely. Being aware of meat thickness can further assist in adjusting cooking times for consistent results. Incorporating AI-driven diagnostics in kitchen tools is also emerging as a way to enhance temperature accuracy.
Avoid Bone Contact
Avoid placing the thermometer directly against or touching the bone, as this can give a falsely high reading. Bone contact skews surface readings, making it seem like the meat is hotter than it actually is. To get an accurate internal temperature, insert the probe into the thickest part of the meat, avoiding contact with the bone. If the thermometer touches bone, the reading won’t reflect the true doneness of the meat. For thick cuts, keep the probe centered and away from any bone, cartilage, or fat pockets. This ensures you’re measuring the internal temperature accurately. Remember, surface readings or readings near bones won’t provide a reliable indicator of doneness. Proper placement helps you achieve perfect results and prevents overcooking or undercooking your meat. Utilizing proper placement techniques enhances the accuracy of your readings and ensures your meat is cooked to perfection.
Tips for Checking Baked Goods and Breads
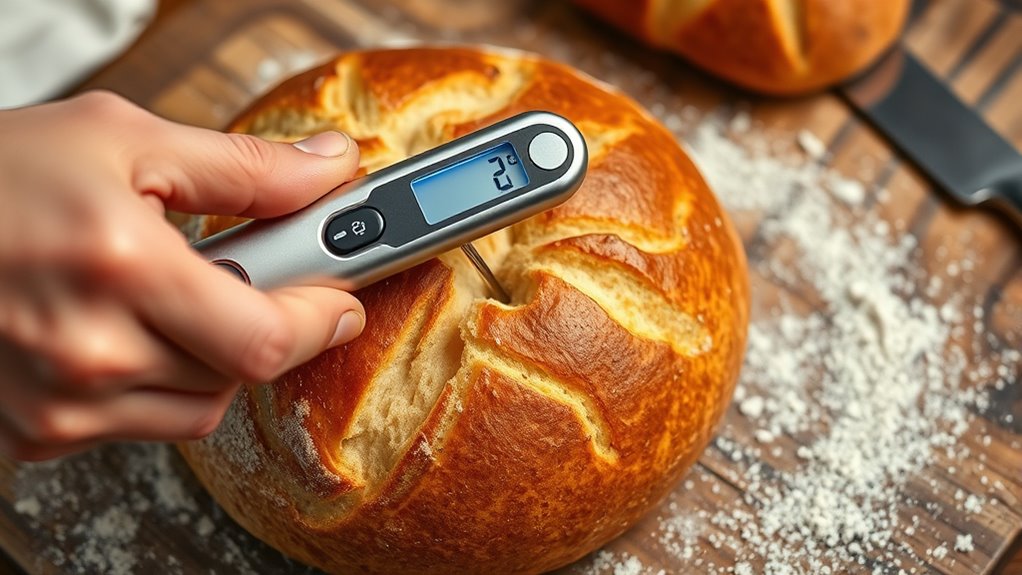
Checking baked goods and breads with a thermometer is essential to guarantee they’re perfectly cooked. To get accurate readings, insert the thermometer into the center of the loaf or cake, avoiding icing layers, which can interfere with temperature accuracy. For breads, ensure you insert the probe deep enough to reach the core; a read of 190-200°F indicates doneness. If your baked goods have icing, wait until they’ve cooled slightly to prevent melting or false readings. Remember, oven temperature affects baking time, so adjust accordingly, and use the thermometer to verify doneness rather than relying solely on visual cues. Proper placement and monitoring ensure your baked goods are neither undercooked nor overdone, resulting in ideal texture and flavor every time.
Avoiding Common Placement Mistakes
Placing your thermometer correctly is key to getting accurate readings, but many people make simple mistakes that can throw off the results. Incorrect placement can lead to unsafe meat temperature readings, risking undercooked meat and foodborne illnesses. To avoid these pitfalls, keep these points in mind:
- Insert the thermometer into the thickest part of the meat, away from bone or fat.
- Don’t touch the pan or grill surface, which can give false readings.
- Avoid checking near the edges, where temperature varies more.
- Ensure your thermometer is fully inserted for an accurate internal temp.
- Use a clean thermometer each time to prevent cross-contamination.
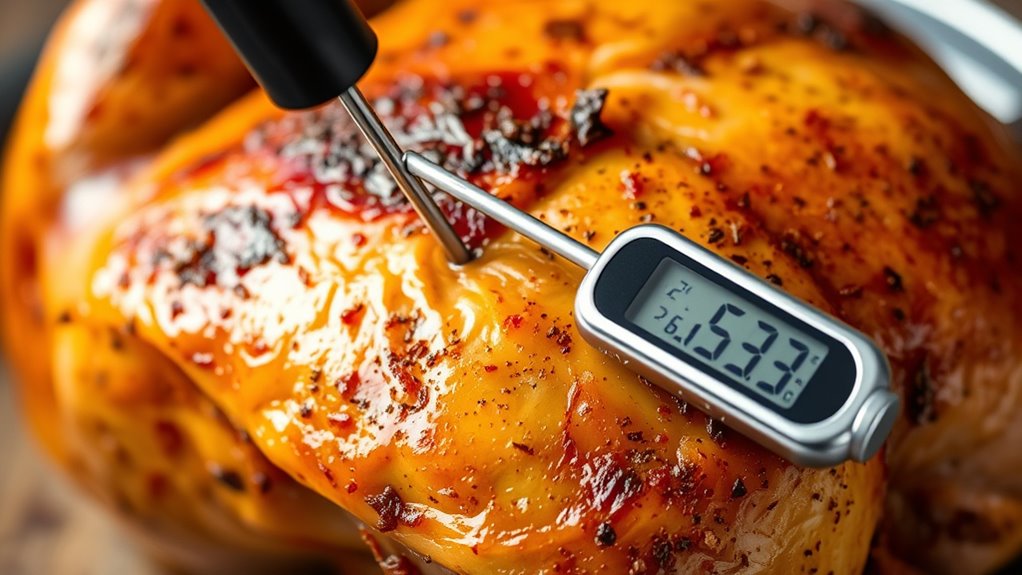
Using a Thermometer in Ground Meats and Burgers
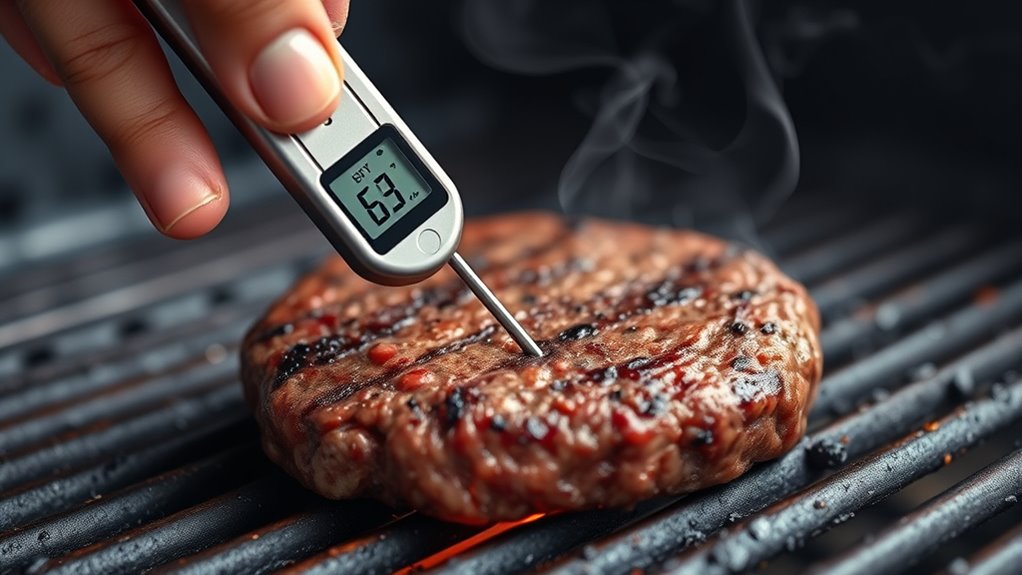
Ever wonder how to guarantee ground meats and burgers are safe to eat? To do this, insert your thermometer into the thickest part of the ground beef or burger patty, avoiding any contact with the pan or grill surface. Ground beef can have uneven heat distribution, so accurate readings are essential. Aim for a burger temperature of at least 160°F (71°C) to ensure harmful bacteria are eliminated. When checking, make sure the probe reaches the center of the meat, where it’s usually the coolest. Don’t forget to clean the thermometer between uses to prevent cross-contamination. Using the right technique helps you confidently determine when your ground beef or burger is cooked through and safe to enjoy.
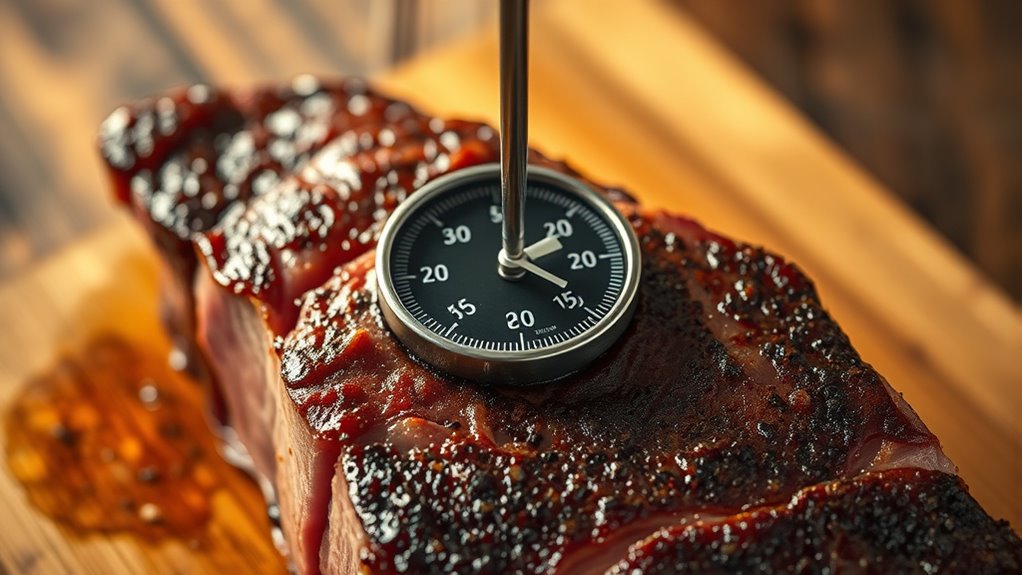
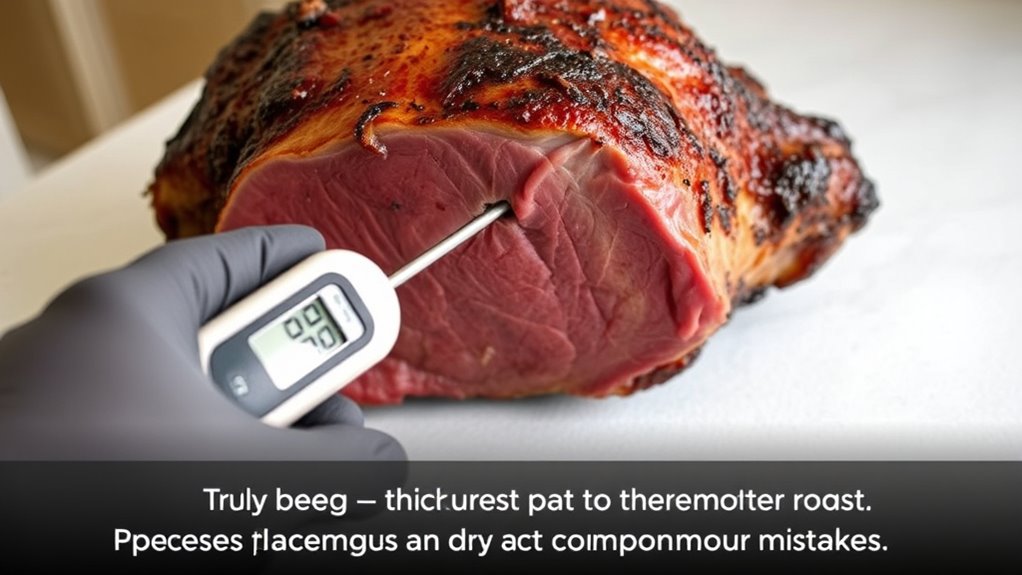
Ensuring Accurate Readings in Roasts and Large Cuts
To guarantee accurate readings in roasts and large cuts, it’s important to insert the thermometer into the thickest part of the meat, avoiding bone, fat, or gristle, which can affect the temperature reading. Proper placement ensures you get an accurate meat temperature, essential for both perfect doneness and cooking safety. Remember, a small misread can lead to undercooked or overcooked meat, risking foodborne illness or dryness. Feel confident knowing you’re serving safe, delicious meat. To maximize accuracy and safety, keep these in mind:
- Always insert the thermometer into the center of the thickest section
- Avoid touching bone or fat for precise readings
- Check multiple spots if unsure of even cooking
- Wait for the thermometer to stabilize before reading
- Use the correct thermometer for large cuts to ensure safe, perfectly cooked meat
Cleaning and Calibrating Your Thermometer for Precision
Regularly cleaning and calibrating your thermometer is essential to guarantee accurate readings. Over time, dirt and residue can interfere with sensor calibration, leading to false temperatures. To maintain precision, start with thorough thermometer cleaning using soap and water or alcohol wipes. For sensor calibration, test your thermometer in ice water (32°F/0°C) and boiling water (212°F/100°C at sea level). If readings are off, adjust or replace the device accordingly. Keep this table handy:
| Step | Action |
|---|---|
| Clean the thermometer | Use alcohol wipes or soapy water |
| Test in ice water | Check for 32°F/0°C |
| Test in boiling water | Check for 212°F/100°C |
| Calibrate if needed | Adjust or replace thermometer |
| Regular maintenance | Repeat regularly for accuracy |
Consistent cleaning and sensor calibration ensure your thermometer stays reliable.
Frequently Asked Questions
How Often Should I Calibrate My Meat Thermometer?
You might wonder how often you should calibrate your meat thermometer. The calibration frequency depends on how often you use it and its lifespan; generally, you should check it at least once a year or if it gives inconsistent readings. Regular calibration helps guarantee accuracy, especially if the thermometer is old or exposed to rough handling. Proper upkeep guarantees your thermometer stays reliable for precise cooking temperatures.
What Is the Best Type of Thermometer for Internal Temperature Accuracy?
Did you know that digital thermometers are often 98% accurate when used correctly? For the best results, choose a digital thermometer with a fast response time. When measuring internal temperature, focus on proper probe placement—insert the tip into the thickest part of the meat without touching bone or fat. This guarantees you get an accurate reading, helping you cook safely and perfectly every time.
How Can I Prevent Cross-Contamination When Using Thermometers?
To prevent cross-contamination, you should follow proper cleaning protocols after each use, thoroughly sanitizing your thermometer with hot, soapy water or disinfectant. Always store your thermometer in a clean, designated container to avoid contact with dirt or bacteria. Avoid sharing thermometers between different foods or individuals, and regularly check that your cleaning methods are effective to keep everything hygienic and safe.
Is It Necessary to Remove the Thermometer Before Resting Meat?
You should remove the thermometer before resting meat to get an accurate reading and allow juices to redistribute. Leaving it in during meat resting can give a falsely high temperature since heat continues to transfer. Once you’ve checked the internal temp, take out the thermometer and cover the meat loosely with foil. This way, you’ll guarantee an accurate reading and maintain the meat’s moisture during resting.
How Do Ambient Temperatures Affect Thermometer Readings?
Ambient influence and temperature fluctuations can profoundly impact your thermometer readings. When the surrounding environment is hot or cold, it affects the thermometer’s accuracy, especially if it’s touched to a surface or left in place for too long. To get the most accurate internal temp, ensure your thermometer is calibrated correctly and avoid rapid temperature changes around it. This helps you measure meat doneness precisely despite ambient influences.
Conclusion
Remember, the right thermometer placement can make all the difference in perfectly cooked meat. As you become more familiar with your thermometer’s quirks, you’ll notice a coincidence—each accurate reading brings a sense of confidence that turns cooking from a gamble into a precise art. By caring for your tool and paying attention to proper placement, you’ll find that every meal you prepare becomes a delicious, confident success, almost as if the stars align with your culinary intentions.