
To proof dough with low heat, find a warm spot like a turned-off oven with the light on, or place it inside a proofing box or near a warm appliance. Set your oven to about 170°F, turn it off, and use a thermometer to keep the environment steady at 75-80°F. Cover the dough loosely to keep moisture in. For more tips on controlling temperature and avoiding common issues, keep exploring these techniques.
Key Takeaways
- Use a turned-off oven with the light on or place dough in warm, draft-free spots like atop the refrigerator for gentle heat.
- Maintain an environment around 75-85°F by adding hot water in shallow pans or using proofing boxes.
- Cover dough loosely with plastic wrap or damp cloth to retain moisture and prevent skin formation during low heat proofing.
- Perform regular poke tests and observe visual cues like bubbles and dough expansion to assess readiness.
- Monitor internal and ambient temperatures with a thermometer to ensure consistent, low-heat proofing conditions.

Walfos Silicone Trivet Mats - 4 Heat Resistant Pot Holders, Multipurpose Non-Slip Hot Pads for Kitchen Potholders, Hot Dishers, Jar Opener, Spoon Holder, Food Grade Silicone & BPA Free (Black)
- Heat Resistant Range: -104℉ to 446℉
- Non-Slip Design: Secure grip on hot items
- Food Grade Silicone: BPA free and durable
As an affiliate, we earn on qualifying purchases.
Choosing the Right Spot for Low-Heat Proofing
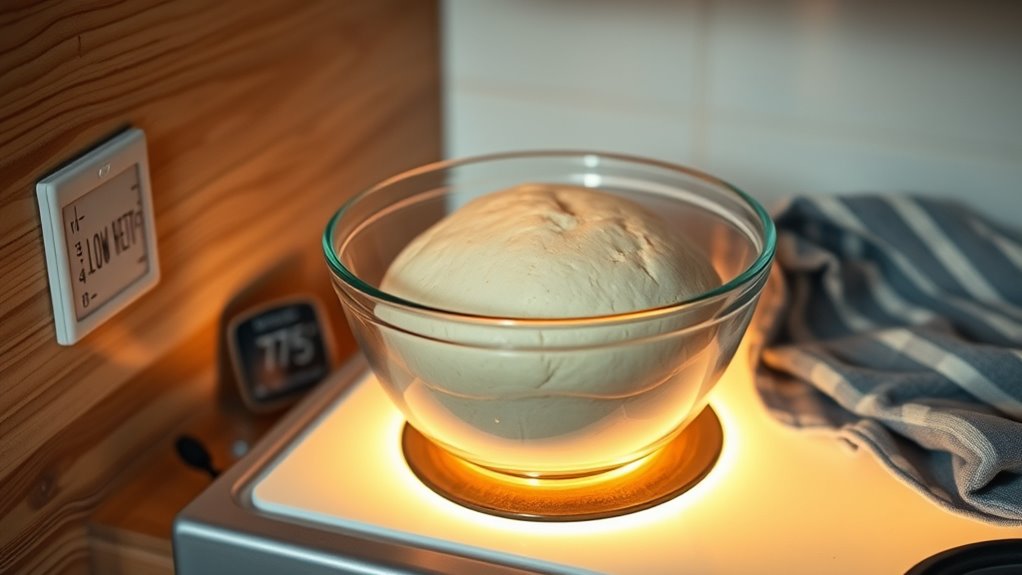
Wondering where to place your dough for low-heat proofing? Your best proofing spots are places that maintain a consistent, warm environment around 80-90°F. An ideal spot could be a turned-off oven with the light on, which keeps the temperature steady. You might also consider a warm, draft-free corner of your kitchen or on top of the refrigerator, where residual heat helps. Using a proofing basket or a covered bowl inside a warm room also works well to prevent drafts and temperature swings. For more control, set up a heating pad on the lowest setting next to your dough. The key is to find a spot that keeps your dough at the ideal temperature for proofing without hot spots or fluctuations. Incorporating a self-watering setup can help regulate moisture and temperature, providing a more consistent environment for your dough. Additionally, understanding proofing environments can help you optimize your setup for better results, especially as different proofing techniques may be more suitable depending on your space. Being mindful of temperature control can make a significant difference in achieving perfect proofing conditions. Properly monitoring proofing environment conditions ensures your dough rises optimally, leading to better baking outcomes.
Setting Up Your Oven or Proofing Environment
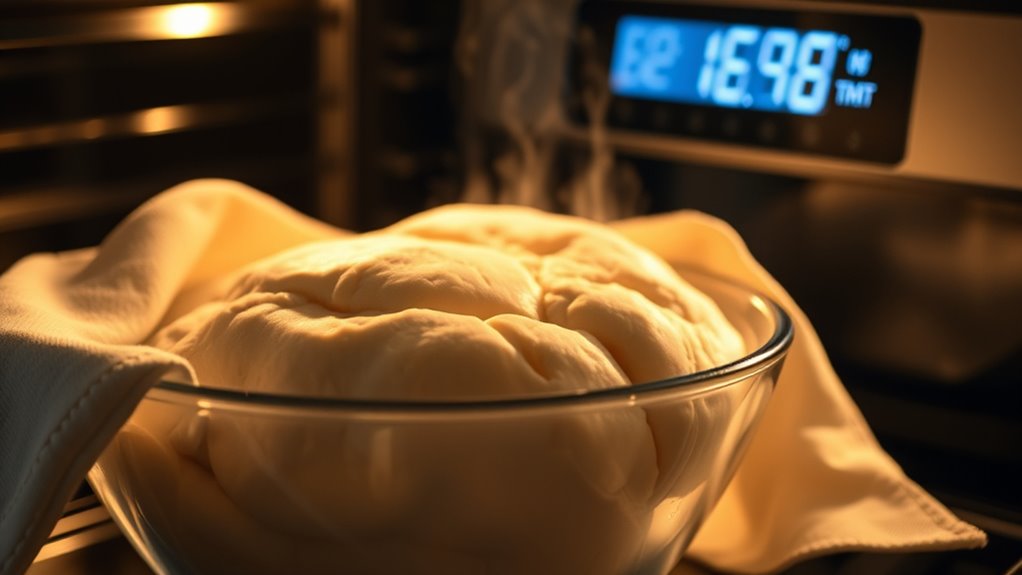
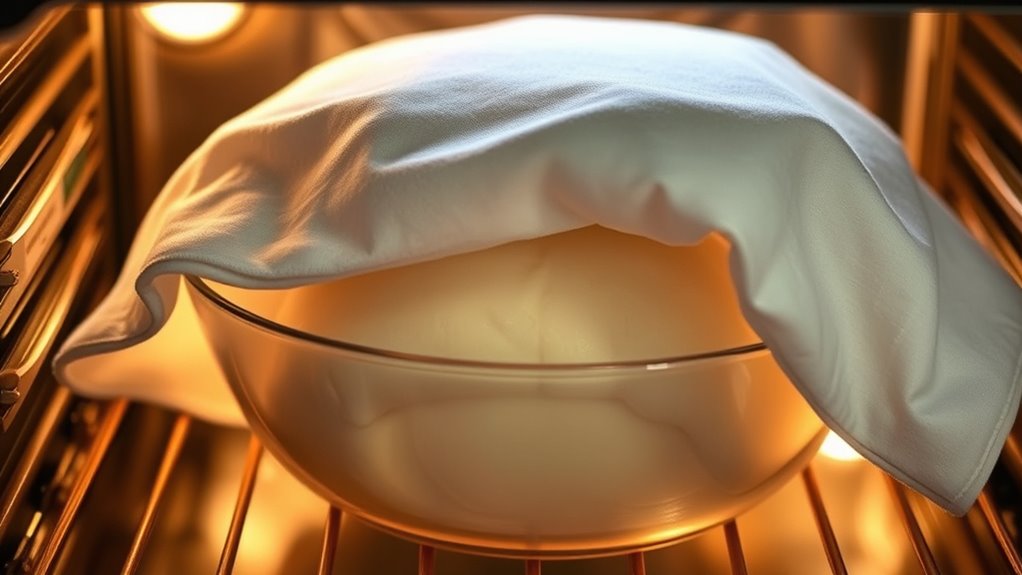
Start by turning on your oven light to add gentle warmth and monitor the temperature with an oven thermometer. Keep the environment steady by maintaining a low, consistent heat—about 75°F to 80°F—and use a shallow pan of hot water to create humidity. Incorporating sound vibrations is believed to enhance cellular regeneration and overall health, promoting a more effective proofing process. Regularly checking for toilet leaks can help prevent unnecessary water waste during your proofing environment setup. Cover your dough with plastic wrap or a damp cloth to keep moisture in during proofing. For optimal results, ensure your proofing environment maintains a steady temperature, which is essential for proper dough fermentation. Additionally, paying attention to ambient conditions can help ensure your dough proofing process proceeds smoothly. Maintaining a consistent environment is especially important for yeast activity, which can be affected by temperature fluctuations.
Using Oven Light Warmth
Using your oven light to proof dough is an effective method because it provides gentle, consistent warmth that encourages fermentation without overheating. When you turn on the oven light and close the door, it creates a cozy environment with a temperature around 30°C (86°F), ideal for proofing. This warmth helps the dough rise steadily, promoting proper fermentation while preventing the yeast from dying. To guarantee the environment stays just right, use a thermometer to monitor the oven’s interior temperature, keeping it below 50°C (122°F). Cover the dough loosely with plastic wrap or a damp cloth to retain humidity and prevent a skin from forming. Regularly check the proofing process and adjust as needed to achieve ideal rise without overproofing. Additionally, understanding energetic alignment can enhance your overall baking experience by promoting a positive environment for fermentation. Ensuring the proofing environment maintains a consistent temperature is crucial for optimal dough rise and texture.
Maintaining Consistent Temperature
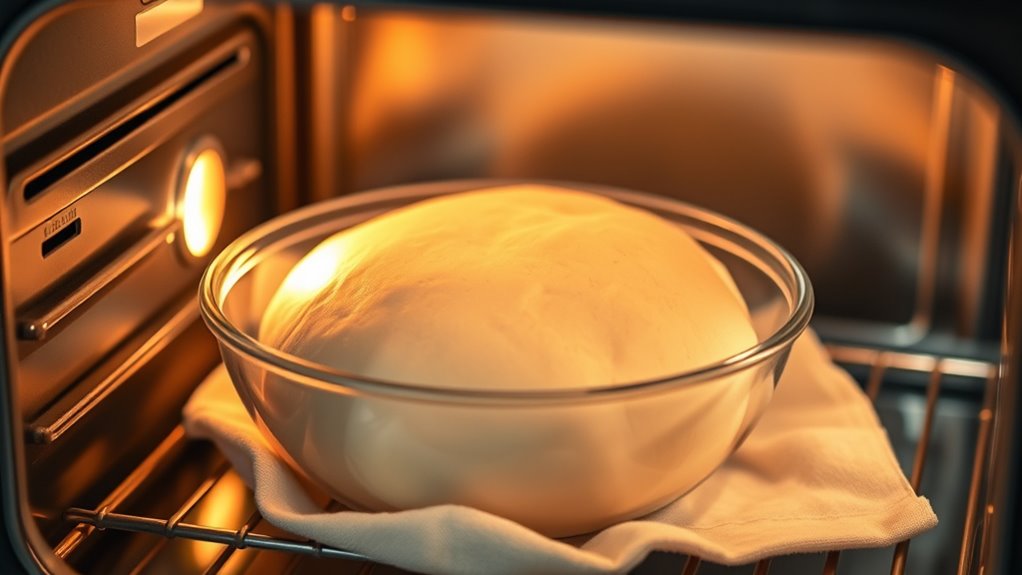
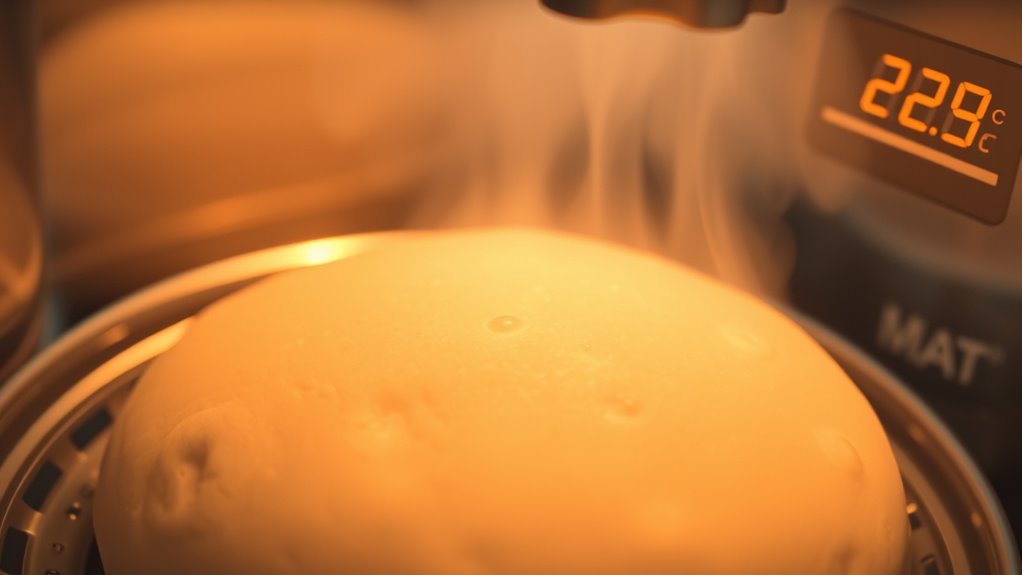
To maintain a consistent temperature for proofing, begin by setting your oven to its lowest setting, usually around 170°F (77°C), then turn it off before placing the dough inside. Use an oven thermometer to monitor the interior temperature, keeping it between 75°F to 80°F (24°C to 27°C), ideal for proofing dough. To further stabilize the environment, place a shallow dish of hot water at the bottom of the oven. Cover your proofing dough with a damp cloth, plastic wrap, or proofing cover to retain warmth. Keep the oven door slightly ajar or turn on the oven light to prevent temperature fluctuations. This setup ensures warm temperatures for proofing bread or proofing baskets, promoting consistent proof dough. Regularly monitoring the environment helps prevent ineffective purification, which is essential for maintaining a stable proofing environment.
Creating Humidity Conditions
Creating the right humidity environment is essential for effective dough proofing, and you can easily achieve this by setting up your oven or proofing space accordingly. To maximize your proofing environment, place a tray of hot water (around 150°F/65°C) on a lower rack in your oven before adding the dough. Covering the dough with plastic wrap or a damp towel inside the oven helps retain moisture and prevents skin formation during proofing. Turning on the oven light alone can generate a warm, humid atmosphere, especially if you place a bowl of hot water nearby. Using a proofing box or leaving the oven door slightly ajar maintains consistent humidity levels, enhancing moisture retention and supporting optimal yeast activity. This setup promotes a moist, warm proofing environment for perfect dough rise. Additionally, ensuring proper environmental control can help achieve uniform proofing results. Maintaining optimal humidity levels is crucial to prevent dryness and ensure proper fermentation, which is similar to maintaining proper ketogenic conditions for successful dietary results.
Adjusting Temperature for Optimal Fermentation
Adjusting the temperature for ideal fermentation involves maintaining a warm, stable environment that encourages the yeast to activate without risking overheat. To achieve the perfect proofing temperature, set your oven to its lowest heat, around 170°F to 200°F, then turn it off to let residual heat create a gentle, consistent warmth. You can also use the oven light alone to generate a micro-environment around 80°F, ideal for proofing dough. Adding a bowl of hot water inside the oven helps stabilize temperature control and maintain humidity. Regularly check the oven’s internal temperature with a thermometer to ensure it stays between 75°F and 85°F, optimizing fermentation without harming the yeast. This careful adjustment guarantees your dough proofs effectively in a low heat setting.
Timing Your Proofing Duration
Timing your proofing duration is essential to achieving perfect dough. When proofing at low heat, the ideal proofing time generally ranges from 1.5 to 3 hours, depending on your dough’s composition and the ambient temperature. For cold or slow proofing, refrigerate the dough for 8 to 16 hours, with longer durations adding sourness and a denser crumb. Use the poke test to check dough behavior; if an indentation fills back slowly, it’s ready. Keep in mind that overproofing can happen if the dough remains in the oven or fridge too long, becoming slack and overly risen. Adjust the proofing time based on how the dough looks and feels, shortening it if over-risen or extending it slightly for more flavor development. Keeping your environment consistent can also help optimize the proofing process, especially when employing temperature control. Additionally, monitoring ambient humidity can influence proofing outcomes, especially in dry environments. Proper proofing environment management can significantly improve dough texture and rise. Understanding the WWE Raw’s Financial Impact can also inspire confidence in managing your own proofing process, emphasizing the importance of timing and environment. Furthermore, being aware of proofing environment factors such as airflow and temperature stability can help prevent common issues like under- or over-proofing.
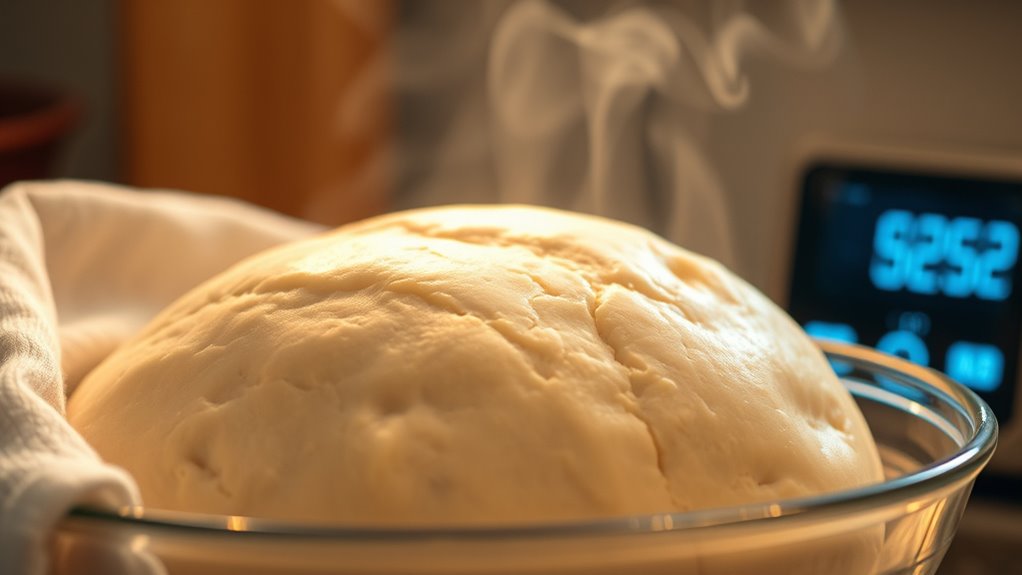
Monitoring Dough During Proofing
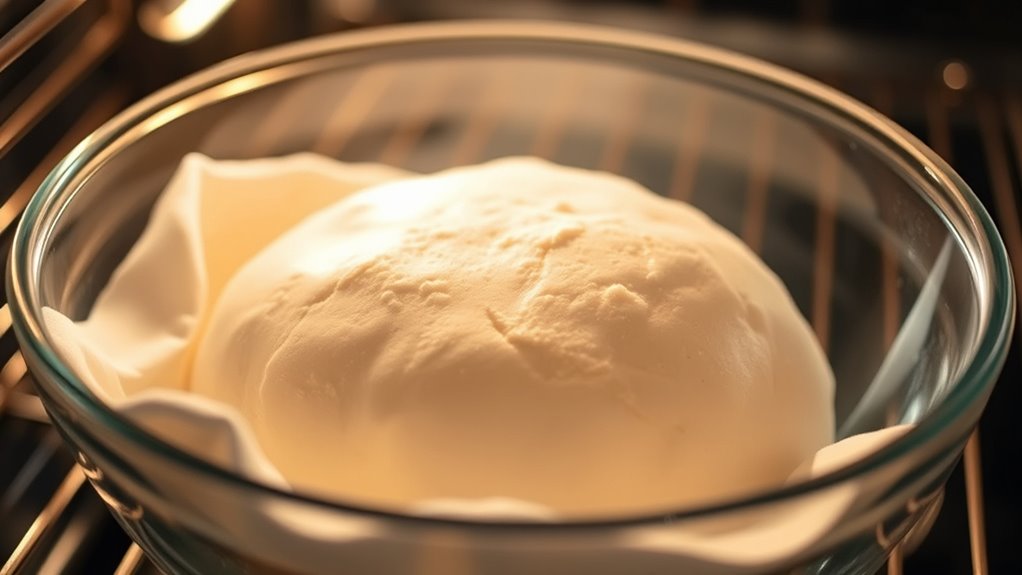
As you monitor your dough, look for visual signs like bubbles and an expanded size to gauge fermentation progress. Gently poke the dough; if it springs back about an inch, it’s ready. Keep a thermometer or temperature strip nearby to make sure the environment stays within the ideal range of 75-80°F. Incorporating visual cues can further enhance your ability to assess dough readiness accurately. Using a proofing environment with controlled low heat settings helps maintain consistent fermentation conditions and prevents over-proofing. Remember that fatherly guidance and patience are key in achieving perfect proofing results.
Visual Cues for Readiness
Monitoring your dough during proofing involves observing several key visual cues to determine when it’s ready. Look for the dough to roughly double in size, with a rounded, puffed appearance, indicating proper proofing. Small, uniform bubbles beneath the surface show active fermentation and gas development. When you gently press with a finger, the indentation should slowly fill back, demonstrating gluten relaxation. The dough should feel soft, slightly domed, and resilient, not sticky or slack, signifying adequate rise. A lightly shiny, airy surface with visible gas pockets is another clear indicator that the dough is ready to bake. These visual cues help you judge proofing progress accurately, especially when using low oven temperatures, ensuring your dough is perfectly proofed before baking.
Gentle Poke Test
The gentle poke test is a simple yet effective way to assess your dough’s proofing progress. To do it, lightly press your finger into the dough and observe how it responds. Properly proofed dough should slowly spring back or hold the indentation, indicating good fermentation. If it springs back quickly, the dough is underproofed and needs more time. If it doesn’t spring back at all, it may be overproofed. When proofing at low heat, perform the poke test every 30 minutes to avoid overproofing while ensuring the dough is ready. This tactile method provides a visual cue that complements timing and appearance, especially when temperature control is vital during low-heat proofing. Monitoring with the poke test helps you achieve perfect fermentation every time.
Temperature Monitoring Techniques
Keeping track of temperature during proofing is essential to guarantee ideal yeast activity and proper dough fermentation. Use a digital or analog thermometer to regularly check the temperature inside your proofing environment, aiming for around 75-80°F. Place a thermometer probe directly into the dough or inside the proofing container for accurate internal temperature readings. Monitoring ambient temperature with a room thermometer is also crucial, especially when proofing in low heat settings like oven lights or proofing boxes, ensuring it stays within the safe range for yeast. Keep a log of temperature readings at intervals to identify trends and prevent extremes. Consider using a thermometer with a remote sensor or smart device for continuous temperature monitoring without opening the proofing environment, maintaining a consistent low-heat setting.
Troubleshooting Common Issues in Low-Heat Proofing
If your dough isn’t rising as expected during low-heat proofing, the temperature might be too low or inconsistent. Proper proofing issues often stem from poor temperature control, which can slow the dough rise or prevent it altogether. To troubleshoot, preheat your oven to around 170°F (75°C), then turn it off before placing the dough inside. Using a thermometer helps guarantee the environment stays between 75°F and 85°F, ideal for active yeast fermentation. Additionally, maintaining humidity is vital; cover the dough loosely with plastic wrap or a damp towel to prevent skin formation and dryness. If your dough still struggles to rise, check that the proofing environment remains steady, as fluctuations can hinder proper fermentation and proofing success.
Tips for Perfect Results Every Time
Achieving perfect results with low-heat proofing requires careful attention to temperature and environment. To proof your dough successfully, keep the oven at the lowest setting—around 100°F—and turn it off before placing the dough inside. Use a thermometer to monitor the temperature, ensuring it stays between 75°F and 80°F for ideal yeast activity. Cover the dough with plastic wrap or a damp towel to retain humidity and prevent skin formation during proofing. To create a warm environment, place a pan of hot water on the oven’s bottom rack. Regularly check the dough’s size and elasticity with the poke test to avoid overproofing or underproofing. These tips help you achieve consistent, perfect proofing results every time.
Frequently Asked Questions
Can You Prove Dough in a Low Oven?
You can proof dough in a low oven. Just preheat it slightly, then turn it off before placing your dough inside. Keep the temperature between 75°F and 80°F—use a thermometer to monitor this. You can also put a bowl of hot water or turn on the oven light to maintain a warm, draft-free environment. This method helps your dough rise perfectly without overheating or killing the yeast.
What Is the Low Temperature for Proofing?
Did you know that yeast activity drops sharply below 75°F? The low temperature for proofing dough generally ranges between 75°F and 80°F (24°C to 27°C), which allows ideal fermentation. If your environment is cooler, expect longer proofing times, especially between 65°F and 70°F (18°C to 21°C). Just don’t let it drop below 60°F (15°C), or yeast will slow down or stop altogether.
What to Do if You Don T Have a Warm Place for Dough to Rise?
If you don’t have a warm place for dough to rise, you can create one yourself. Use your oven’s light to generate gentle heat, placing the dough inside with the door slightly ajar. Alternatively, set the dough in a covered container on a heating pad set to low or near a radiator, making sure it’s protected from drafts. You can also make a makeshift proofing box with a damp towel over the dough.
Can You Proof Dough at 170 Degrees?
Can you proof dough at 170°F? Absolutely not! That’s like trying to bake a cake at boiling water—your yeast will die, and your dough won’t rise properly. You might think high heat speeds things up, but it destroys the very magic that makes bread fluffy. Instead, keep your proofing environment between 75-80°F. This gentle warmth allows your yeast to work its wonders, giving you perfect, airy bread every time.
Conclusion
So, now you’re a dough-proofing pro, mastering the art of low heat without turning your kitchen into a sauna. Just remember, patience is key—unless you prefer dough that’s more “well-done” than risen. Keep an eye on those temps, avoid the temptation to peek too often, and soon you’ll be bragging about perfect proofed dough like a true baking wizard. Happy proofing, and may your bread always rise to the occasion!