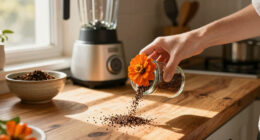

Using an air fryer makes dinner prep easier by crisply cooking your favorite meals with less oil and less time. Preheat, season your chicken and veggies, and cook for about 25-30 minutes, shaking halfway through. It’s perfect for healthy, flavorful results without the mess of traditional frying. Plus, you can customize flavors with herbs or zest for added aroma. Keep exploring for tips to master this simple, versatile technique that saves time and boosts flavor every night.
Key Takeaways
- Preheat the air fryer to ensure even cooking and crispy textures for quick, hassle-free dinner prep.
- Season and marinate proteins and vegetables in advance to enhance flavor and reduce cooking time.
- Use minimal oil and proper portioning to achieve healthier meals with optimal air circulation.
- Roast vegetables alongside protein for added flavor and a complete, one-step dinner solution.
- Store leftovers properly to reheat easily and enjoy quick, nutritious meals throughout the week.

GENICOOK 316 Stainless Steel Air Fryer Containers with Glass Lids, 2-Pack 1.5QT (1450ml), Fits Most 4–6QT Air Fryers, Glass Meal Prep Containers for Cooking, Food Storage & Reheating
- Enhanced Airflow for Crispy Results: Promotes even heat circulation for crispy foods
- 2-Pack Large Capacity: Includes two 1.5QT stainless steel bowls with lids
- Ideal for Meal Prep & Storage: Perfect for batch cooking, leftovers, and family meals
As an affiliate, we earn on qualifying purchases.
As an affiliate, we earn on qualifying purchases.
Recipe
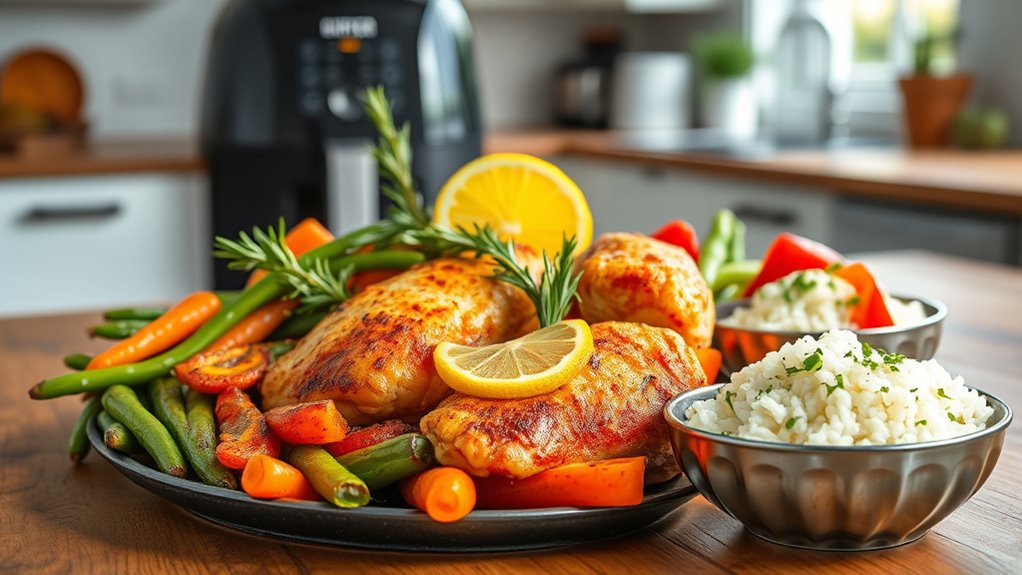
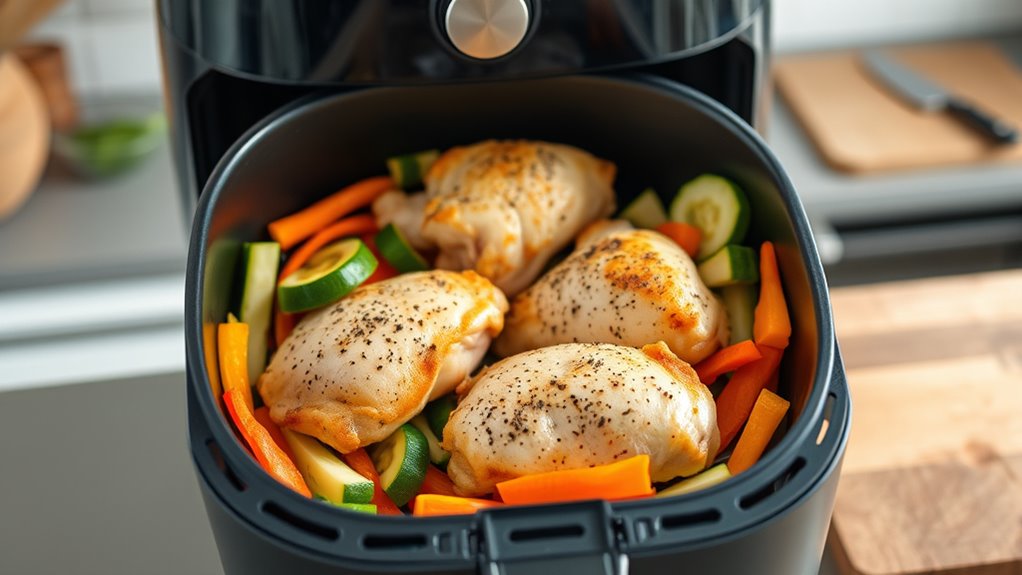
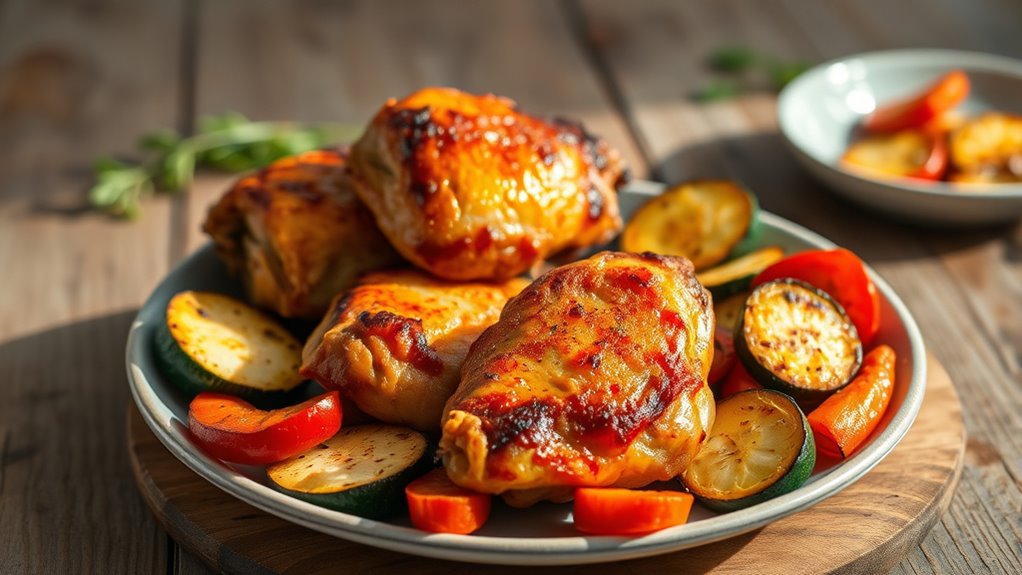
To prepare a delicious air fryer meal, start by selecting your favorite protein and vegetables to create a balanced dish. For this recipe, we’ll focus on making crispy chicken thighs with roasted vegetables that come out perfectly tender and flavorful, thanks to the air fryer’s rapid air circulation. The key is to season the chicken and vegetables well and guarantee they are arranged in a single layer for even cooking, resulting in a satisfying meal with minimal effort.
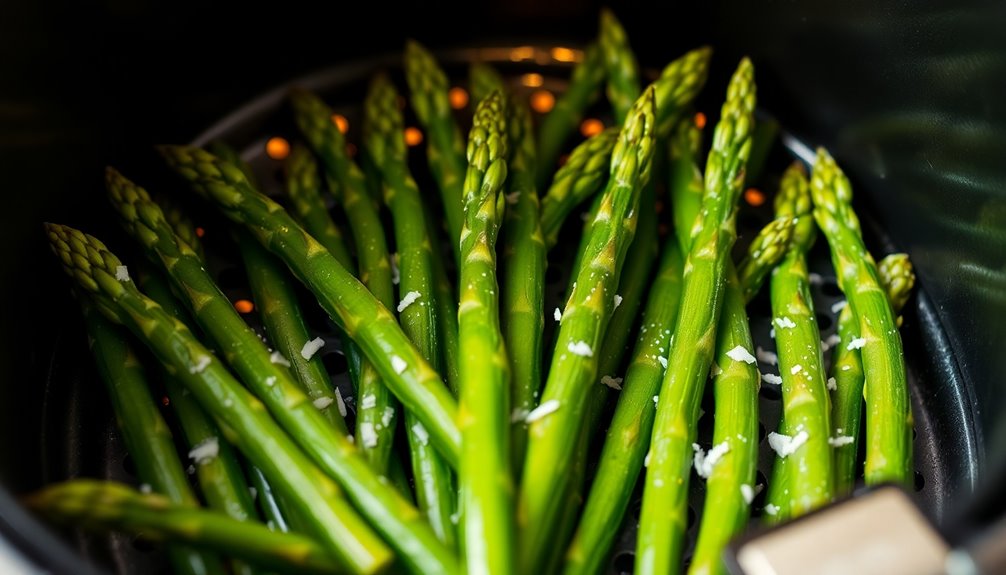
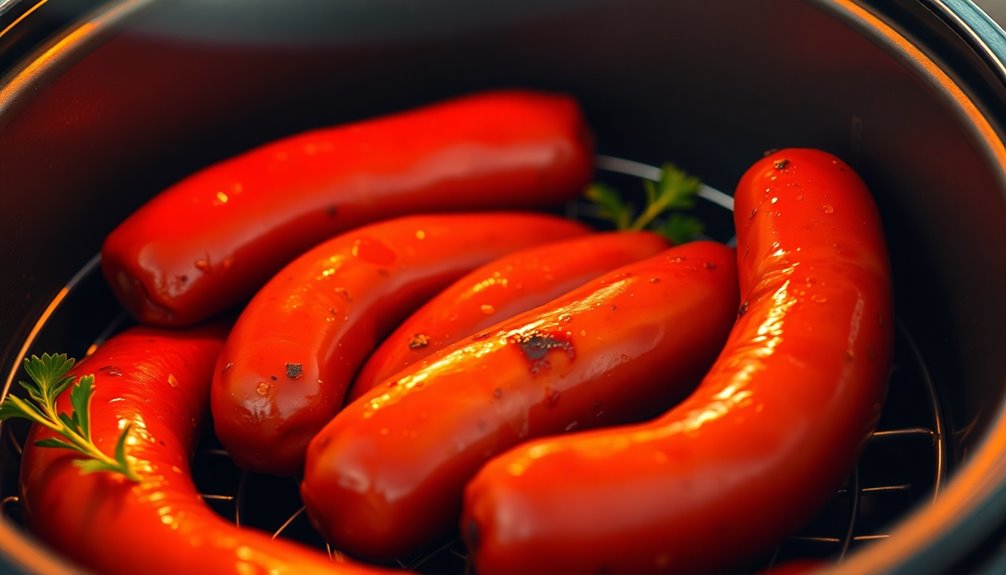
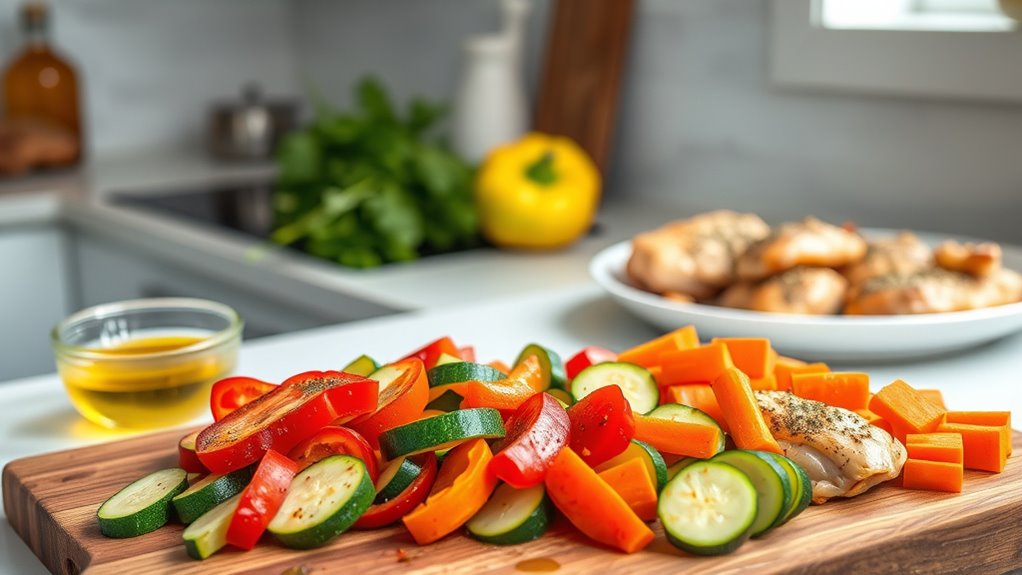
Begin by marinating the chicken thighs with your choice of herbs and spices, then chop your vegetables—such as bell peppers, zucchini, and carrots—into uniform pieces. Preheat your air fryer to 380°F (193°C). While it warms, prepare your ingredients for seasoning, making sure that everything is ready to go. Once preheated, place the chicken and vegetables into the air fryer basket, making sure not to overcrowd it. Cook for about 25-30 minutes, shaking the basket halfway through to promote even crisping and browning. When the chicken reaches an internal temperature of 165°F (74°C) and the vegetables are tender, your meal is ready to serve.
- 4 bone-in or boneless chicken thighs
- 1 tablespoon olive oil
- 1 teaspoon paprika
- 1 teaspoon garlic powder
- 1 teaspoon onion powder
- ½ teaspoon salt
- ½ teaspoon black pepper
- 1 red bell pepper, sliced
- 1 zucchini, sliced
- 2 carrots, sliced
To cook, season the chicken thighs with olive oil, paprika, garlic powder, onion powder, salt, and pepper. Toss the sliced vegetables with a little olive oil and a pinch of salt and pepper. Place the chicken and vegetables in the air fryer basket in a single layer, making sure they are not overlapping. Cook at 380°F (193°C) for 25-30 minutes, shaking or flipping halfway through, until the chicken is cooked through and the vegetables are tender and slightly crispy. Adjust cooking time as necessary based on the size of your chicken thighs and the type of vegetables used. Additionally, understanding air fryer technology can help you achieve consistent results with minimal effort. Recognizing the importance of proper airflow is essential for achieving evenly cooked and crispy results.
For best results, avoid overcrowding the air fryer basket to guarantee proper airflow and even cooking. You can also customize the seasoning to your taste, adding herbs like thyme or rosemary for extra flavor. If cooking more than one batch, keep cooked items warm in a low-temperature oven or covered with foil. Remember to check the internal temperature of the chicken to confirm doneness and avoid undercooking. This meal prep can be stored in airtight containers in the refrigerator for up to 4 days, making it a convenient option for quick lunches or dinners throughout the week. Moreover, exploring different seasoning options can elevate the flavor profile of your dishes.
Cooking Steps

Start by preheating your air fryer to guarantee even cooking. Then, season your chicken breasts and add vegetables for extra flavor, along with lemon zest and fresh herbs to brighten the dish. Incorporate versatility in surface use into your cooking routine to enhance relaxation and enjoyment. Regularly checking your appliance’s power requirements can prevent issues during use and ensure safety. Being aware of tuning options available for your vehicle can also inspire creative ways to personalize your meals. Additionally, optimizing your lifestyle habits can lead to more consistent and satisfying meal prep experiences. Follow these steps to create a quick, flavorful meal prep.
Step 1. Preheat Air Fryer

Preheating your air fryer guarantees it reaches the ideal temperature for cooking your meals evenly and efficiently. To do this, turn on your air fryer and set it to the recommended cooking temperature for your recipe. Allow it to run empty for about 3 to 5 minutes. Preheating helps assure your food cooks uniformly, giving you crispier results and reducing cooking time. Many models have a preheat setting; if yours does, use it. If not, simply run the air fryer at the desired temperature before adding ingredients. This step is essential for achieving the best texture and flavor in your meal. Additionally, some air fryers incorporate flushing mechanisms that help maintain optimal performance, so keeping your appliance in good working order is also beneficial. Ensuring your air fryer is properly maintained can extend its lifespan and improve cooking results. Don’t skip preheating, especially for recipes that require precise cooking conditions or crispy finishes.
Step 2. Season Chicken Breasts
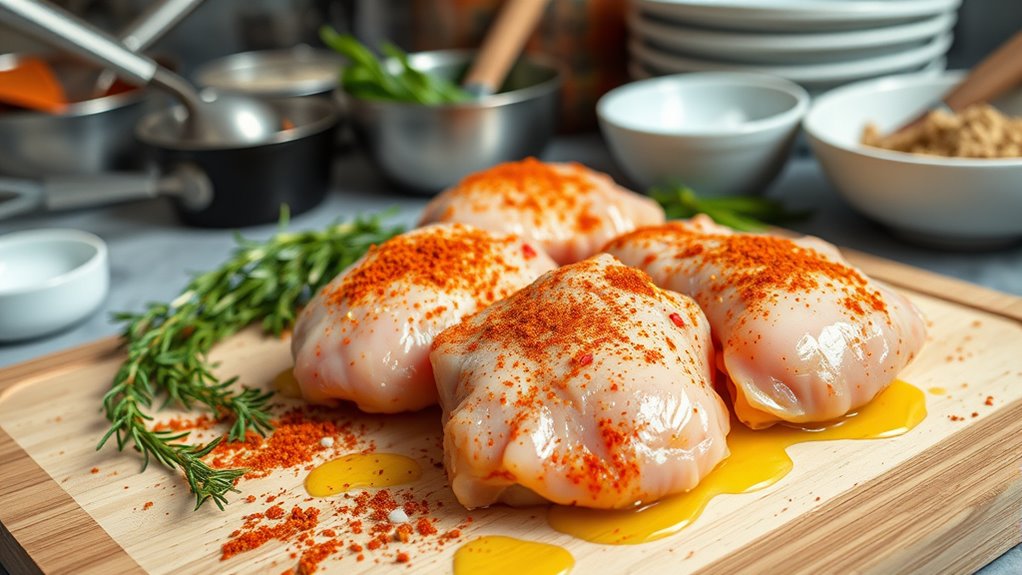
Seasoning chicken breasts properly enhances their flavor and guarantees they’re juicy and flavorful after cooking. Begin by patting the chicken dry with paper towels; this helps the seasoning stick better. Then, brush or spray the breasts lightly with olive oil to promote even browning. Season generously with salt and pepper, then add your preferred spices—paprika, garlic powder, onion powder, or herbs—covering all sides. Massage the seasoning into the meat to ensure it adheres well. If you have time, let the chicken rest for 15-20 minutes to allow the flavors to penetrate. Proper seasoning not only boosts taste but also helps create a delicious, crispy exterior once cooked in the air fryer. This simple step makes a big difference in your meal’s overall flavor.
Step 3. Add Vegetables for Flavor

Once your chicken breasts are seasoned and ready, adding vegetables brings extra flavor and texture to your meal. Toss chopped vegetables like bell peppers, zucchini, or carrots with a little olive oil, salt, and pepper. Spread them evenly around the chicken in the air fryer basket. The vegetables will cook alongside the chicken, absorbing its savory flavors. Keep the pieces uniform-sized for even cooking. You can also sprinkle herbs or spices over the vegetables for added taste. As the air fryer works, the vegetables will become tender and slightly caramelized, complementing the chicken perfectly. Be sure not to overcrowd the basket, allowing hot air to circulate freely. This step enhances your dish with delicious, roasted vegetables that are both flavorful and nutritious.
Step 4. Add Lemon Zest

Have you considered adding lemon zest to enhance your air fryer chicken? Lemon zest brings a bright, tangy flavor that elevates the dish without overpowering it. To incorporate it, use a fine grater or zester to remove the outer yellow layer of a fresh lemon, avoiding the bitter white pith. Sprinkle the zest evenly over your seasoned chicken before placing it in the air fryer. The zest releases essential oils during cooking, infusing the meat with a fresh citrus aroma. It pairs well with other seasonings and adds a vibrant flavor profile. Keep in mind, a little zest goes a long way, so start with about half a teaspoon and adjust according to your taste preferences. This simple addition transforms your meal into a more flavorful, aromatic experience.
Step 5. Add Fresh Herbs
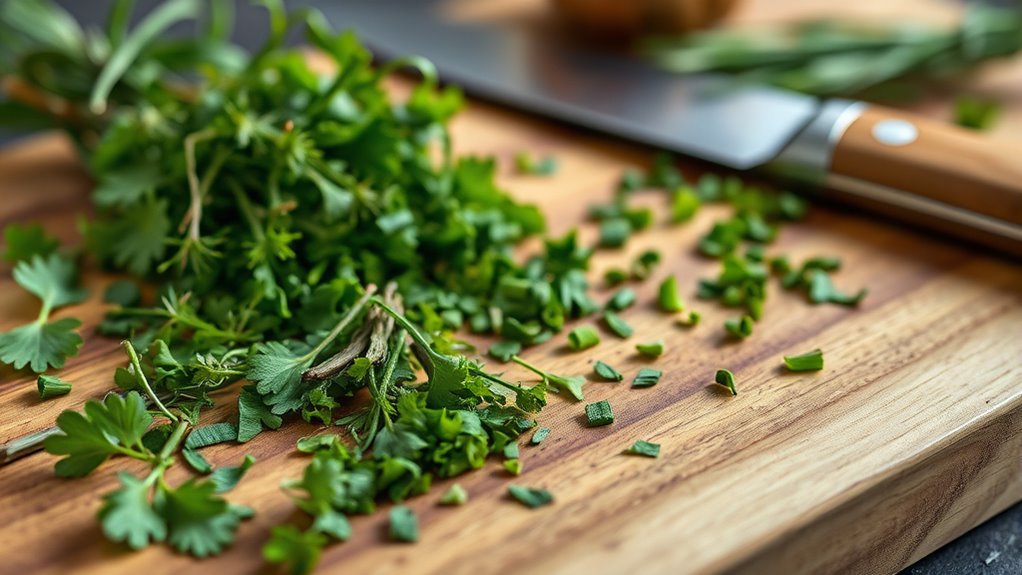
Adding fresh herbs to your air fryer chicken is a quick way to boost its flavor and aroma. Before cooking, chop your herbs like parsley, thyme, or rosemary finely. Sprinkle or press them onto the chicken evenly, ensuring they stick well. Fresh herbs release their oils and fragrances during cooking, infusing every bite with vibrant flavor. You can also tuck some herbs underneath or around the chicken for a more intense aroma. If you prefer, add herbs after cooking for a fresher taste. Be mindful not to overload the chicken, as too many herbs can overpower the dish. Using fresh herbs not only enhances taste but also adds a pop of color, making your meal more appealing and flavorful.
History
Did you ever wonder how the air fryer became a popular kitchen gadget? It all started in Japan in the early 2000s, where engineers aimed to create a healthier alternative to deep frying. The technology evolved from countertop convection ovens, using rapid air circulation to cook food evenly with little to no oil. The first commercial models gained attention around 2010, but it wasn’t until around 2017 that they exploded in popularity worldwide. Consumers loved their ability to produce crispy textures without the mess and fat of traditional frying. Over the years, manufacturers improved designs, making them more compact, versatile, and user-friendly. Today, the air fryer is a staple in many kitchens, revolutionizing how you prepare meals quickly and healthily.
Final Thoughts
Ultimately, the air fryer has transformed the way you cook by offering a healthier, faster, and more convenient alternative to traditional frying methods. With its versatility, you can prepare a wide variety of meals that suit any taste or dietary need, all while saving time and reducing mess. Its user-friendly design makes meal prep simpler, helping you stay consistent and organized. Plus, the ability to cook healthier foods without sacrificing flavor encourages better eating habits. As you incorporate your air fryer into your routine, you’ll find it boosts your confidence in the kitchen and streamlines your dinner planning. Embracing this appliance means enjoying delicious, crispy meals with less hassle—making your weekly meal prep more efficient and enjoyable.
Frequently Asked Questions
Can I Use Foil or Parchment Paper in the Air Fryer?
You might wonder if you can use foil or parchment paper in your air fryer. Yes, you can, but with precautions. Use aluminum foil or parchment paper sparingly, making certain they don’t block airflow. Cut them to fit the basket and avoid covering the entire surface. Always make sure the paper is weighed down by food to prevent it from flying around during cooking, which could be unsafe.
What Are the Best Storage Methods for Air-Fried Meals?
You might think storing leftovers is as simple as tossing them in a container, but with air-fried meals, it’s trickier. To keep that crispy texture, use airtight containers or resealable bags, removing excess air. For best results, let your food cool completely before storing. Reheat in the air fryer to restore crispiness, and always label and date your leftovers. Ironically, storing is key to enjoying that perfect crunch again!
How Do I Prevent Food From Sticking to the Air Fryer Basket?
To prevent food from sticking to your air fryer basket, start by lightly spraying it with non-stick spray or brushing it with a little oil. Make sure to evenly coat the basket and your food. Avoid overcrowding, as this can cause sticking and uneven cooking. Also, tossing ingredients halfway through cooking helps prevent sticking and ensures everything cooks evenly. These simple steps keep your meals intact and cleanup easier.
Are There Specific Ingredients to Avoid in Air Fryer Cooking?
Think of your air fryer as a dance floor where ingredients glide smoothly. To keep the rhythm, avoid overly wet batters, greasy foods, and delicate items like leafy greens that can fly away or stick. Foods with high moisture or excessive oil can create a sticky mess or smoke. Stick to sturdier, drier ingredients, and you’ll keep your air fryer performing like a well-choreographed show every time.
How Do I Adjust Cooking Times for Different Portion Sizes?
When adjusting cooking times for different portion sizes, you should start by considering the amount you’re cooking. Larger portions may need a few extra minutes, but avoid overcrowding the basket, which can affect airflow and even cooking. Check your food periodically, shaking or flipping if needed. Use a food thermometer to make sure of proper doneness, and keep in mind that smaller portions typically cook faster.