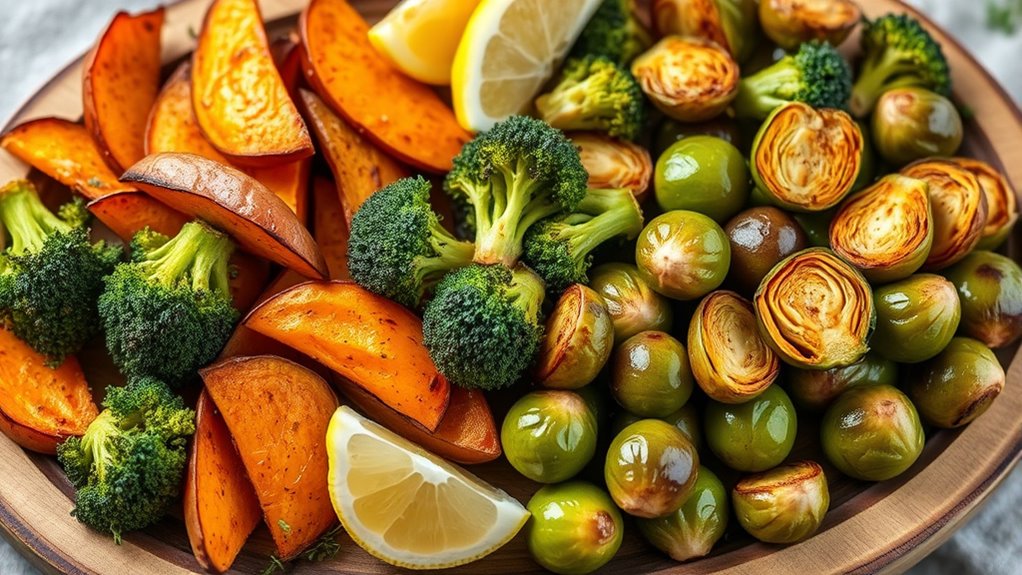

For healthy air fryer sides perfect for meal prep, focus on vegetables like cauliflower, Brussels sprouts, or zucchini. Season them with herbs, spices, or nutritional yeast for added flavor, then toss with a little olive oil before air frying at 400°F for 12-15 minutes. Adding Parmesan cheese during the last few minutes creates a crispy, cheesy finish. Keep an eye on your cook time and temperature for perfect golden results—more tips await if you keep exploring.
Key Takeaways
- Use minimal oil and seasonings like herbs, spices, and nutritional yeast for flavorful, healthy vegetable sides.
- Toss vegetables evenly with oil before air frying to ensure crispiness and uniform cooking.
- Roast at 400°F for 12-15 minutes, shaking halfway, to achieve golden, tender, and crispy textures.
- Add grated Parmesan cheese during the last few minutes for a cheesy, crispy topping.
- Avoid overcrowding the basket and maintain even spacing for consistent browning and optimal results.

Reynolds Kitchens Air Fryer Cups, Easily Cook Individual Air Fryer Food and Non-Traditional Foods, Great for Meal Prepping and Picky Eaters, Oven-Safe and Grill-Safe, 10 Pack, 8 fl oz.
What’s Included—This pack includes ten (10) 8 fl oz. Reynolds Kitchens Air Fryer Cups (3.85 inches x 2.45…
As an affiliate, we earn on qualifying purchases.
As an affiliate, we earn on qualifying purchases.
Recipe
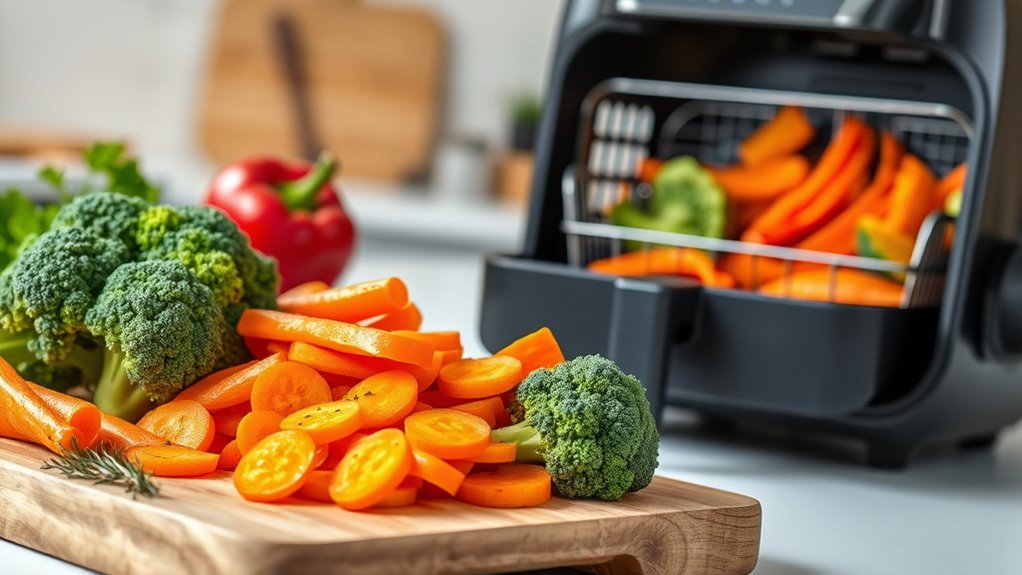
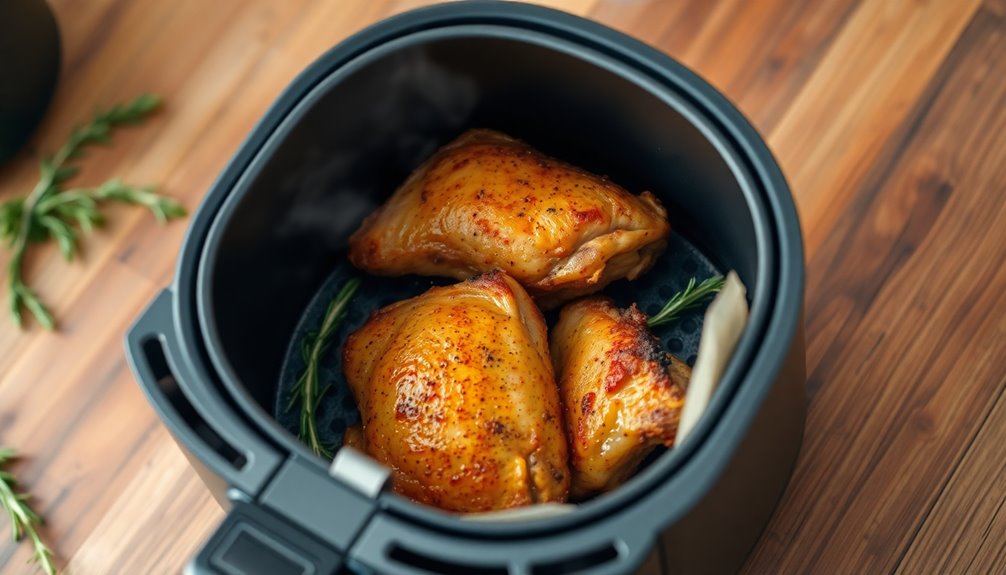
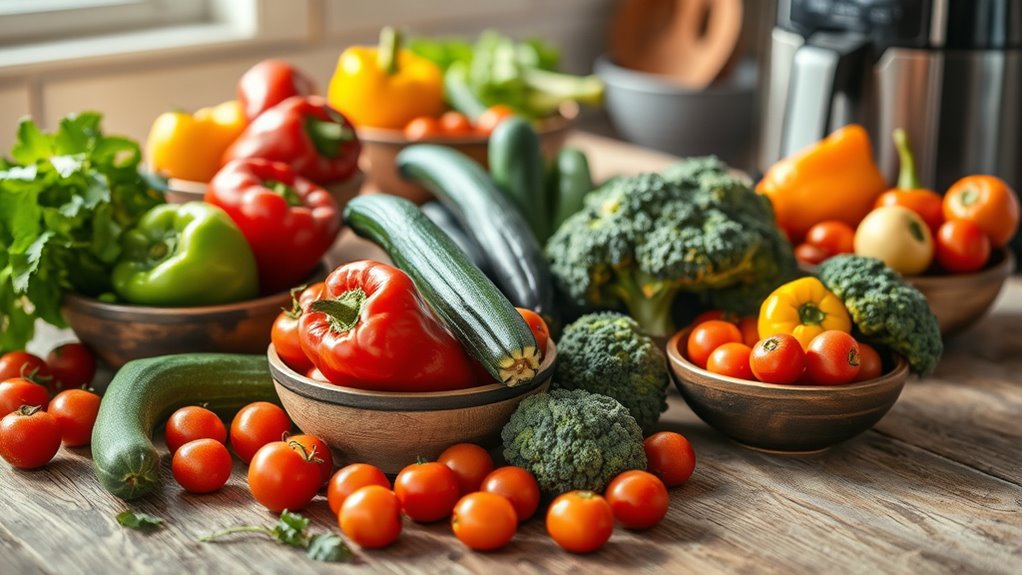
Healthy Air Fryer Sides are a delicious and nutritious way to complement your main meal. They are quick to prepare, require minimal oil, and can be customized with your favorite herbs and seasonings to suit your taste. Using an air fryer guarantees that the sides come out crispy on the outside and tender on the inside, making them a perfect addition to any healthy diet. Incorporating AI-driven cooking techniques can further optimize your meal prep process for better results.
This recipe features a simple combination of fresh vegetables that are seasoned and cooked to perfection in the air fryer. It’s an excellent way to enjoy crispy, flavorful sides without the excess calories or fat of traditional frying methods. Whether serving as a side for lunch or dinner, these air fryer vegetables are versatile, easy to make, and packed with nutrients.

Air-fried vegetables: Healthily cooking vegetables with the air fryer – Simple recipes for preparing vegetables in the air fryer
As an affiliate, we earn on qualifying purchases.
As an affiliate, we earn on qualifying purchases.
Cooking Steps

Start by seasoning your cauliflower florets to your liking and tossing them with a bit of olive oil. Then, place them in the air fryer and roast at 400°F until they turn golden brown. Finish by sprinkling Parmesan cheese for extra crispness and flavor. For added nutritional benefits, consider incorporating a variety of herbs and spices to enhance both flavor and healthfulness. Incorporating healthy cooking techniques like air frying can help preserve nutrients while reducing added fats. Additionally, experimenting with different flavor profiles can make your sides more exciting and satisfying.
Step 1. Season Cauliflower Florets
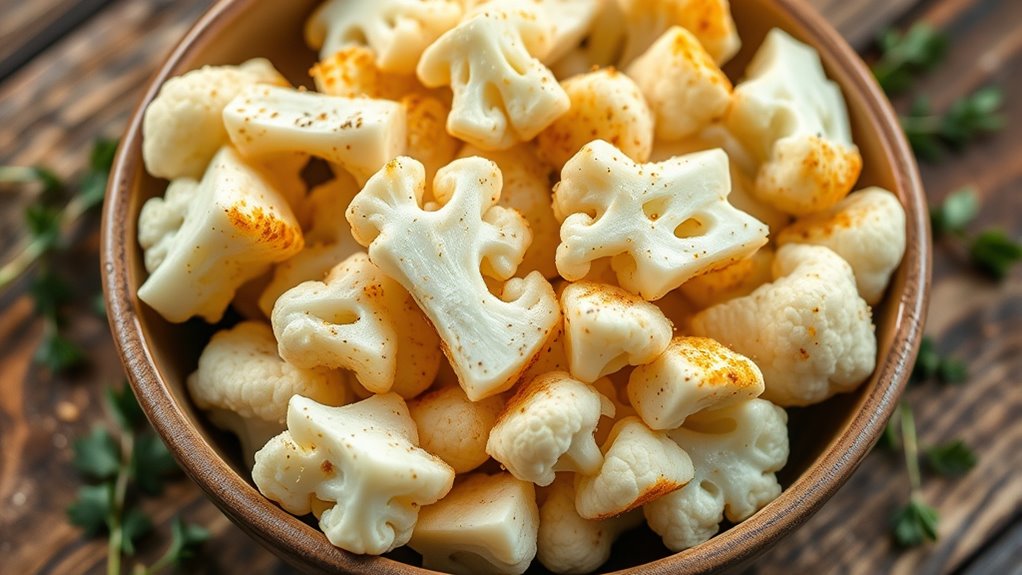
To season cauliflower florets for air frying, begin by placing them in a large bowl. Sprinkle your chosen herbs and spices evenly over the florets. Use garlic powder, paprika, salt, and black pepper for a simple, flavorful mix. Toss the florets gently to coat each piece thoroughly with the seasonings. Feel free to add a pinch of cayenne or nutritional yeast for extra flavor. Make sure the spices are well distributed so every bite is flavorful. Incorporating seasoning distribution techniques can further enhance flavor consistency. For added flavor, consider using a precise measurement method to ensure even coating of spices. Additionally, paying attention to home decor-inspired presentation can inspire creative seasoning ideas and presentation. Once seasoned, you’re ready to move on to the next step, tossing with oil, which helps the seasonings stick and promotes crispness during air frying.
Step 2. Toss With Olive Oil
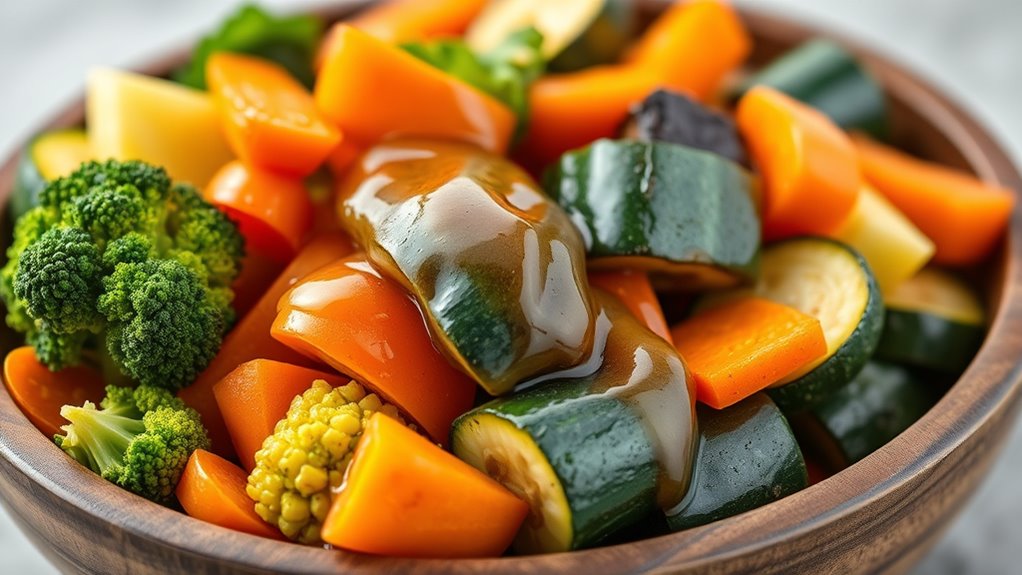
Once your cauliflower florets are seasoned, it’s important to toss them with olive oil to guarantee they crisp up nicely in the air fryer. Pour a small amount of high-quality olive oil over the florets, then use your hands or a spatula to toss everything evenly. Make sure each piece gets coated; this helps promote even browning and crunch. Don’t skimp on the oil—too little can lead to uneven cooking and less crispiness. Keep in mind that olive oil adds healthy fats and flavor, enhancing the overall dish. Regular use of healthy oils like olive oil can also support better skin health through Glycolic Acid benefits. To ensure your cauliflower maintains optimal tire longevity, avoid overcrowding the basket, which can hinder proper air circulation and even cooking. Proper tossing ensures they cook uniformly, giving you that perfect crispy texture you’re aiming for.
Step 3. Roast at 400°F
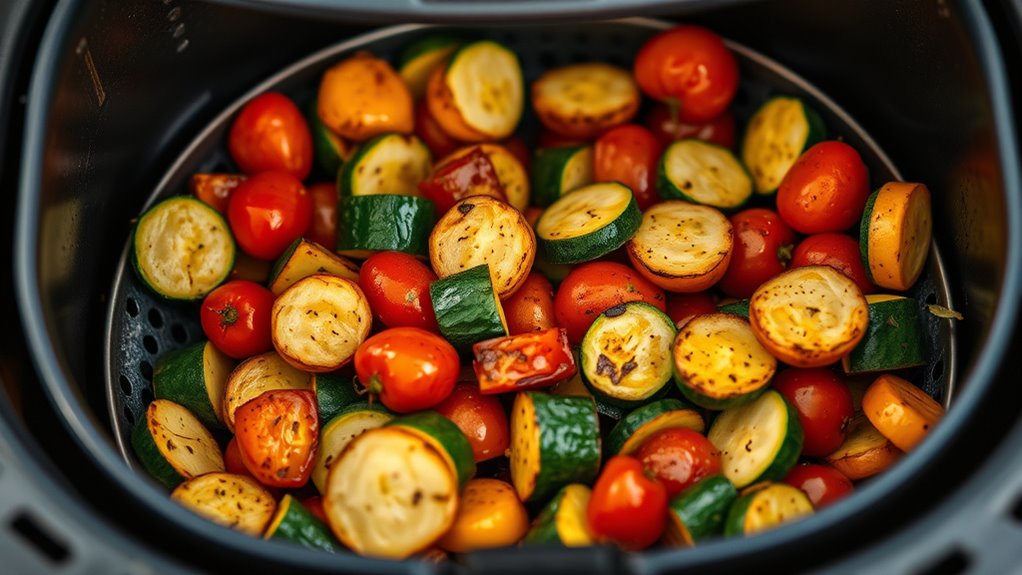
After tossing your cauliflower with olive oil, it’s time to set your air fryer to 400°F. Place the cauliflower evenly in the air fryer basket, spreading it out so the pieces aren’t crowded. This guarantees even cooking and crisping. Close the basket and set the timer for 12-15 minutes. Shake the basket halfway through to rotate the cauliflower and promote uniform browning. Keep an eye on it toward the end to prevent overcooking. The high temperature will give you crispy edges and tender insides. Once the cauliflower turns golden brown and smells fragrant, it’s ready. Remove it from the air fryer and serve immediately or hold warm until you’re ready to enjoy. Cooking at 400°F is your key to perfectly roasted, healthy sides.
Step 4. Crisp With Parmesan Cheese
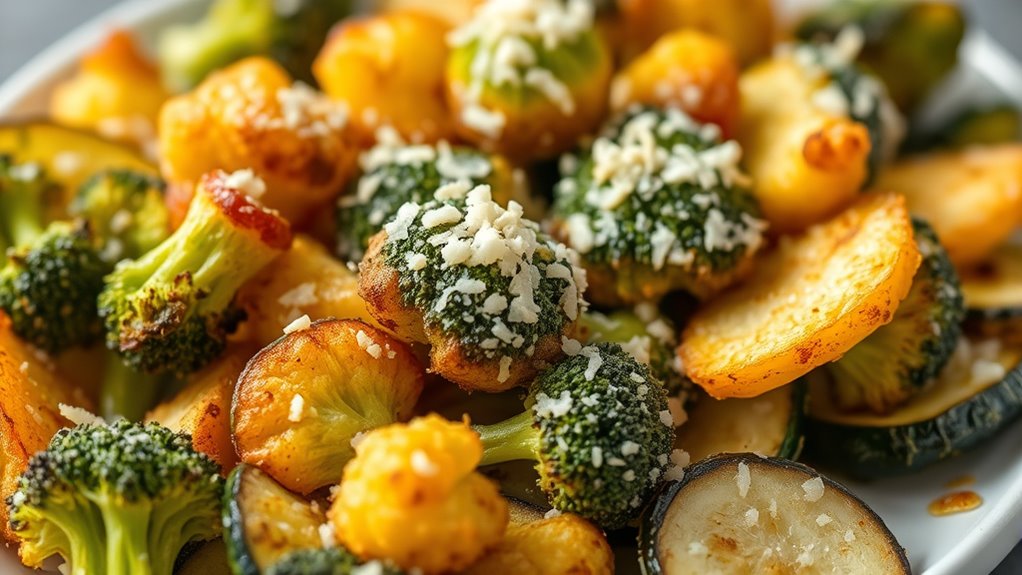
For an irresistibly crispy cauliflower with a cheesy kick, sprinkle grated Parmesan cheese evenly over the cauliflower in the air fryer during the last 2-3 minutes of cooking. This allows the cheese to melt and develop a slight crisp without burning. Make sure the cauliflower is cooked to your desired level of crunch before adding the Parmesan. Shake the basket gently to distribute the cheese evenly. Once you add the cheese, return the basket to the air fryer and cook for the remaining few minutes. Keep an eye on it to prevent over-browning. The Parmesan adds a savory, salty flavor and enhances the crispiness. When done, the cauliflower will be golden, cheesy, and perfectly crunchy—ready to serve as a tasty, healthy side.
Step 5. Golden Brown Finish

How can you achieve that perfect golden brown finish on your air fryer sides? First, guarantee your food pieces are evenly coated and not overcrowded in the basket, allowing hot air to circulate freely. Use a light spray of oil to promote browning without excess fat. Set your air fryer to a slightly higher temperature—around 400°F (200°C)—and check your food halfway through cooking. Toss or flip the items for uniform color. Keep a close eye near the end to prevent burning. The key is balancing heat and time, so your sides develop a crisp, golden crust while remaining tender inside. With these steps, you’ll create beautifully browned, appetizing sides every time.

Amazon Grocery, Shredded Parmesan Cheese, 6 Oz (Packaging May Vary)
One 6 ounce bag of Shredded Parmesan Cheese
As an affiliate, we earn on qualifying purchases.
As an affiliate, we earn on qualifying purchases.
History
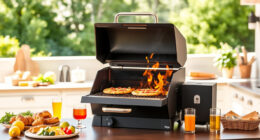
Have you ever wondered where air fryers originated? They were invented in the early 2010s, driven by the desire to create healthier fried foods without deep frying. The concept is based on rapid air technology, which circulates hot air around food to produce a crispy exterior. The first commercial models gained popularity in Europe before becoming a household staple in North America. Companies like Philips played a major role in popularizing the device, making it accessible to everyday cooks. Over time, innovations improved capacity, features, and versatility, allowing you to prepare a wide range of healthy sides with less oil. Today, air fryers are a common kitchen appliance, reflecting a shift toward healthier eating habits and convenient cooking.

McCormick Salt Free Vegetable Seasoning, 4.16 oz
McCormick Salt Free Vegetable Seasoning has no salt or MSG added*
As an affiliate, we earn on qualifying purchases.
As an affiliate, we earn on qualifying purchases.
Final Thoughts
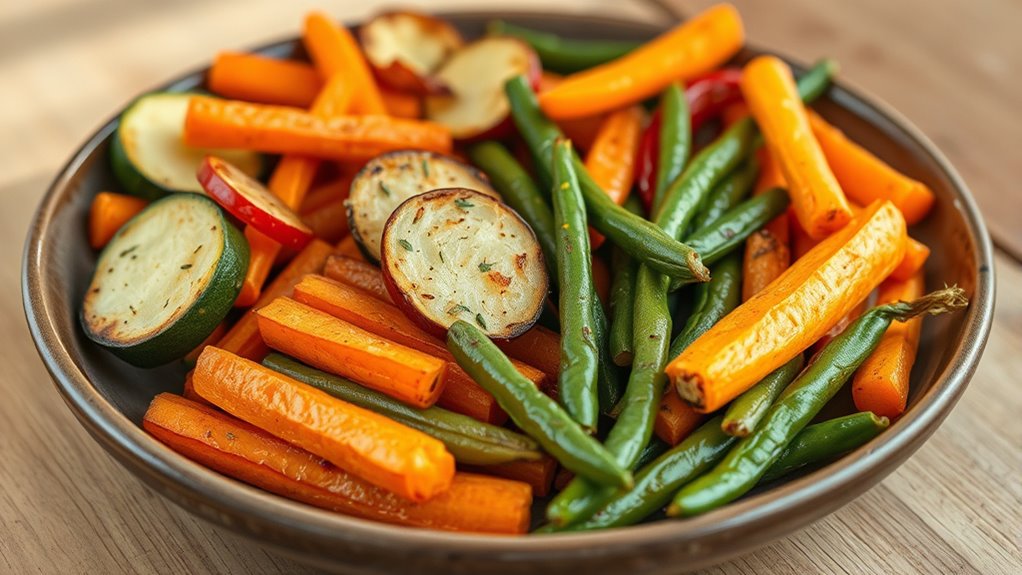
As air fryers have evolved from a novel kitchen gadget to a staple appliance, they offer a convenient way to enjoy healthier versions of your favorite fried foods. Incorporating air fryer sides into your meal prep can save time and reduce calories without sacrificing flavor. You now have a variety of nutritious options, from crispy vegetables to lean proteins, that fit seamlessly into your busy schedule. Remember, experimenting with different ingredients and seasonings keeps things interesting and helps you stick to your health goals. By making air fryer sides a regular part of your routine, you’ll enjoy delicious, wholesome meals more often. Embrace this versatile appliance and enjoy the benefits of healthier eating without the hassle.
Frequently Asked Questions
Can I Prepare Gluten-Free Air Fryer Side Dishes?
Yes, you can prepare gluten-free air fryer side dishes easily. Just choose ingredients naturally free of gluten, like vegetables, chicken, or seafood, and avoid gluten-containing products or breaded items unless labeled gluten-free. Use gluten-free seasonings and coatings to keep everything safe. The air fryer cooks these dishes quickly and evenly, making it simple to enjoy healthy, gluten-free sides whenever you want, with minimal fuss.
What Are the Best Oil Substitutes for Healthier Options?
If you’re looking for oil substitutes for healthier options, consider using applesauce or mashed bananas. These add moisture and flavor without extra fat. You can also use Greek yogurt for a creamy texture or broth to reduce calories while maintaining moisture. Coconut aminos or vinegars are great for adding flavor without oil. Experiment with these alternatives to make your air fryer dishes healthier and still delicious.
How Do I Prevent Sides From Sticking to the Basket?
To prevent sides from sticking to the basket, you should lightly coat the basket with non-stick spray or a small amount of oil before adding your ingredients. Make sure to toss or shake your food halfway through cooking to promote even crisping and prevent sticking. Also, avoid overcrowding the basket, as too much food can cause items to stick together and to the basket.
Are Frozen Vegetables Suitable for Air Fryer Sides?
Frozen vegetables are great for air fryer sides because they cook quickly and evenly. Just toss them with a little oil and seasoning, then spread them out in the basket without overcrowding. Cook at the recommended temperature, usually around 375°F, and shake or stir halfway through. This way, you get crispy, delicious vegetables that are perfect for a healthy meal, no matter how busy your schedule is.
How Long Can Prepped Sides Be Stored in the Fridge?
Imagine your fridge as a safe harbor for your prepped sides. Generally, you should store cooked sides for 3 to 4 days, just like a reliable ship stays steady in safe waters. To keep them fresh, use airtight containers and refrigerate promptly. After that, the quality declines, and leftovers might not taste as good or could spoil. So, plan your meals to enjoy everything at its best.