Fan rattling is common and often caused by loose or damaged blades, dust buildup, or worn bearings. Most minor noises are not urgent, but loud or persistent rattling that worsens with use could signal a serious problem. It’s smart to inspect your fan, tighten loose parts, or clean debris. If issues continue, you might need to replace damaged components. To prevent future noise and keep your fan running smoothly, more tips are available if you explore further.
Key Takeaways
- Rattling can indicate loose blades, debris, or worn bearings, which may lead to further damage if untreated.
- Persistent or loud noise signals a more serious issue that needs inspection and possible repair.
- Check if the rattling worsens with speed or occurs during specific operation phases to diagnose the cause.
- Regular maintenance, such as cleaning and tightening screws, can prevent most rattling issues.
- Ignoring fan rattling risks motor failure and costly repairs, so timely attention is advisable.
Common Causes of Fan Rattling

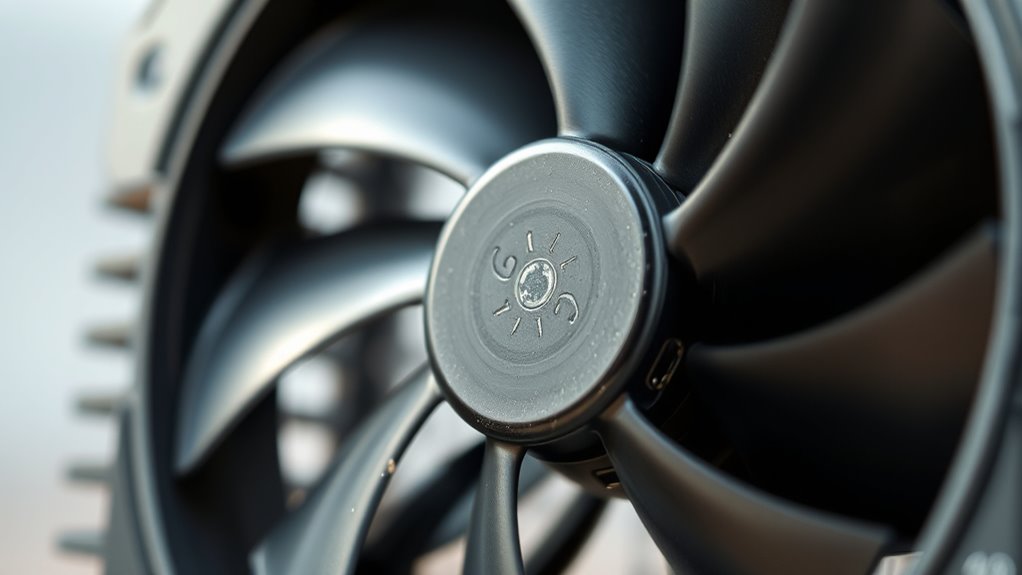
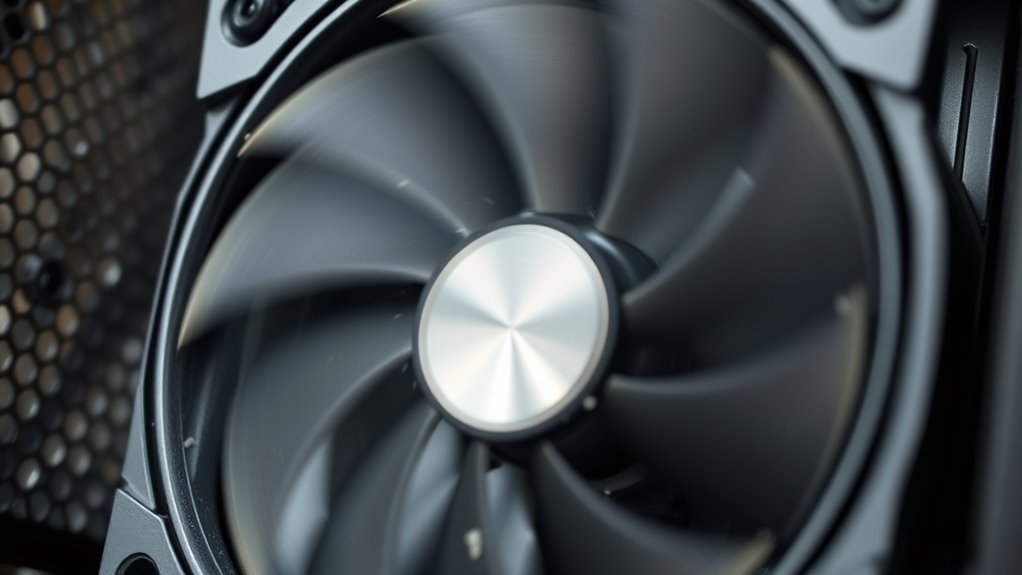
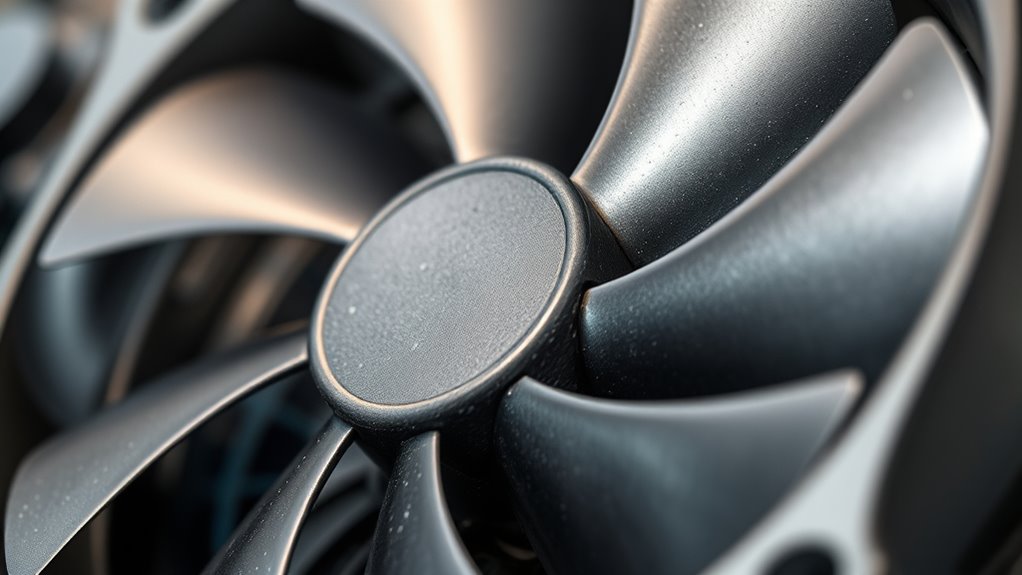
One of the most common reasons your fan might rattle is loose or worn-out blades. When a fan blade isn’t securely attached or becomes damaged, it can wobble and create noise. Check for any cracks or warping that might cause imbalance. Additionally, the motor mount, which holds the fan’s motor in place, can loosen over time. If the mount isn’t tight, the entire fan assembly may vibrate, leading to rattling sounds. Sometimes, debris or dust buildup between the blade and motor mount can cause misalignment, resulting in noise. Regularly inspecting the fan blade for cracks and ensuring the motor mount is secure can prevent rattling issues. Proper maintenance keeps your fan running smoothly and quietly, avoiding unnecessary worry. Glycolic acid benefits can also be applied to maintain the cleanliness of fan components, reducing dust buildup and noise.
When Rattling Signals a Serious Problem
While loose or damaged blades often cause minor rattling, persistent or loud noises can signal a serious problem. If your fan continues to rattle despite basic adjustments, it’s time for thorough fan maintenance. Ignoring loud rattling can lead to further damage or even motor failure. During noise troubleshooting, consider if the rattling worsens with speed or vibration. Unusual sounds may indicate worn bearings, misaligned blades, or a bent fan blade. Addressing these issues promptly ensures your fan operates safely and efficiently. Regular inspection and timely fixes can prevent costly damage and keep your fan running smoothly, avoiding the risks associated with neglected noise signals. Additionally, fan component health is crucial for maintaining optimal operation and avoiding unexpected breakdowns.
How to Diagnose the Source of Noise
To effectively diagnose the source of a fan’s noise, start by observing when the rattling occurs and how it changes with operation. Does it happen only at startup, during steady running, or when stopping? This helps identify whether the issue is with the fan blade or motor bearing. You can also check if the fan uses a 3.5mm Jack or wireless connection, as some issues may be related to the power supply or connection type.
Effective Solutions to Reduce Fan Noise
Reducing fan noise often involves simple adjustments and maintenance that you can perform yourself. First, check the fan blade for dust, dirt, or debris that can cause imbalance and rattling. Cleaning the blades with a soft cloth can improve airflow and reduce noise. Next, inspect the motor bearing; if it’s worn or dry, applying a few drops of lubricant designed for electric motors can quiet the fan. Tighten any loose screws or mounting brackets, as loose fittings contribute to rattling sounds. If the fan blade is bent or damaged, replacing it ensures smoother operation. Regular maintenance like these steps helps minimize noise and prolongs your fan’s lifespan, making it operate quietly and efficiently. Additionally, modern AI-enabled devices can provide insights into optimal fan operation and maintenance schedules to further reduce noise.
Preventative Measures to Keep Fans Quiet
Implementing regular preventative measures is essential for keeping your fans operating quietly. Consistent fan maintenance helps identify issues early, reducing noise and preventing rattling. Clean blades and motor components to eliminate dust buildup that can cause imbalance and vibration. Ensure mounting brackets are tight to prevent vibrations that increase noise. Consider lubrication of moving parts to reduce friction and squeaking. Use vibration dampers or pads to absorb shocks and minimize rattling. Regular inspections can catch loose screws or worn parts before they worsen. Additionally, understanding the horsepower of electric dirt bikes can help you assess the motor’s performance and potential noise levels.
Frequently Asked Questions
Can Fan Rattling Be Caused by External Environmental Factors?
Yes, external environmental factors can cause fan rattling. External vibrations from nearby machinery or speakers can shake your fan, leading to rattling sounds. Airflow disruptions caused by clutter or objects blocking the fan can also make it vibrate more, producing noise. You should check for these external influences regularly, as they can impact your fan’s performance and cause unnecessary noise or damage over time.
Is Occasional Rattling Normal During Fan Startup or Shutdown?
Imagine a vintage radio springing to life—your fan might rattle during startup or shutdown, but that’s often normal. Occasional rattling can cause fan noise and vibration issues, yet it’s usually just the fan settling into place. If the rattling persists or worsens, it could indicate a problem. Otherwise, a brief, intermittent sound isn’t likely to harm your fan, so don’t worry too much about it.
Are There Specific Fan Types More Prone to Rattling Issues?
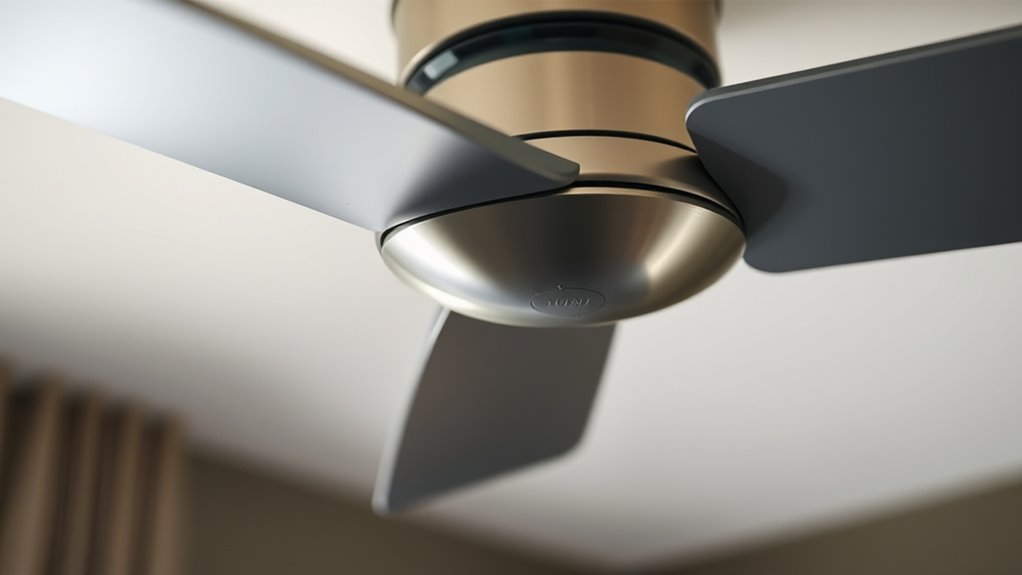
Some fan types are more prone to rattling issues, especially those with larger fan blades or older models. You might notice more motor noise and rattling in ceiling fans or industrial fans, which can be caused by loose blades or worn bearings. Keep an eye on these signs, and if the rattling persists, it’s best to check for loose parts or consider professional maintenance to prevent further damage.
How Long Should a Typical Fan Last Before Rattling Occurs?
Imagine the silent sentinel guarding your comfort—your fan’s lifespan can vary, but typically, rattling starts around 3 to 5 years of use. This typical rattling onset often signals wear on parts like bearings or blades. If you notice the noise creeping in earlier, it might be a sign to check for loose components or consider replacing the fan sooner, ensuring it continues to serve you quietly and efficiently.
Can DIY Fixings Permanently Resolve Fan Rattling Problems?
You can try DIY fixings to resolve a rattling noise, but they might not be permanent. Proper fan maintenance, like tightening screws and cleaning parts, often reduces rattling. However, if the noise persists, the fan may need professional repair or replacement. DIY fixes work temporarily, but for long-term peace of mind, consider consulting an expert to guarantee the problem is fully addressed and your fan runs smoothly.
Conclusion
Think of your fan as a loyal racehorse. When it’s quiet and steady, it’s ready to run smoothly. But when rattling starts, it’s like a sign of fatigue or trouble lurking beneath the surface. Address issues early, just like tending to a horse’s needs, and you’ll keep your fan running strong and quiet for the long ride ahead. With proper care, your fan can stay your trusty steed, silent and swift.