
To calibrate your thermostat for accurate temperatures, start by gathering a reliable external thermometer and check your current settings against it. Find the sensor location, ensuring it’s free from drafts, sunlight, and obstructions, and place the thermometer nearby at the same height. Adjust your thermostat slowly, then compare its display with the external device. Repeat this process in different rooms for better accuracy. If you want detailed steps, keep exploring the full process.
Key Takeaways
- Use a reliable external thermometer to compare with the thermostat’s reading for accuracy.
- Ensure the sensor is correctly positioned away from drafts, sunlight, and heat sources.
- Adjust the thermostat settings incrementally and verify with the external thermometer after each change.
- Regularly check and calibrate the thermostat biannually, preferably during seasonal transitions.
- Maintain proper sensor placement, cleanliness, and system function to ensure consistent temperature readings.
Gather Necessary Tools and Materials
Before you begin calibrating your thermostat, acquiring all the necessary tools and materials is essential. First, gather a digital multimeter to measure electrical signals accurately, ensuring your thermostat functions properly. You’ll also need calibration software compatible with your thermostat model, which helps adjust settings precisely. Have a screwdriver on hand for opening the thermostat housing, and keep a clean cloth nearby for dusting components. It’s helpful to have fresh batteries if your thermostat uses replaceable ones. Additionally, note down the current temperature settings and any relevant information from the user manual. Ensuring you understand your thermostat’s performance metrics can help identify if calibration is necessary. Organizing these tools beforehand saves time and prevents interruptions during calibration. With everything ready, you can confidently proceed to check the thermostat’s current settings and move forward with proper calibration.
Check Your Thermostat’s Current Settings
To accurately calibrate your thermostat, start by checking its current settings. Review the temperature displayed and compare it to a reliable, separate thermometer placed nearby. This step helps confirm temperature consistency across your home. If the thermostat’s reading differs considerably from the thermometer, it indicates a need for adjustment. Confirm that the thermostat is set to your desired comfort level, whether for heating or cooling. Consistent settings promote user comfort and prevent unnecessary energy use. Take note of the current temperature settings and any discrepancies. This information provides a clear baseline before making calibration adjustments. Regularly verifying your thermostat’s current settings keeps your home comfortable and energy-efficient, ensuring the device functions precisely and maintains the temperature you want. Additionally, understanding your thermostat’s performance metrics can help identify if it’s operating correctly or if calibration is necessary.
Locate Your Home’s Temperature Sensor

You need to find where your home’s temperature sensor is located. Pay attention to its placement to guarantee accurate readings, and avoid areas with drafts or direct sunlight. Make sure it’s properly aligned and free of obstructions for the best results.
Sensor Placement Tips
Placing your home’s temperature sensor correctly is essential for accurate thermostat readings and consistent comfort. To ensure reliable measurements, position the sensor away from direct sunlight, drafts, and heat sources. Avoid placing it near windows, doors, or vents that can skew readings. Consider humidity levels, as high humidity can make a room feel warmer, affecting sensor accuracy. The wall material also matters; sensors on exterior or insulated walls may not reflect the true indoor temperature. Use this table to guide your placement:
| Location Tips | Why It Matters |
|---|---|
| Away from direct sunlight | Prevents false high readings |
| Not near vents or drafts | Ensures stable temperature detection |
| Inner wall, not exterior | Reflects consistent indoor temps |
| Avoid high humidity areas | Maintains accurate readings |
Additionally, understanding how to calibrate the thermostat can further improve temperature accuracy and comfort.
Avoid Common Obstructions
Obstructions such as furniture, curtains, and decorative items can block your thermostat’s sensor, leading to inaccurate readings. Airflow obstructions prevent proper heat exchange, causing the sensor to misjudge the room’s temperature. Furniture blocking the sensor’s location can create false readings, making your thermostat think the room is warmer or cooler than it actually is. To guarantee accurate temperature measurements, keep the area around the sensor clear. Avoid placing furniture or objects directly in front of the thermostat, and make sure curtains or decorative items don’t cover it. Proper airflow is essential for reliable readings, so regularly check for and remove any obstructions. Maintaining optimal airflow and sensor placement can improve system efficiency and ensure your heat pump operates effectively. A clear, unobstructed sensor ensures your thermostat can accurately monitor and control your home’s temperature.
Check for Proper Alignment
To guarantee your thermostat provides accurate readings, it’s vital to verify that the temperature sensor is properly aligned and positioned in the correct location. Proper sensor positioning ensures the sensor accurately detects ambient temperature, preventing false readings. Misaligned sensors can lead to inconsistent heating or cooling, affecting comfort and energy efficiency. Check that the sensor isn’t near drafts, direct sunlight, or heat sources that could skew readings. Confirm it’s mounted away from obstructions and at the recommended height. Ensuring alignment accuracy helps your thermostat measure temperature precisely, keeping your home comfortable. Additionally, regular maintenance and inspection can prevent issues caused by dirty or damaged sensors.
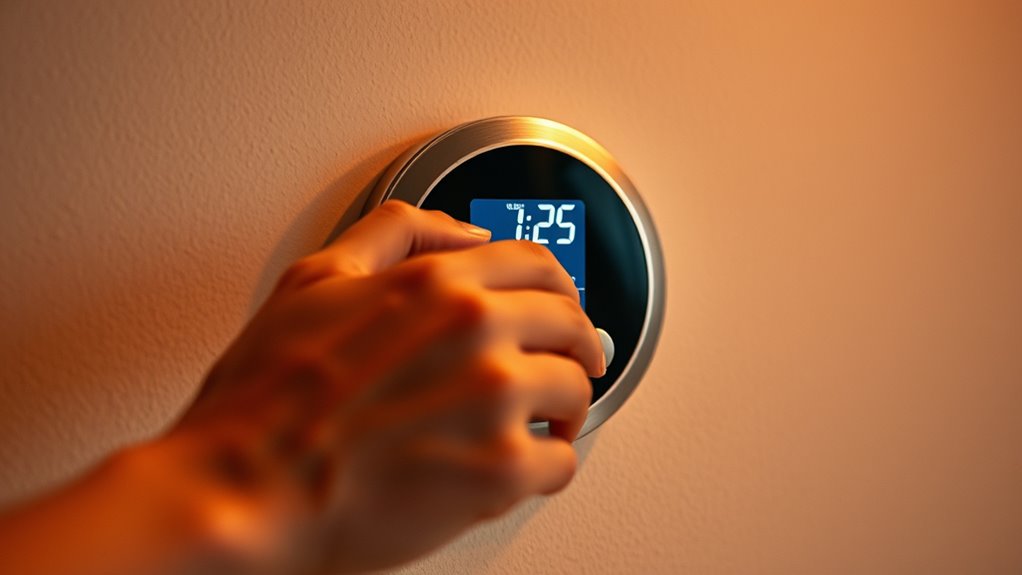
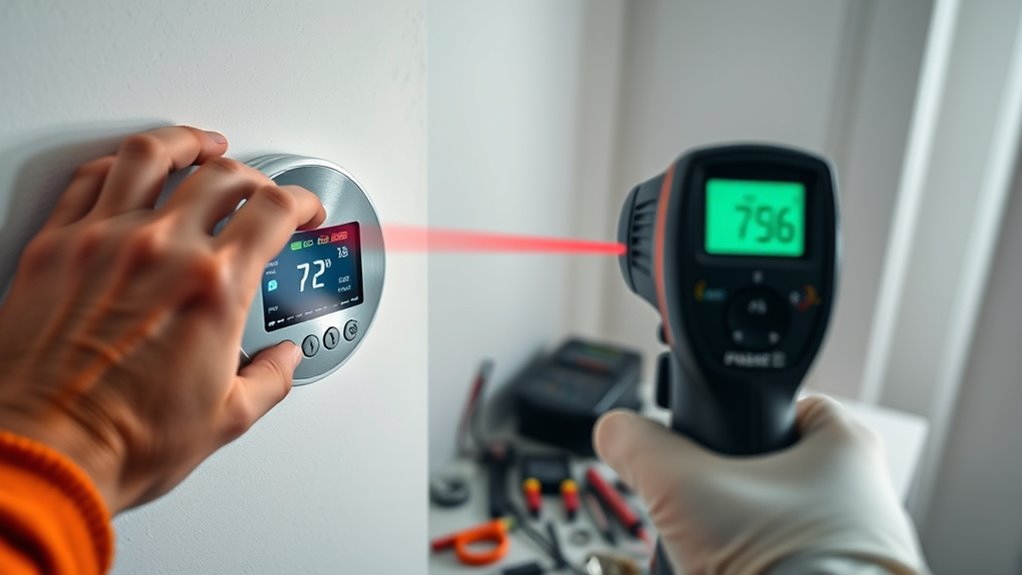
Use a Reliable External Thermometer

To get an accurate reading, you need a reliable external thermometer. Make certain it’s a device known for its precision and calibration stability. Also, position it correctly, away from drafts or direct heat, to ensure consistent measurements. Using a thermometer with consistent accuracy helps maintain the correct temperature settings over time.
Selecting Accurate Devices
Choosing the right device is essential for accurate thermometer calibration, and using a reliable external thermometer guarantees you get trustworthy readings. To guarantee precision, select a thermometer with proven accuracy and compatibility with your smart thermostat or digital sensors. Look for devices with clear digital displays and calibration features. Avoid cheap or outdated models that may provide inconsistent results. A high-quality external thermometer helps you verify your smart thermostat’s settings and adjust as needed. Keep in mind that some digital sensors are more precise than others, so invest in a device designed for calibration purposes. Reliable external thermometers provide consistent, accurate readings that ensure your thermostat is functioning correctly. Proper device selection is the foundation for achieving true temperature accuracy in your home. Accurate temperature readings are crucial for maintaining optimal comfort and energy efficiency.
Proper Placement Techniques
Ensuring your external thermometer is properly placed is crucial for obtaining accurate calibration readings. Position it away from direct sunlight, drafts, or heat sources, which can skew results. For the most reliable readings, use wireless sensors in well-insulated zones to avoid temperature fluctuations. Place the thermometer at the same height as your thermostat to ensure consistency. Proper thermal insulation around the sensor helps prevent external influences. Use the following table to guide placement:
| Location Guidance | Key Considerations |
|---|---|
| Away from sunlight | Prevents heat distortion |
| Avoid drafts | Ensures stable readings |
| Same height as thermostat | Maintains accuracy |
| Insulated area | Protects from environmental changes |
Following these tips guarantees precise calibration for your thermostat. Maintaining an optimal workspace environment can further enhance your overall comfort and efficiency.
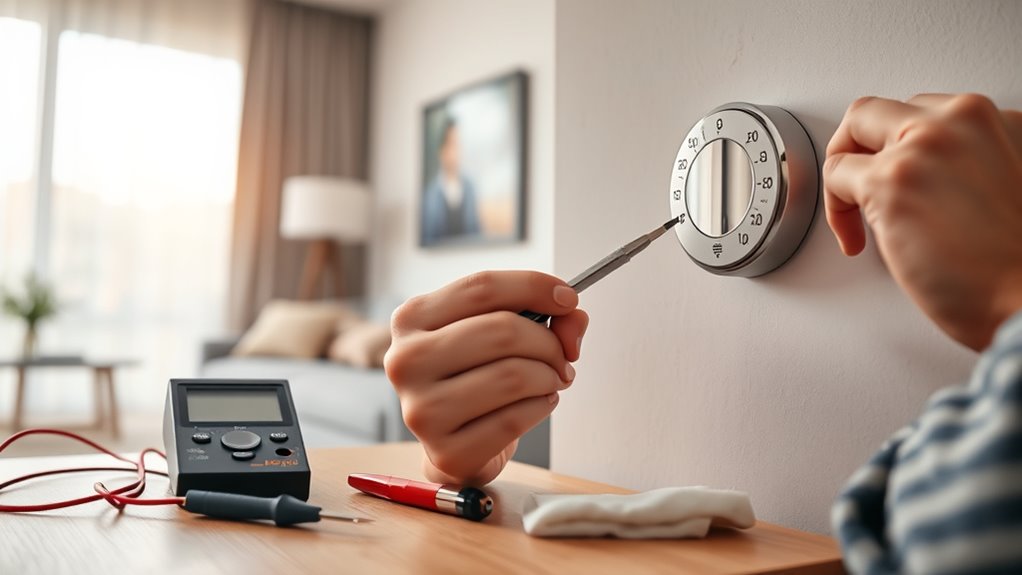
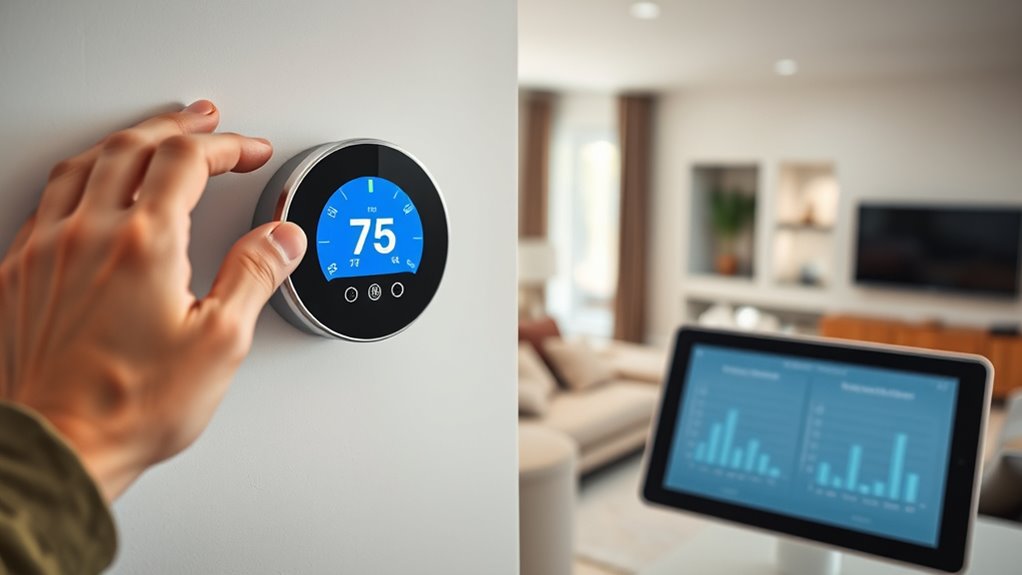
Adjust the Thermostat Settings

When adjusting your thermostat, start by setting it to a comfortable temperature that suits your preferences and the current weather conditions. If you have a smart thermostat, take advantage of its features to make precise adjustments easily. For manual adjustment, turn the dial or buttons gently to avoid overshooting your target temperature. Remember, small tweaks can have a big impact on comfort and efficiency. Consider the following tips:
- Use your smart thermostat’s scheduling features for consistent comfort
- Avoid rapid, repeated adjustments—give the system time to respond
- Check if the thermostat displays current temperature accurately
- Reset your settings if you notice inconsistent heating or cooling
- Calibrating the thermostat ensures more accurate temperature control and optimal system performance
These steps help ensure your thermostat is correctly set, leading to more accurate temperature control.
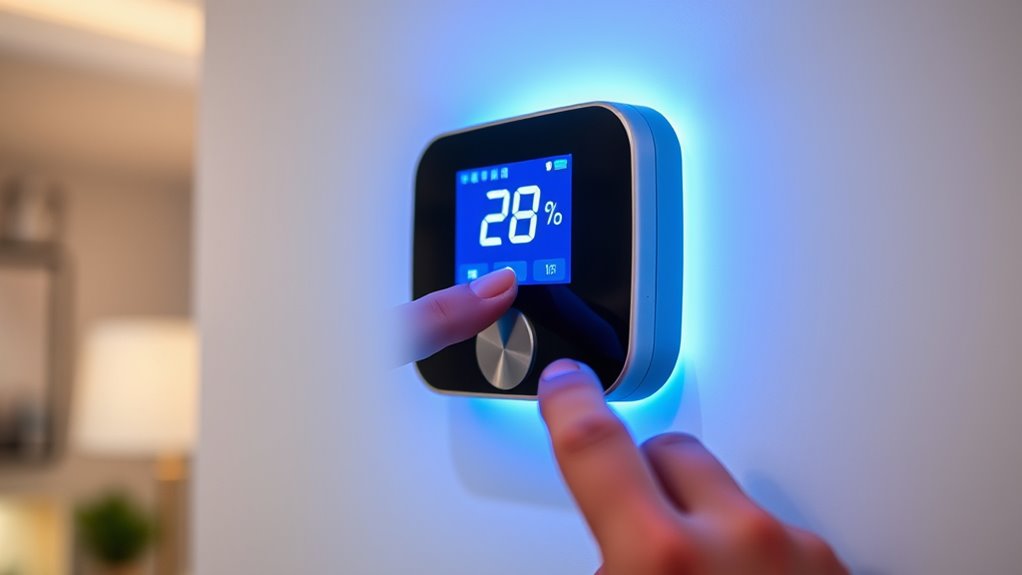
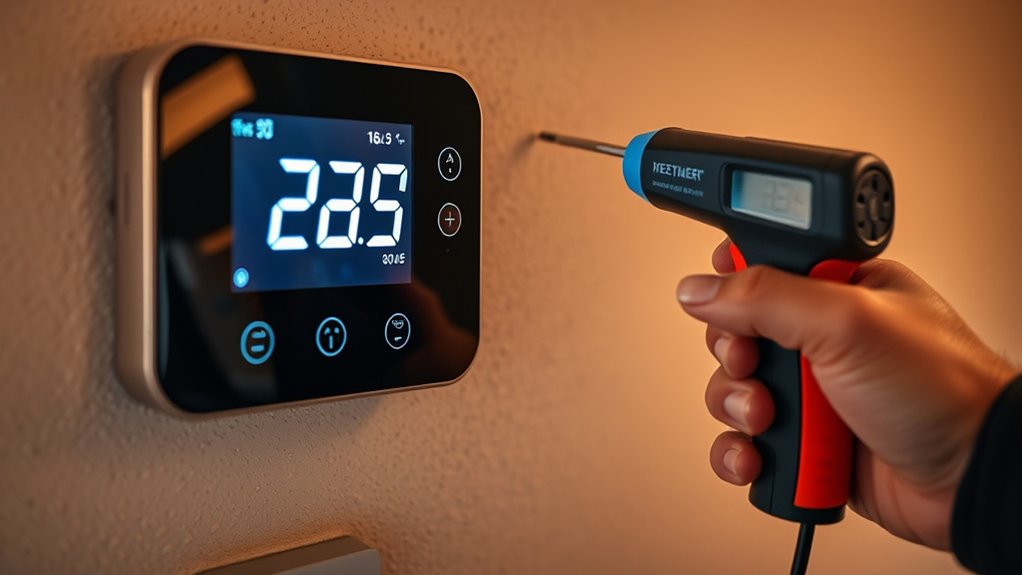
Verify the Calibration Accuracy
How can you be sure your thermostat is accurately calibrated? The key is verifying calibration accuracy by comparing your thermostat’s reading with a reliable thermometer. Keep in mind that thermal drift can affect sensor precision over time, causing temperature discrepancies. To check, place a certified thermometer next to your thermostat, set your system to the desired temperature, and observe the readings after a few minutes. If there’s a mismatch, your thermostat may need recalibration. Regularly verifying calibration helps maintain accuracy and extends sensor lifespan, preventing inaccurate temperature readings that could lead to higher energy bills or comfort issues. Additionally, sensor longevity can be impacted by environmental factors and usage patterns. By performing this check periodically, you ensure your thermostat remains precise, avoiding the effects of thermal drift and prolonging its effective lifespan.
Repeat the Process for Different Rooms
To guarantee your thermostat remains accurate throughout your home, it’s important to repeat the calibration check in different rooms. Each space can have unique factors affecting temperature, so making room-specific adjustments ensures consistent comfort. By testing various areas, you identify temperature inconsistencies and fine-tune your thermostat for better accuracy. This process helps prevent hot or cold spots, improving overall climate control.
- Recognize rooms with different insulation or sunlight exposure
- Adjust for spaces that tend to run warmer or cooler
- Use a reliable thermometer for each room to check temperature accuracy
- Document results for future reference and fine-tuning
Set a Regular Calibration Schedule
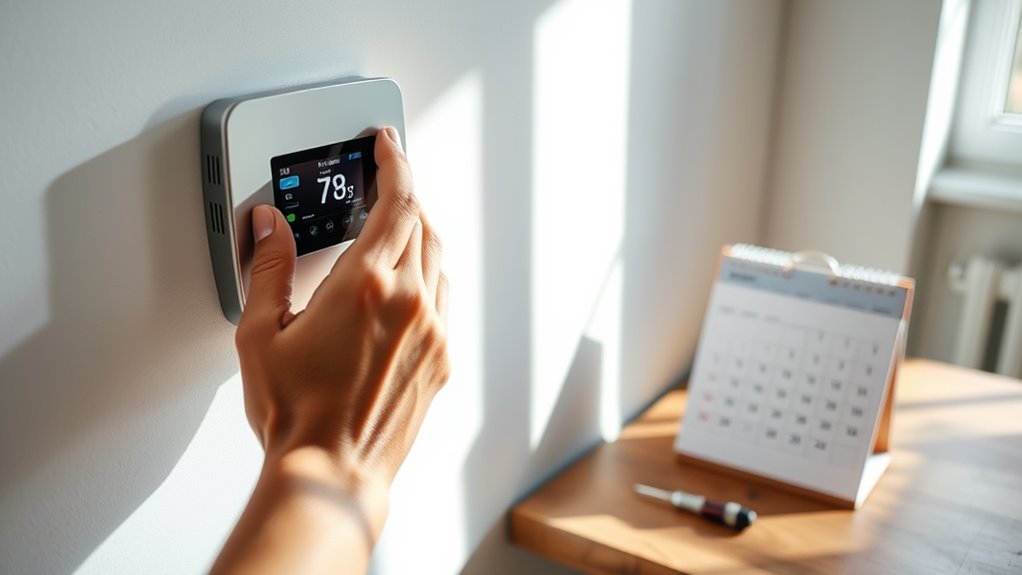
Establishing a regular calibration schedule guarantees your thermostat stays accurate over time, preventing temperature discrepancies that can affect comfort and energy efficiency. By scheduling seasonal adjustments, you ensure your thermostat reflects changing temperatures and maintains peak performance. Regular calibration helps catch drift early, reducing unnecessary energy use and preventing discomfort caused by inaccurate readings. Set reminders to check your thermostat’s accuracy at least twice a year—ideally during spring and fall—when seasonal changes occur. During these calibrations, verify the temperature against a reliable thermometer and make adjustments as needed. This routine not only keeps your home comfortable but also maximizes energy efficiency, saving you money on heating and cooling costs. Staying proactive with calibration extends your thermostat’s lifespan and enhances overall system performance.
Troubleshoot Common Calibration Issues
Even with regular calibration, you might encounter common issues that can throw off your thermostat’s accuracy. Sensor malfunction is a frequent culprit, causing incorrect temperature readings and inconsistent performance. Power supply issues can also disrupt calibration, leading to erratic operation or failure to maintain settings. To troubleshoot, start by checking the sensor connections and ensuring they’re clean and secure. Verify the power supply, replacing batteries or resetting the circuit if needed. Look for signs of damage or corrosion that could affect sensor responsiveness. Additionally, confirm that your thermostat’s firmware is up to date. Addressing these issues promptly helps maintain accurate readings and ideal comfort. Remember, resolving sensor or power issues can restore your thermostat’s reliability and prevent future calibration problems.
Frequently Asked Questions
How Often Should I Recalibrate My Thermostat for Optimal Accuracy?
You might wonder how often you should recalibrate your thermostat for the best accuracy. Typically, calibration frequency depends on usage and age, but a good rule is to check it once a year or if your home feels uncomfortable. Use maintenance tips like adjusting the thermostat’s settings and testing accuracy regularly. Staying proactive guarantees your system runs efficiently and maintains your home at the desired temperature consistently.
Can Incorrect Calibration Affect My Energy Bills Significantly?
It’s no coincidence that incorrect calibration can substantially impact your energy bills. When your thermostat isn’t accurate, your heating or cooling system runs longer than needed, wasting energy. This affects your energy efficiency and increases costs. Regularly checking and calibrating your thermostat helps guarantee your system operates at its best, leading to better cost savings and a more comfortable home. Don’t overlook calibration; it’s a simple step toward smarter energy use.
What Are Signs That My Thermostat Needs Calibration?
You might notice your thermostat needs calibration if your home’s temperature feels inconsistent or doesn’t match the setting you choose. Frequent temperature swings or your system running nonstop are signs. Regular thermostat maintenance helps catch these issues early. Use calibration tools to fine-tune your device accurately. If these signs appear, calibrating your thermostat guarantees your home stays comfortable and saves energy, preventing higher bills.
Are There Specific Thermostat Models That Are Easier to Calibrate?
Think of choosing a thermostat like picking a reliable compass; some models guide you more easily. Smart thermostats generally offer easier calibration, with user-friendly interfaces and clear instructions. Brands like Nest or Ecobee are known for their intuitive setup, making calibration straightforward. If you want a smooth experience, opt for these models, as they’re designed with easy calibration in mind, helping you keep your home comfortable without a hassle.
Is Professional Calibration Recommended for Complex or Advanced Thermostats?
If you’re dealing with complex or advanced thermostats, professional calibration is highly recommended. These models often have intricate settings and sensors that require specialized tools and expertise to guarantee accurate temperatures. Attempting to calibrate them yourself could lead to errors or damage. By opting for professional calibration, you ensure your advanced thermostat functions correctly, providing precise temperature control and improving your overall comfort and energy efficiency.
Conclusion
So, after all that fuss, you’ve got your thermostat perfectly calibrated—only to realize you’ve been adjusting the wrong room’s temperature all along. Irony at its finest! But don’t worry, now you’re equipped to keep your home cozy and energy-efficient. Just remember, even the best calibrations can’t fix a thermostat that’s secretly plotting against you. Stay vigilant, and you’ll never be caught off guard by unexpected chills or scorching heat again.