
Keeping your Vitamix Ascent X5 clean is essential for optimal performance and longevity. Regular cleaning prevents residue buildup, ensures food safety, and maintains the blender’s sleek appearance. This guide provides practical, step-by-step instructions to clean your blender safely and efficiently.
Whether you’re preparing smoothies, soups, or desserts, a clean blender helps achieve the best results and extends the life of your investment.
Key Takeaways
| Self-Cleaning Feature | Use the built-in program for quick, automatic cleaning. |
| Manual Cleaning | Clean removable parts regularly for hygiene and maintenance. |
| Blade Care | Inspect and replace blades if they become dull or damaged. |
| Avoiding Damage | Use only recommended cleaning methods to prevent voiding warranty. |

Vitamix Ascent X3 Blender with Three Blending Programs, Self-Cleaning Program, Professional-Grade Blender for Smoothies, Soups and More, Stainless-Steel Blades, 48 Oz Container, Shadow Black
- Includes Blender Components: Motor base, 48 oz container, tamper, recipe book
- Three Blending Programs: Smoothies, hot soups, frozen desserts
- Self-Cleaning Function: Cleans in 60 seconds with warm water
As an affiliate, we earn on qualifying purchases.
Preparation Before Cleaning
- Unplug the blender to ensure safety before cleaning.
- Remove the container from the motor base carefully.
- Check that the blades are not damaged before cleaning.
Using the Self-Cleaning Program
- Fill the container halfway with warm water.
- Add a drop of dish soap.
- Secure the lid tightly.
- Press the Self-Cleaning Program button and run the cycle for 60 seconds or less.
Manual Cleaning of Parts
- Wash the container, lid, and tamper with warm, soapy water.
- Use a soft sponge or brush to scrub stubborn spots.
- Rinse thoroughly and dry with a soft cloth.
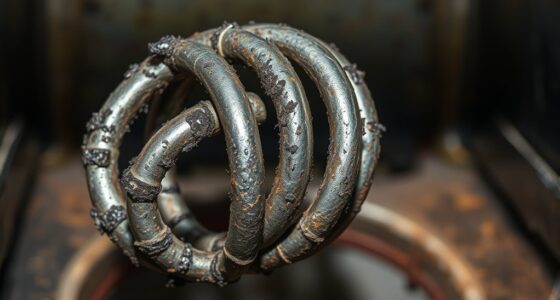
Cleaning the Blades and Replacing the Wet Blade Assembly
If blades become dull or damaged, consider replacing the wet blade assembly. To do this, remove the container from the base, unscrew the blade assembly, and replace it with a compatible new one, such as the Vitamix Wet Blade Assembly designed for standard containers.
Tips and Warnings
- Never submerge the motor base in water.
- Avoid using abrasive cleaners or brushes that could scratch the container or blades.
- Regularly inspect blades for wear and replace as needed to maintain performance.
The Products in This Guide

Vitamix Ascent X3 Blender
- ✔ Weight: 14 lbs
- ✔ Color: Shadow Black
- ✔ Warranty: 7 years

Vitamix Wet Blade Assembly
- ✔ Weight: 1.2 lbs
- ✔ Package Includes: Blade assembly
- ✔ Warranty: N/A
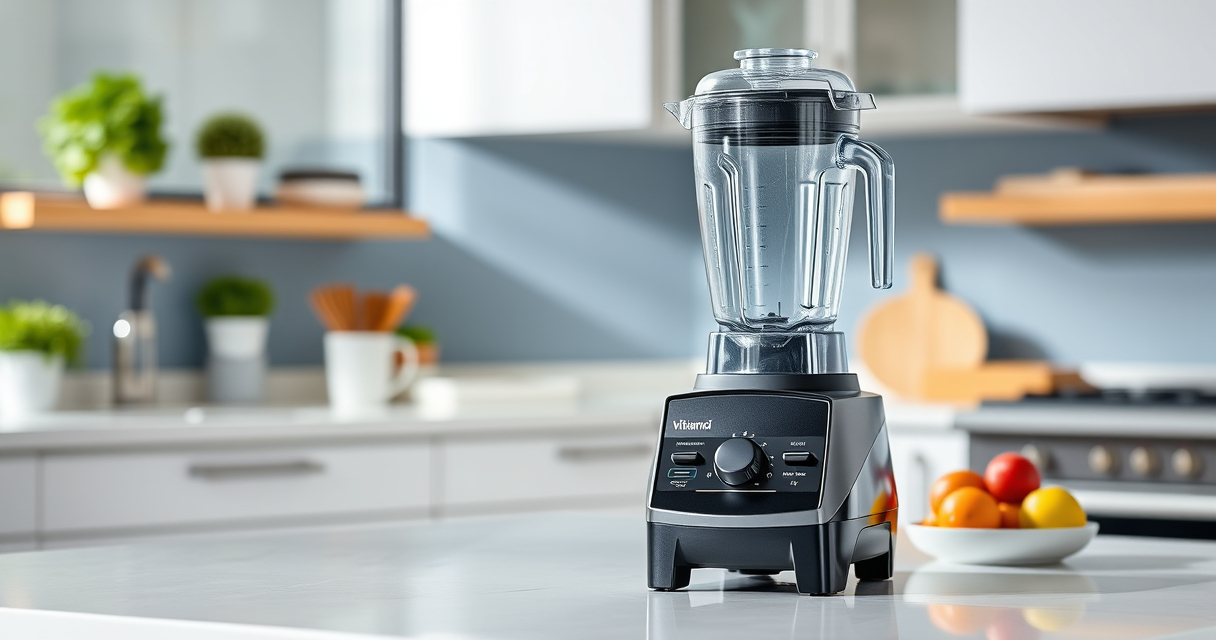
Vitamix Ascent X3 Blender
The Vitamix Ascent X3 Blender features a convenient self-cleaning function that simplifies maintenance. Regular manual cleaning of the container and parts ensures longevity and optimal blending performance.
Pros:
- Quick and easy self-cleaning cycle
- Durable stainless-steel blades
- Intuitive touch controls
- Includes tamper and recipe book
Cons:
- Does not include a dedicated cleaning brush
- Container not dishwasher safe
- Blade assembly may need replacement over time
Best for: Home cooks and professionals seeking easy maintenance
Not ideal for: Users requiring dishwasher-safe containers or quieter operation
Bottom line: The Vitamix Ascent X3 offers efficient self-cleaning for hassle-free maintenance.
Vitamix Wet Blade Assembly
This Vitamix Wet Blade Assembly is designed for quick replacement with compatible containers, ensuring your blender continues to perform at its best without costly repairs.
Pros:
- Durable stainless steel
- Handles ice and purées easily
- Double bearings for longer life
- Quiet operation
Cons:
- Not compatible with all containers
- Designed for older models
- Requires some disassembly for replacement
Best for: Maintaining optimal blade function and longevity
Not ideal for: Users with newer container models or who prefer professional service
Bottom line: A dependable blade assembly for restoring your blender’s performance.
Frequently Asked Questions
Can I put the Vitamix container in the dishwasher?
It’s recommended to hand wash the container, lid, and tamper with warm, soapy water. The container is not dishwasher safe.
How often should I replace the blade assembly?
Inspect the blades regularly; replace the assembly if you notice dullness, damage, or decreased blending performance.
Is the self-cleaning feature safe to use frequently?
Yes, the self-cleaning program is designed for regular use and is a safe, convenient way to maintain your blender.
What should I do if my blender isn’t cleaning properly?
Ensure you’re adding enough warm water and dish soap, and running the cycle for the full 60 seconds. Check for any damage or buildup in the blades.
Maintaining Your Vitamix for Peak Performance
Regular cleaning and timely replacement of parts like the wet blade assembly keep your Vitamix Ascent X5 functioning smoothly for years to come. Using the self-cleaning feature simplifies routine maintenance, while manual cleaning of removable parts ensures hygiene and longevity. Follow these simple steps, and your blender will continue to deliver excellent results every time.
Affiliate disclosure: As an Amazon Associate we earn from qualifying purchases. Prices and availability are accurate as of the time of publishing.