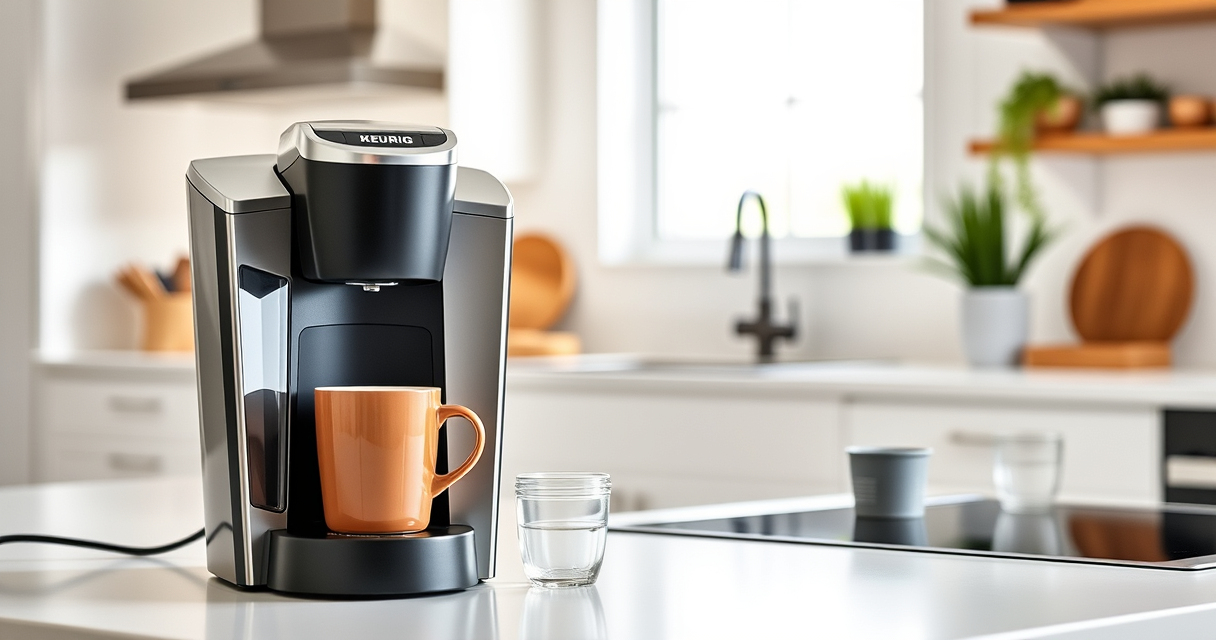

If you rely on your Keurig K-Mini for quick, fresh coffee every day, keeping it in optimal condition is essential. From common brewing issues to cleaning routines, this guide provides clear, practical steps to troubleshoot and care for your Keurig in 2026. Whether it’s a water flow problem or mineral buildup, you’ll find safe, effective solutions to keep your coffee experience smooth and satisfying.

Get kitchen gear delivered free with Prime
- Fast, free delivery on millions of items
- Prime Video, Amazon Music and more included
- Member-only deals all year
Regular maintenance not only ensures your brewer functions efficiently but also extends its lifespan. Let’s explore how to troubleshoot typical problems, perform routine cleaning, and maintain your Keurig K-Mini so it continues to serve your daily caffeine needs flawlessly.
Key Takeaways
| Regular Cleaning | Keeps your brewer free of residue and mineral buildup. |
| Descaling Importance | Removes mineral deposits that affect flavor and function. |
| Troubleshooting Basics | Identifies common issues like water flow or brewing errors. |
| Use Quality Filters | Enhances coffee taste and extends machine life. |
| Safe Maintenance | Follow step-by-step instructions for safe cleaning. |
Identifying Common Problems with Your Keurig K-Mini
Before diving into troubleshooting, it’s helpful to recognize the typical issues that may arise with your Keurig K-Mini. Common problems include the machine not brewing at all, weak coffee, or water not flowing properly. Sometimes, the brewer displays an error code or leaks water. Understanding these symptoms helps pinpoint the cause and guides you toward effective solutions.
In my experience, many issues stem from mineral buildup, clogged needles, or outdated filters. Regular cleaning and descaling can often resolve these problems, preventing costly repairs or replacements. Let’s explore how to troubleshoot each common issue step-by-step.
Step-by-Step Troubleshooting for Common Issues
- Brewer Not Turning On or No Water Flow: Check that the power cord is securely plugged in and the outlet works. Ensure the water reservoir is filled and correctly seated. If still unresponsive, reset the machine by unplugging for 30 seconds, then plugging back in.
- Weak or No Coffee Brewed: Remove the water reservoir, empty and refill it with fresh water. Clean the water reservoir and the area around the water inlet. If the problem persists, descale your machine.
- Clogged Needles or Water Blockage: Use a paperclip or the Keurig needle cleaning tool to clear any debris from the entry needles. Be cautious and unplug the machine before performing this step.
- Leaking or Overflowing: Check that the drip tray is properly positioned and empty. Inspect the water reservoir for cracks or improper fitting. Clean any mineral deposits that may be causing blockages.
Routine Cleaning and Maintenance Tips
Maintaining your Keurig K-Mini involves regular cleaning routines that prevent buildup and ensure optimal performance. Use the Keurig Rinse Pods or run plain water through the machine weekly to clear residual oils and coffee grounds. Remove and wash the water reservoir and drip tray with mild soap monthly.
Descaling is crucial for mineral deposit removal. Use a descaling solution or a mixture of equal parts water and vinegar, following the instructions provided in the maintenance kits. Typically, descale every 3-6 months based on usage and water hardness.
Additionally, check and replace the water filter cartridges (if used) as recommended, usually every 2 months, to reduce impurities and improve taste. Proper cleaning prolongs your brewer’s life and keeps your coffee tasting fresh.
How to Descale Your Keurig K-Mini Effectively
- Unplug your Keurig and remove the water reservoir. Empty any remaining water.
- Fill the reservoir with descaling solution or a mixture of equal parts water and vinegar.
- Place a large cup under the spout, and run a brewing cycle without a K-Cup. Repeat until the reservoir is empty.
- Rinse the reservoir thoroughly and refill with fresh water.
- Run multiple cycles with clean water to flush out any remaining descaling solution or vinegar.
- Wipe down the exterior and clean the needle area with a paperclip or needle cleaning tool.
This process helps remove mineral buildup that can cause poor performance and flavor issues.
Tips and Warnings for Safe and Effective Care
- Always unplug your Keurig before cleaning or descaling. This prevents electrical hazards.
- Use only recommended descaling solutions or vinegar. Avoid harsh chemicals that can damage your brewer.
- Be gentle when cleaning the needles or water inlet. Forcibly poking or scraping can damage sensitive parts.
- Regularly check for cracks or leaks. Replace damaged parts promptly to avoid water damage or malfunction.
- Follow the manufacturer’s instructions for descaling kits and filters. Incorrect procedures can impair your brewer’s performance.
The Products in This Guide

Keurig K-Mini Single Serve K-Cup Pod Coffee Maker
- ✔ Brew Size: 6-12 oz
- ✔ Color: Black
- ✔ Dimensions: Less than 5 inches wide

My K-Cup® Reusable Coffee Filter
- ✔ Material: BPA-free plastic
- ✔ Capacity: Single shot
- ✔ Compatibility: Keurig K-Mini
Keurig K-Mini Single Serve K-Cup Pod Coffee Maker
The Keurig K-Mini Single Serve K-Cup Pod Coffee Maker is a sleek, space-saving machine ideal for small spaces. It offers brew sizes from 6-12oz, features a removable drip tray, and is travel mug friendly. Its compact design makes it perfect for dorms, offices, or apartments, while its quick brewing time ensures your coffee is ready in minutes.
Pros:
- Space-saving design
- Fast brewing
- Removable drip tray
- Compatible with reusable filters
Cons:
- Limited to single serve
- No water filter system
- No digital display
Best for: Small spaces and quick coffee needs
Not ideal for: Heavy coffee drinkers or those wanting multiple cups at once
Bottom line: A compact, efficient coffee maker ideal for small spaces and quick brews.
My K-Cup® Reusable Coffee Filter
The My K-Cup® Reusable Coffee Filter is a versatile addition to your Keurig, allowing you to brew with your favorite ground coffee. It’s compatible with the Keurig K-Mini and other models, providing an eco-friendly and cost-effective alternative to single-use pods. Its durable design ensures a consistent brew and easy cleaning.
Pros:
- Eco-friendly
- Cost-saving
- Compatible with multiple models
- Easy to clean
Cons:
- Requires ground coffee
- Might need adjustment for grind size
- Less convenience than pods
Best for: Using ground coffee and reducing waste
Not ideal for: Those who prefer instant K-Cups or quick prep
Bottom line: A durable, eco-friendly solution for ground coffee lovers.
Frequently Asked Questions
How often should I descale my Keurig K-Mini?
It’s recommended to descale every 3-6 months, or more frequently if you have hard water, to prevent mineral buildup and maintain optimal performance.
Can I use ground coffee in my Keurig K-Mini?
Yes, using a reusable filter like the My K-Cup allows you to brew ground coffee, offering more variety and reducing waste.
What should I do if my machine is leaking?
Check that the water reservoir is properly seated, clean the drip tray, and inspect for cracks. Clearing any mineral deposits or blockages can also resolve leaks.
How do I clean the needles?
Unplug the machine, remove the water reservoir, and gently insert a paperclip or the Keurig needle cleaning tool into the needle holes to clear any blockages.
Is it safe to use vinegar for descaling?
Yes, vinegar is a common descaling agent. Use a mixture of equal parts water and vinegar, and rinse thoroughly afterward to remove any residue.
Keep Your Keurig K-Mini in Top Shape
Regular troubleshooting and maintenance are essential for keeping your Keurig K-Mini brewing fresh, delicious coffee. By following proper cleaning routines, descaling effectively, and addressing common issues promptly, you can extend the life of your machine and enjoy optimal performance for years to come. A little care goes a long way in ensuring your coffee experience remains consistently satisfying.
Affiliate disclosure: As an Amazon Associate we earn from qualifying purchases. Prices and availability are accurate as of the time of publishing.
Halloween Picks
halloween
As an affiliate, we earn on qualifying purchases.