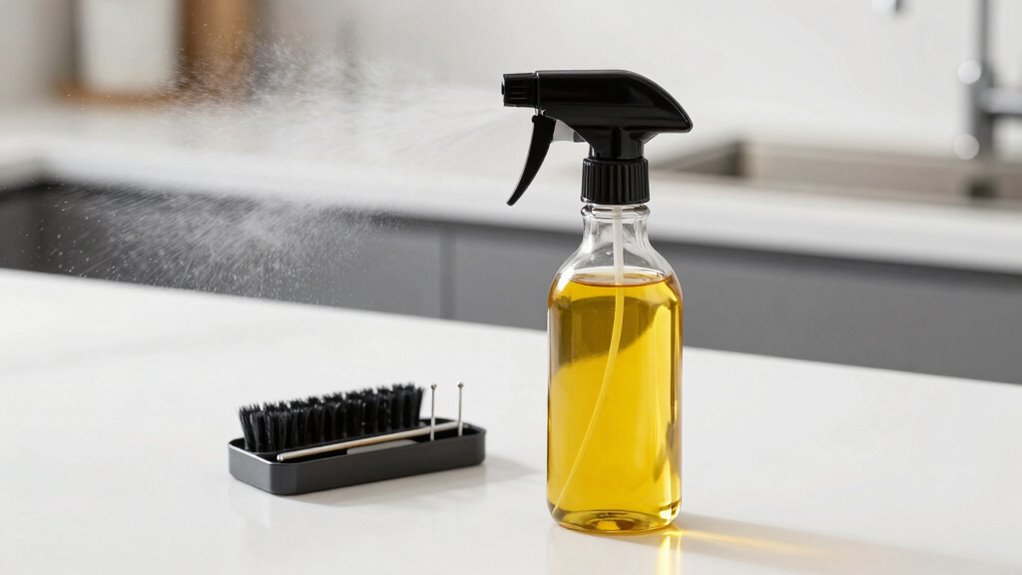
If your oil sprayer is clogging, the key is regular cleaning and proper maintenance. First, check for residue and clear blockages with a needle or pin. Disassemble the nozzle carefully, soak parts in warm, soapy water, then rinse and dry thoroughly. Using the right, thinner oils and storing your sprayer upright in a cool, dry place helps prevent future clogs. Keep these tips in mind, and you’ll find solutions faster after continuing with these expert insights.
Key Takeaways
- Regularly clean and disassemble the nozzle to remove residue and prevent clogs.
- Use warm water and gentle tools like toothpicks or brushes for effective cleaning.
- Store the sprayer upright in a cool, dry place to avoid oil thickening and internal damage.
- Choose appropriate, thinner oils and avoid overfilling to reduce clog risk.
- Inspect and replace worn nozzles or filters promptly for consistent, clog-free operation.
Why Do Oil Sprayers Clog, and How Can You Tell?
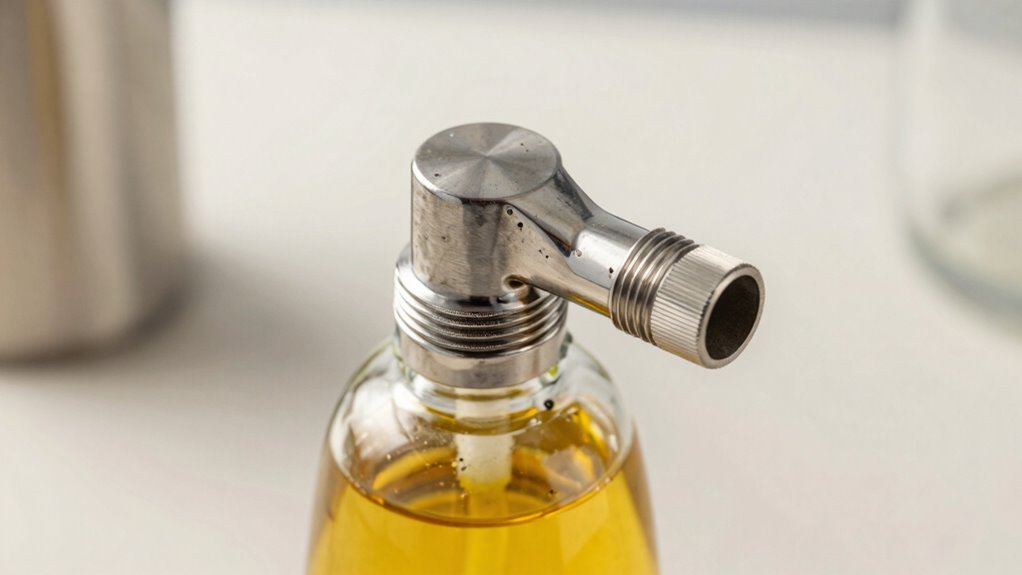
Oil sprayers can clog for several reasons, often due to the viscosity of the oil or impurities in the liquid. If the oil is too thick, it struggles to pass through the nozzle, increasing the chance of blockage. The nozzle design also plays a key role; narrow or improperly shaped nozzles can easily trap thicker oils or debris, leading to clogs. You might notice uneven spray, drips, or complete failure to dispense oil. Thick oils with high viscosity are more prone to clogging, especially if the sprayer isn’t designed to handle them. Regularly inspecting the nozzle for buildup and understanding your oil’s viscosity can help you anticipate and prevent clogs before they occur. Proper nozzle design and oil choice are essential for smooth, clog-free operation. Additionally, viscosity levels significantly influence how well an oil flows through the sprayer, making it crucial to select oils suitable for your device. Being aware of oil flow properties can further aid in choosing the right type of oil to minimize clogs and ensure consistent dispensing. Moreover, choosing oils with consistent composition can reduce the risk of impurities that may contribute to blockages. Monitoring oil quality regularly can also help detect potential issues early and maintain optimal performance.
Quick Fixes for Clogged Oil Sprayers
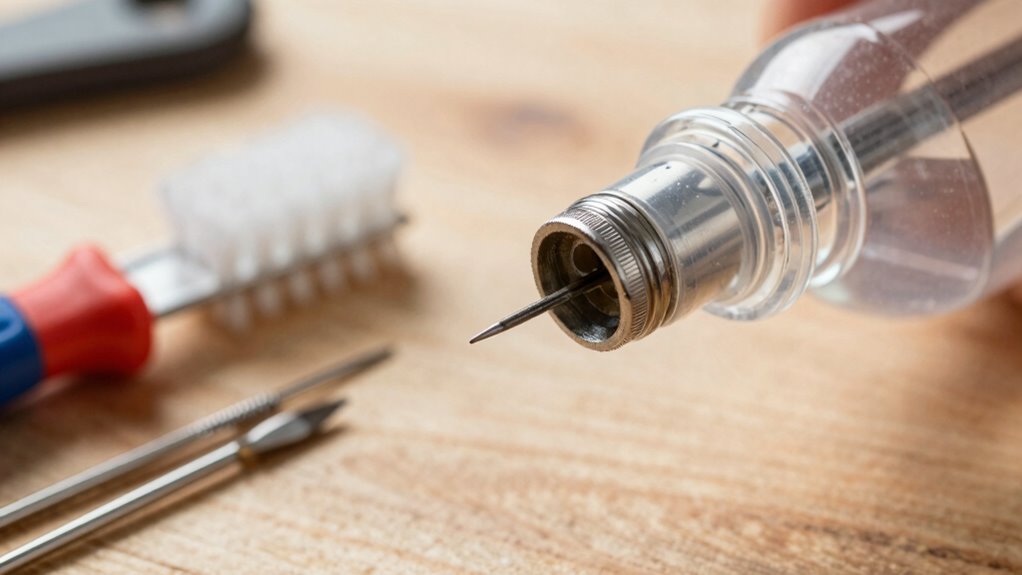
When your sprayer becomes clogged, quick action can often restore it without a full clean. First, check for oil residue buildup around the nozzle, which can block spray flow. Sometimes, the clog is due to residue hardened inside the nozzle design. To fix this, try gently tapping or tapping the nozzle to dislodge any obstruction. You can also use a pin or needle to clear out the small openings carefully. Avoid applying excessive force, as this can damage the nozzle. Rinsing with warm water may help loosen stubborn residue. Additionally, understanding your nozzle design can help you identify where blockages are most likely to occur. Regular inspection and proper maintenance routines, such as filter replacement, can help prevent clogs in the future. Being familiar with drone maintenance can also contribute to overall equipment reliability. These simple steps often resolve minor clogs quickly, saving you time and preventing the need for more involved cleaning. Recognizing common clog sources can help you troubleshoot more effectively. Incorporating routine cleaning procedures can significantly reduce the chances of future clogs. Remember, understanding your nozzle design can help you identify where blockages are most likely to occur. Additionally, being aware of common issues like clogged oil sprayers can help you troubleshoot more effectively.
How to Clean Your Oil Sprayer Nozzle Properly
Start by carefully removing the nozzle to prevent damaging it. Use the right cleaning tools, like a small brush or pin, to clear any blockages. Taking these steps guarantees your nozzle stays clean and functions properly. Regular maintenance helps prevent clogging issues and extends the life of your oil sprayer. Additionally, inspecting the nozzle regularly for signs of wear can help you catch problems early before they cause more serious malfunctions. Implementing proper cleaning techniques aligns with recommended maintenance dos and don’ts to ensure optimal performance. Being aware of market shifts, such as new Bitcoin holders controlling a significant portion of supply, can also inform your understanding of economic factors that might indirectly affect your investment decisions. Maintaining your oil sprayer according to these guidelines not only ensures better performance but also aligns with best practices for device longevity.
Remove Nozzle Carefully
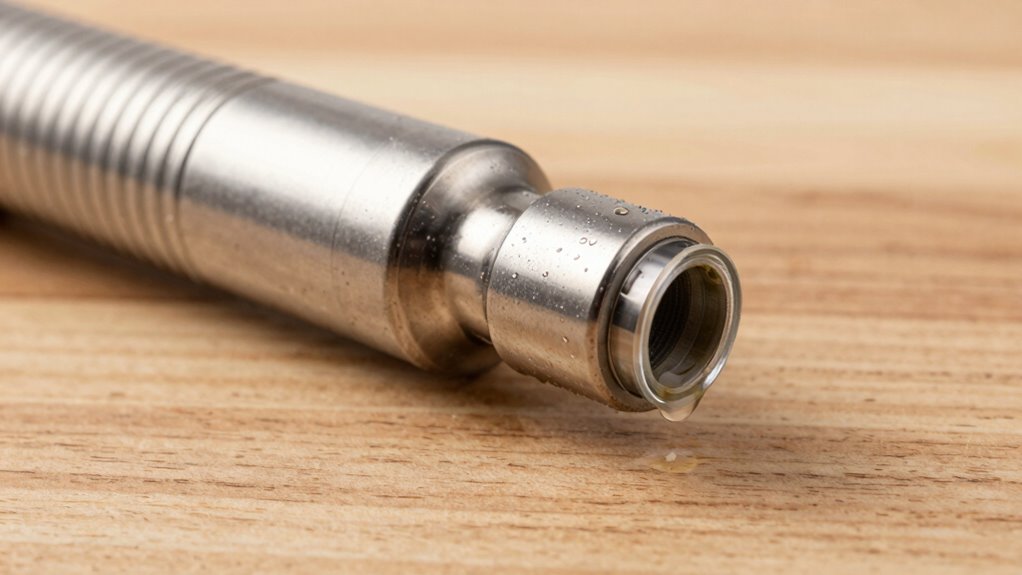
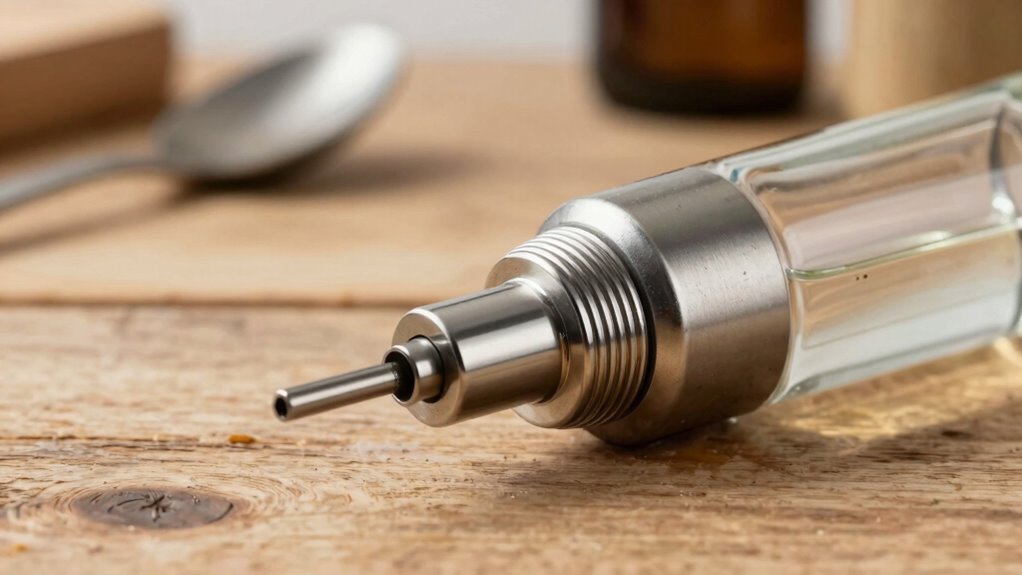
Careful removal of the nozzle is essential to prevent damage and guarantee proper cleaning. When performing nozzle removal, take your time and avoid forcing it out, which could cause cracks or breakage. Use gentle, steady pressure to loosen the nozzle, ensuring you don’t bend or strip any fittings. Proper disassembly involves checking for any clips or screws holding the nozzle in place and removing them carefully. If your sprayer has a threaded nozzle, turn it counterclockwise with a firm grip, but don’t over-tighten during reassembly. Making sure you remove the nozzle properly helps prevent misalignments and leaks later. Always handle the nozzle with care to preserve its integrity, setting yourself up for effective cleaning and long-term use. Additionally, understanding the application techniques can help maintain even spray patterns and prevent clogs over time. Recognizing the importance of proper maintenance can extend the lifespan of your oil sprayer significantly.
Use Appropriate Cleaning Tools
Using the right cleaning tools is key to guaranteeing your oil sprayer nozzle stays in good condition. Proper tools make removing clogs easier and prevent damage. Use small cleaning brushes to scrub away residue inside the nozzle gently. Using toothpicks helps dislodge stubborn blockages without scratching or damaging delicate parts. Avoid harsh metal tools that could harm the nozzle’s surface. Keep these tools handy for regular maintenance:
- Soft cleaning brushes
- Toothpicks for stubborn clogs
- Toothbrushes for gentle scrubbing
- Fine needles for deep cleaning
Utilizing appropriate cleaning tools ensures thorough cleaning without compromising the nozzle’s integrity. Regular maintenance with these tools keeps your oil sprayer working smoothly and extends its lifespan. Proper maintenance techniques are essential for ensuring the longevity of your device and preventing issues like clogs. Additionally, understanding device components can help you identify parts that may need extra care during cleaning. Recognizing the security zone info related to your device can also prevent unauthorized tampering or damage. Incorporating cleaning schedules into your routine can further help maintain optimal performance over time.
Disassemble and Maintain Your Oil Sprayer for Long-Term Use

To keep your oil sprayer working smoothly, you need to disassemble it safely and perform regular maintenance. Follow proper steps to avoid damage and make certain all parts are thoroughly cleaned. Doing this regularly helps extend the lifespan of your sprayer and keeps it functioning reliably. Proper maintenance is essential for ensuring your sprayer remains effective and ready for your next project. Regular inspections can also help identify potential issues before they cause a malfunction, and understanding your sprayer’s component design can aid in more effective troubleshooting. Being familiar with maintenance procedures can further prevent common problems like clogs and leaks, ensuring reliable performance over time.
Safe Disassembly Steps
Before disassembling your oil sprayer, make sure it’s unplugged and depressurized to prevent accidental spraying or leaks. Safety first! When taking it apart, handle components carefully to avoid damaging the nozzle design or affecting oil viscosity. Start by removing the lid and inspecting the nozzle for buildup or clogs. Then, gently detach the pump mechanism, keeping track of all parts. Clean each piece with warm water and a soft brush, avoiding harsh chemicals.
- Check for cracks or wear in the nozzle
- Clear any blockages carefully
- Inspect seals and gaskets for damage
- Store parts in a clean, dry place for reassembly
Taking these steps ensures your oil sprayer stays in good shape and continues to spray evenly without affecting oil viscosity or nozzle performance.
Regular Maintenance Tips
Regular upkeep is key to keeping your oil sprayer functioning smoothly over time. To guarantee longevity, regularly disassemble and clean it, paying attention to the oil sprayer design and materials. Different models may have unique parts, so consulting the manual helps. Use the table below to identify common components and maintenance tips:
| Part | Maintenance Tip |
|---|---|
| Nozzle | Soak in warm water to prevent clogging |
| Tube | Check for blockages and clear debris |
| Reservoir | Clean with mild soap and rinse thoroughly |
Additionally, understanding the food chemistry behind oil dispersal can help optimize cleaning techniques for better performance.
Tips to Prevent Clogs Before They Happen
Preventing clogs in your oil sprayer starts with proper preparation and routine care. Choosing the right oil type is essential—opt for thinner oils that flow smoothly and are less likely to cause blockages. Adjust your spray frequency based on your usage; spraying too often can lead to buildup, so give the sprayer time to clear between uses. To prevent future clogs, consider these tips:
- Use the appropriate oil type for your sprayer’s specifications
- Clean the nozzle after each use to remove residue
- Avoid overfilling the container to prevent pressure buildup
- Store the sprayer in a cool, dry place to prevent oil thickening
Consistently following these practices helps maintain smooth operation and reduces the risk of clogs before they start.
Using Warm Water and Soap to Clear Blockages
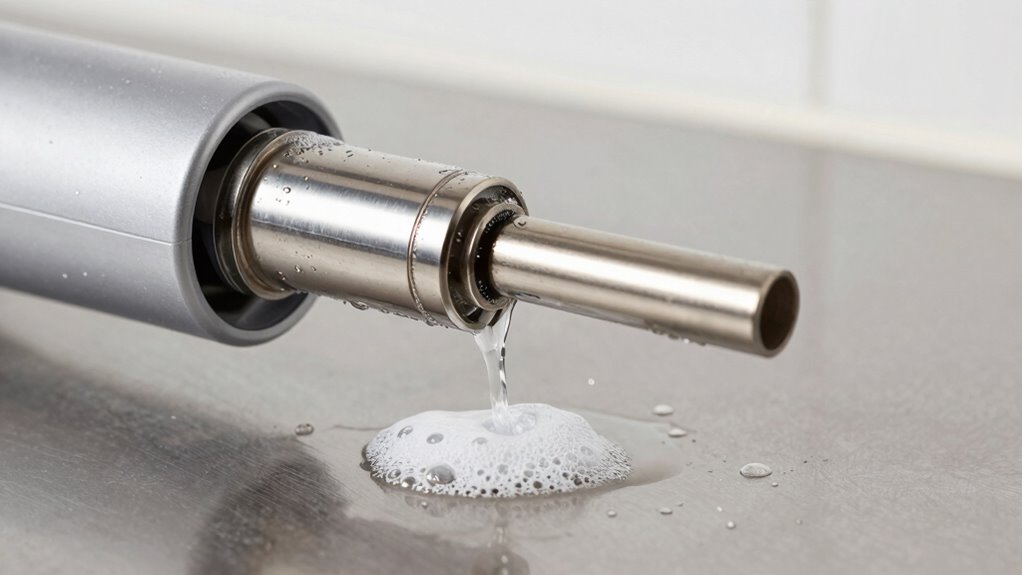
Using warm water and soap is a gentle yet effective way to clear oil sprayer blockages. This simple cleaning method helps dissolve residue without damaging the nozzle. It’s a reliable solution to keep your sprayer flowing smoothly.
Gentle Cleaning Method
When your oil sprayer isn’t dispensing smoothly, a gentle cleaning can often do the trick. Start by disassembling the nozzle and rinsing it with warm water mixed with a few drops of soap. This helps loosen any residue affecting oil consistency. Be mindful of the nozzle material—some plastics or metals may require different care. To guarantee a thorough clean, consider these tips:
- Soak parts in warm, soapy water for a few minutes.
- Use a soft brush or cloth to gently scrub the nozzle.
- Rinse thoroughly with warm water, avoiding harsh chemicals.
- Dry all parts completely before reassembling to prevent rust or clogs.
This simple method restores proper flow without risking damage to delicate components.
Effective Clogging Solution
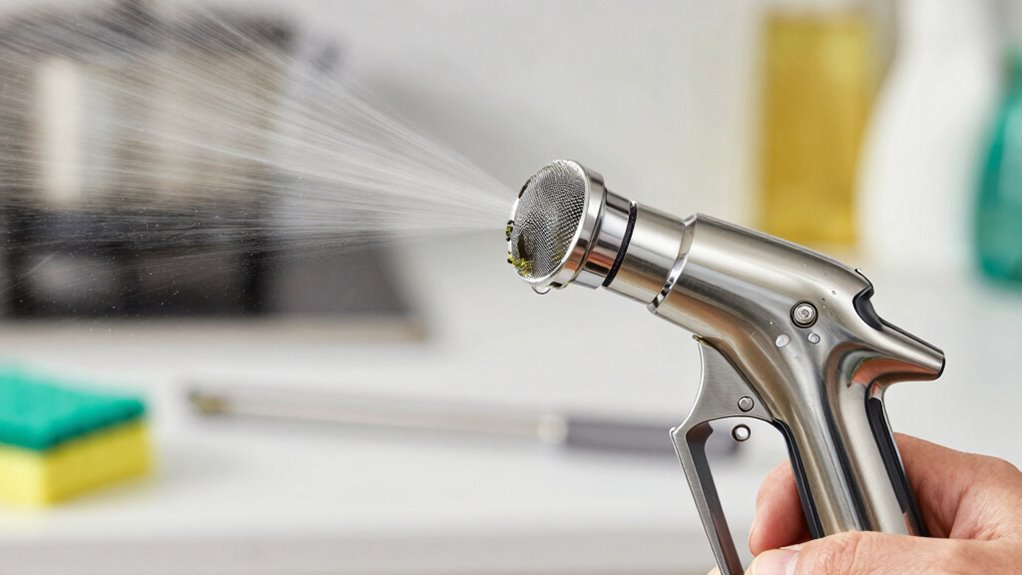
If your oil sprayer is clogged, a simple and effective solution is to use warm water combined with soap to clear the blockage. This method works well regardless of your oil sprayer’s design, helping you avoid costly repairs or replacements. Fill the sprayer with warm water and a few drops of soap, then pump and spray to flush out debris. For stubborn clogs, let it sit for a few minutes before rinsing thoroughly. Remember, some oil sprayer designs may require alternative spray methods, such as disassembling the nozzle or using a small brush.
| Tip | Explanation |
|---|---|
| Use warm water | Loosens grease and residue |
| Add soap | Breaks down oil buildup |
| Rinse thoroughly | Prevents future clogs |
| Disassemble if needed | Clears internal blockages |
Common Mistakes That Lead to Clogs: and How to Avoid Them

One common mistake that causes oil sprayer clogs is neglecting regular cleaning, which allows residue and buildup to block the nozzle over time. To avoid this, make sure you maintain proper lubrication of moving parts and use correct storage techniques. Improper storage can cause oil to dry or harden inside the nozzle, leading to clogs. Additionally, neglecting cleaning after each use allows debris to accumulate. Here are key points to prevent clogs:
Neglecting regular cleaning and improper storage cause oil sprayer clogs over time.
- Clean the nozzle and internal parts regularly
- Use proper lubrication to keep parts functioning smoothly
- Store the sprayer in a cool, dry place
- Avoid leaving oil in the sprayer for extended periods
Following these simple habits helps keep your sprayer functioning efficiently and reduces the risk of clogs.
Troubleshooting Persistent or Hard-to-Remove Clogs
Persistent or hard-to-remove clogs can be frustrating, especially after regular cleaning hasn’t solved the issue. If you’re dealing with stubborn blockages, it’s likely caused by oil residue buildup or issues with the nozzle design. To troubleshoot, try soaking the nozzle in warm, soapy water to loosen stubborn residue. Then, gently use a toothpick or needle to clear the opening without damaging the nozzle. Check the nozzle design—some sprayers have a narrow or complex shape that traps residue more easily. Use the table below to identify common causes and solutions:
| Cause | Solution | Tip |
|---|---|---|
| Oil residue buildup | Soak and scrub with a small brush | Prevent with regular cleaning |
| Nozzle design flaw | Replace with a compatible nozzle | Choose one optimized for oil |
| Clogging from debris | Rinse thoroughly and clear with a pin | Avoid using thick oils |
When Should You Replace Your Oil Sprayer?
Knowing when to replace your oil sprayer is key to maintaining efficient and mess-free cooking. If you notice persistent issues like poor spray capacity, uneven distribution, or difficulty in dispensing oil, it’s time to consider a replacement. Changes in oil quality can also affect performance, causing clogs or residue buildup that can’t be fixed. Additionally, if your sprayer’s mechanism becomes worn or leaks, it won’t serve its purpose effectively. Think about replacing your sprayer if:
- Spray capacity diminishes despite cleaning
- Oil quality causes frequent clogs
- The nozzle becomes damaged or worn
- It leaks or feels unstable during use
Replacing your oil sprayer ensures ideal performance and consistent results in your cooking. Don’t wait until it’s completely unusable—timely replacement saves frustration and mess.
Best Practices for Storing Your Oil Sprayer to Keep It Clog-Free
To keep your oil sprayer clog-free, proper storage practices are essential. Start by thoroughly cleaning the sprayer after each use to remove residual oil that can cause clogs. When storing, use effective sealing techniques—tighten the nozzle or cap securely to prevent air from entering and drying out the internal parts. Store the sprayer upright in a cool, dry place away from direct sunlight, which can degrade seals and plastic components. Avoid leaving oil in the container for extended periods, as old or thickened oil increases clog risk. Implementing these storage tips ensures the internal components stay clean and functional. Proper sealing and storage will help you avoid clogs and keep your oil sprayer performing smoothly for longer.
Frequently Asked Questions
Can Different Types of Oils Cause More Frequent Clogs?
Yes, different oils can cause more frequent clogs. Thicker oils with higher viscosity are harder to spray and can clog your sprayer more often. Additionally, oils with certain additives may gum up the nozzle or leave residues that block flow. To prevent this, choose oils with appropriate viscosity for your sprayer and avoid those with unnecessary additives that could cause buildup. Regular cleaning also helps keep your sprayer functioning smoothly.
How Often Should I Clean My Oil Sprayer to Prevent Clogs?
You should clean your oil sprayer after every few uses, especially if you notice any clogging. Regular cleaning, at least once a week, is essential for clog prevention tips. Neglecting maintenance can turn your sprayer into a stubborn clog nightmare. By sticking to a consistent cleaning schedule, you’ll keep it functioning smoothly, preventing buildup and ensuring your sprayer stays in top shape—saving you time and frustration in the long run.
Are There Specific Cleaning Products Best for Oil Sprayers?
You should use gentle cleaning solutions like non-abrasive cleaners to keep your oil sprayer in top shape. Avoid harsh chemicals that can damage the nozzle or clog the system. Simply fill the sprayer with warm water and a small amount of mild dish soap, then spray to clean out any residue. Regularly rinsing with these safe cleaning solutions helps prevent clogs and guarantees smooth, consistent operation.
What Signs Indicate My Oil Sprayer Needs Replacement?
When your oil sprayer starts showing persistent oil flow issues or the nozzle is damaged, it’s time to face the music and replace it. If no amount of cleaning fixes the uneven spray or clogging persists despite maintenance, these are clear signs your device can’t do its job effectively anymore. Don’t ignore these signals—clogged or damaged nozzles hinder performance and could lead to more frustration down the line.
Does Storage Temperature Affect Oil Sprayer Clogging?
Yes, storage temperature affects oil sprayer clogging. If your storage environment lacks temperature stability, extreme heat or cold can cause the oil to thicken or solidify, leading to clogs. To prevent this, keep your oil sprayer in a temperature-controlled space, avoiding areas with fluctuating temperatures. Proper storage guarantees the oil remains fluid, making it easier to spray and reducing the risk of blockage.
Conclusion
So there you have it—your foolproof guide to avoiding oil sprayer clogs. Because who wouldn’t want to spend less time troubleshooting and more time pretending you’re a gourmet chef? Just remember, neglecting maintenance is like ignoring your plants—eventually, everything will clog and die. Stay vigilant, clean regularly, and maybe, just maybe, your oil sprayer will outlast your patience. Happy spritzing—without the drama!