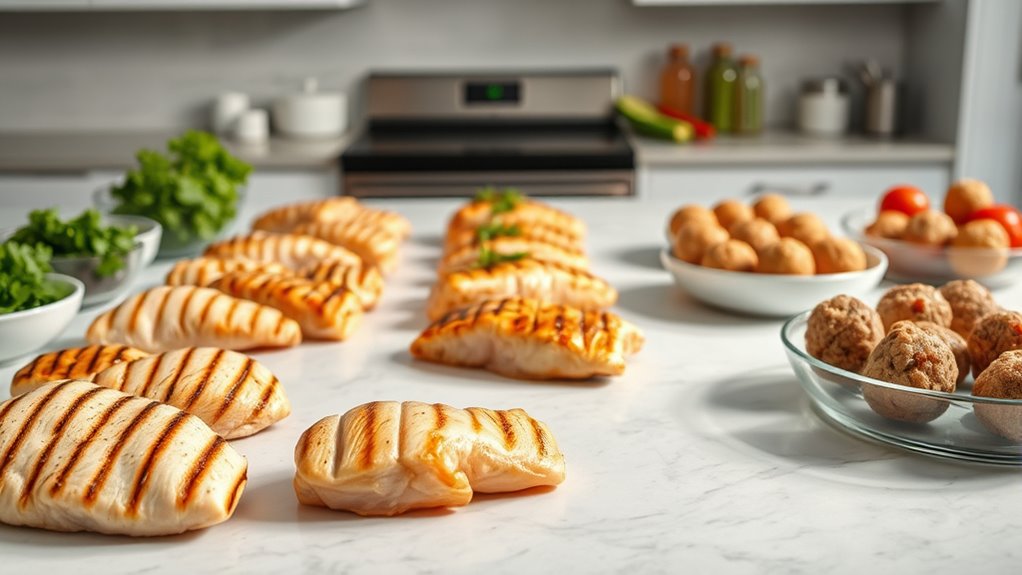
Batch cooking proteins for the week saves time, simplifies your meal prep, and keeps nutritious options handy. Start by choosing your proteins, cook them thoroughly, then allow them to cool slightly before portioning into airtight containers or resealable bags. Label everything with dates and store in the fridge or freezer for easy access later. Organize your storage areas to prevent cross-contamination and spoilage. If you’re ready to master these steps and maximize your meal prep, continue on for more tips.
Key Takeaways
- Cook proteins in bulk using preferred methods, then allow them to cool slightly before portioning into airtight containers.
- Label containers with cooking dates and store in the fridge for up to 3-4 days or freeze for longer-term use.
- Freeze proteins in freezer-safe packaging, removing excess air to prevent freezer burn and preserve flavor.
- Thaw frozen proteins safely in the fridge overnight or via microwave, avoiding room temperature for safety.
- Organize stored proteins by type and use separate containers to prevent cross-contamination during meal prep.
Batch cooking proteins is a smart way to save time and guarantee you always have nutritious options ready to go. When you prepare your proteins in advance, it streamlines your weekly meal planning and reduces the stress of last-minute cooking. To get started effectively, you’ll want to incorporate some essential meal prep tips that make the process efficient and ensure your proteins stay fresh and safe. One of the most important aspects is understanding protein storage techniques. Proper storage not only preserves the quality of your cooked proteins but also prevents spoilage and cross-contamination.
Batch cooking proteins saves time, ensures freshness, and prevents spoilage with proper storage techniques.
After cooking your proteins—be it chicken, beef, turkey, fish, or plant-based options—you should let them cool down slightly before refrigerating. Hot foods can raise the temperature inside your fridge, creating an environment where bacteria can thrive. Once cooled, portion your proteins into airtight containers or resealable bags. Using these containers makes it easier to grab just the right amount for each meal and keeps everything sealed tightly to prevent moisture loss and contamination. Label each container with the date you cooked the proteins, so you can keep track of freshness and consume within safe time frames, typically within 3-4 days for cooked meats.
If you’re planning to store proteins for longer periods, freezing is your best option. Wrap meats tightly in plastic wrap or foil before placing them in freezer-safe containers or bags. Removing as much air as possible from the packaging helps prevent freezer burn and preserves flavor. When you’re ready to use your frozen proteins, thaw them safely in the fridge overnight or use the microwave’s defrost function. Avoid thawing at room temperature, as this can promote bacterial growth.
Another key tip is to organize your storage containers in the fridge or freezer so that you can easily see what’s available. Keeping similar proteins grouped together saves you time during meal prep and helps you plan your weekly menu efficiently. If you’re preparing multiple types of proteins, consider using separate containers or designated sections in your fridge to avoid cross-contamination.

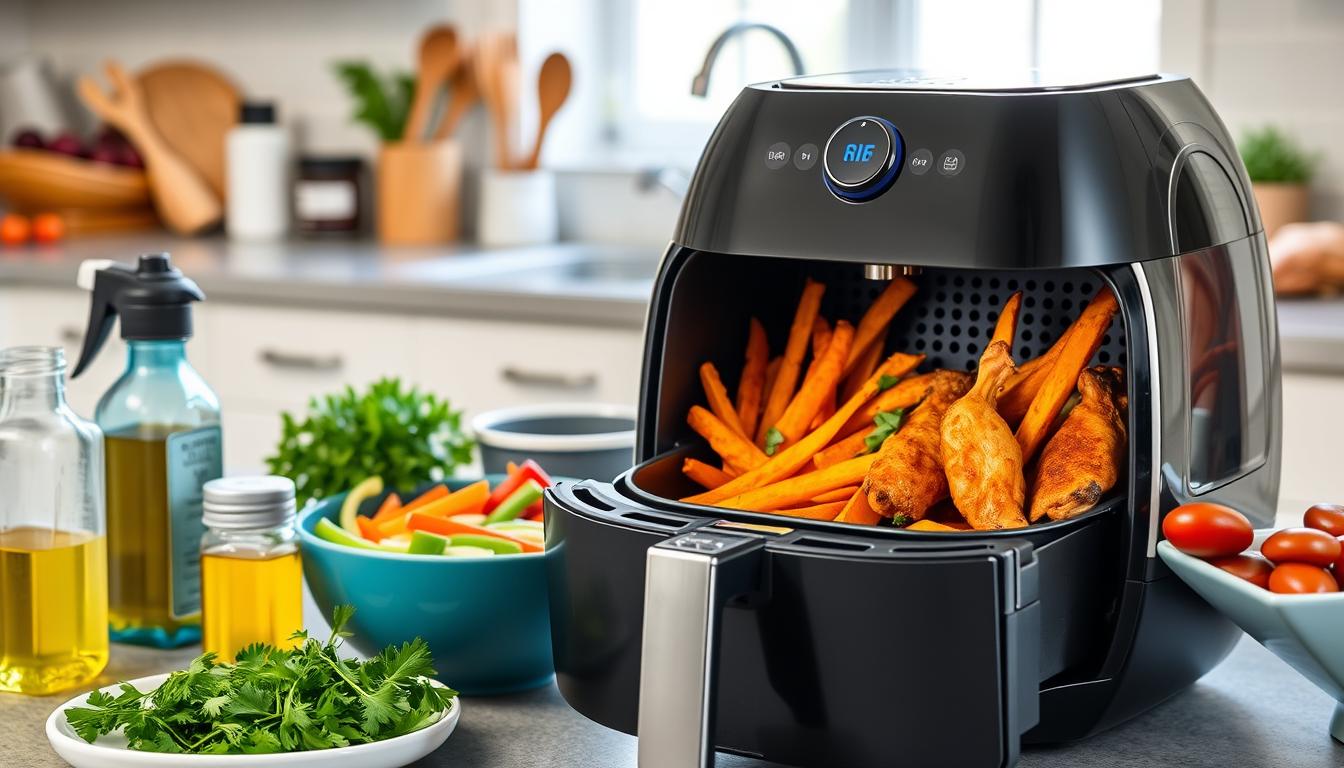
Ninja Air Fryer with Air Crisp | 5 QT Capacity fits up to 4lbs of Fries | 4-in-1 Pro Air Fry, Roast, Reheat, Dehydrate | 400°F Max Temp | 1750 Watts | W/Nonstick Basket & Crisper Plate | Grey | AF141
AIR CRISP TECHNOLOGY: 400℉ superheated air surrounds food for hot, crispy results with little to no oil.
As an affiliate, we earn on qualifying purchases.
Frequently Asked Questions
How Long Can Cooked Proteins Be Stored Safely?
Cooked proteins can be safely stored in the refrigerator for up to 3 to 4 days, ensuring food safety. To maximize freshness, store them in airtight containers and keep the temperature at or below 40°F (4°C). If you want to extend storage duration, consider freezing them; cooked proteins can last 2 to 6 months in the freezer. Always reheat thoroughly before eating to maintain food safety.
What Are the Best Containers for Storing Batch-Cooked Proteins?
You’d think choosing containers is simple, right? Surprise! The best options are reusable containers that are microwave-safe, making reheating a breeze. Look for BPA-free plastic or glass containers with tight-fitting lids to keep your proteins fresh. Avoid flimsy or non-microwave-safe ones—they’re just asking for spills and soggy leftovers. Trust me, investing in good containers saves time, mess, and keeps your batch-cooked proteins tasting great all week long.
How Can I Reheat Proteins Without Drying Them Out?
To reheat proteins without drying them out, focus on moisture retention and proper reheating techniques. Use a microwave with a damp paper towel or a splash of broth to keep the moisture in. Alternatively, reheat in a skillet over low heat, covered, to gently warm the protein while maintaining juiciness. Avoid high heat, which can cause dryness, and reheat in short intervals, checking frequently.
Are There Any Proteins That Don’T Freeze Well?
Some proteins, like crispy bacon or delicate seafood, just don’t survive the freezing process without losing their magic. Their protein shelf life drastically shortens, and freezing tips can’t save their texture or flavor. You’ll notice dryness or sogginess that ruins the experience. So, if freshness matters most, enjoy these proteins fresh or plan to cook them close to serving time—freezing isn’t your friend here.
How Do I Season Proteins for Versatile Meal Options?
To season proteins for versatile meals, experiment with marinade combinations and spice blending. Start with simple ingredients like olive oil, lemon juice, garlic, and herbs, then add spices like paprika, cumin, or chili powder for variety. Marinate your proteins for at least 30 minutes to deepen flavor, and switch up seasonings based on the dish you’re preparing. This approach keeps your meals flavorful and adaptable throughout the week.

Emeril Lagasse Extra Large French Door Air Fryer Toaster Oven Combo, 24 Cooking Functions and Digital Controls, 7 Accessories Included, Stainless Steel Finish, 26QT Capacity
A VERSATILE AIR FRYER AND MULTI-COOKER COMBO: Elevates practically any meal, from air frying quick after-school snacks to...
As an affiliate, we earn on qualifying purchases.
Conclusion
Now that you’ve got the hang of batch cooking proteins, you’re opening the door to a kitchen that runs smoother than butter. Think of it as filling your week with delicious, ready-to-go meals like a well-oiled machine. With a little prep today, you’ll save time, reduce stress, and enjoy tasty, nutritious bites whenever hunger strikes. So, get cooking and turn mealtime chaos into a symphony of simplicity—your future self will thank you!
CHEFMAN Multifunctional Digital Air Fryer+ Rotisserie, Dehydrator, Convection Oven, 17 Touch Screen Presets Fry, Roast, Dehydrate, Bake, XL 10L Family Size, Auto Shutoff, Large Easy-View Window, Black
Versatile countertop cooking: Air fry, bake, dehydrate, rotisserie, or roast to crispy perfection in one convenient appliance
As an affiliate, we earn on qualifying purchases.

Cosori 9-in-1 TurboBlaze Air Fryer 6 Qt, Premium Ceramic Coating, 90°–450°F, Precise Heating for Even Results, Air Fry, Roast, Bake, Broil, Dry, Frozen, Proof, Reheat, Keep Warm, 120V, Dark Gray
𝘼𝙞𝙧 𝙁𝙧𝙮𝙚𝙧 𝙐𝙥𝙜𝙧𝙖𝙙𝙚: Innovative TurboBlaze Technology delivers a powerful 3600 rpm fan speed and temperatures up to 450℉,...
As an affiliate, we earn on qualifying purchases.