
To elevate your food photos, harness natural light by shooting near windows during golden hours, avoiding harsh direct sunlight. Use reflectors to bounce light onto your dishes, filling in shadows and boosting colors. Experiment with different angles, like overhead or 45-degree shots, to highlight textures and layers. Incorporate softbox lighting for consistent, even illumination, and try backlighting to enhance depth and detail. Keep exploring these tips to turn your photos into mouthwatering creations.
Key Takeaways
- Use natural light near windows during the day for soft, appealing illumination that enhances food textures and colors.
- Incorporate reflectors to bounce light onto dishes, filling shadows and boosting vibrant hues.
- Experiment with angles like overhead, 45-degree, or side shots to highlight textures and layers effectively.
- Employ softbox lighting for consistent, diffuse light that minimizes harsh shadows and highlights details.
- Utilize backlighting to emphasize textures, add depth, and create visually striking, dynamic images.
Harness Natural Light to Highlight Your Dishes
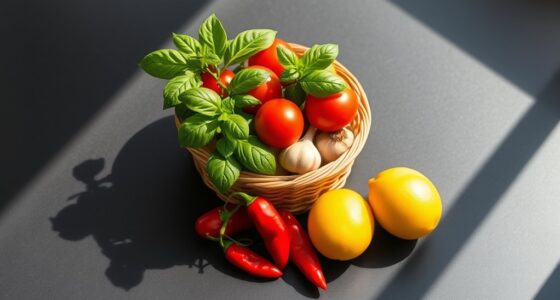
Natural light is one of the simplest yet most effective tools for making your dishes look irresistible. When you rely on ambient lighting, your food photography gains a natural, appealing glow that enhances textures and colors. Position your dishes near windows during the day to take advantage of soft, diffused sunlight, which minimizes harsh shadows and highlights natural details. Morning or late afternoon light often provides the best warmth and depth. Avoid direct sunlight that creates glare or deep shadows; instead, aim for even, gentle illumination. Using natural light helps your photos appear authentic and inviting, making viewers crave your dishes. This approach is perfect for capturing the true essence of your culinary creations while keeping your food looking fresh and vibrant. Additionally, understanding the color temperature of natural light can help you adjust your camera settings for even more vibrant results.
Use Reflectors to Add Brightness and Fill Shadows

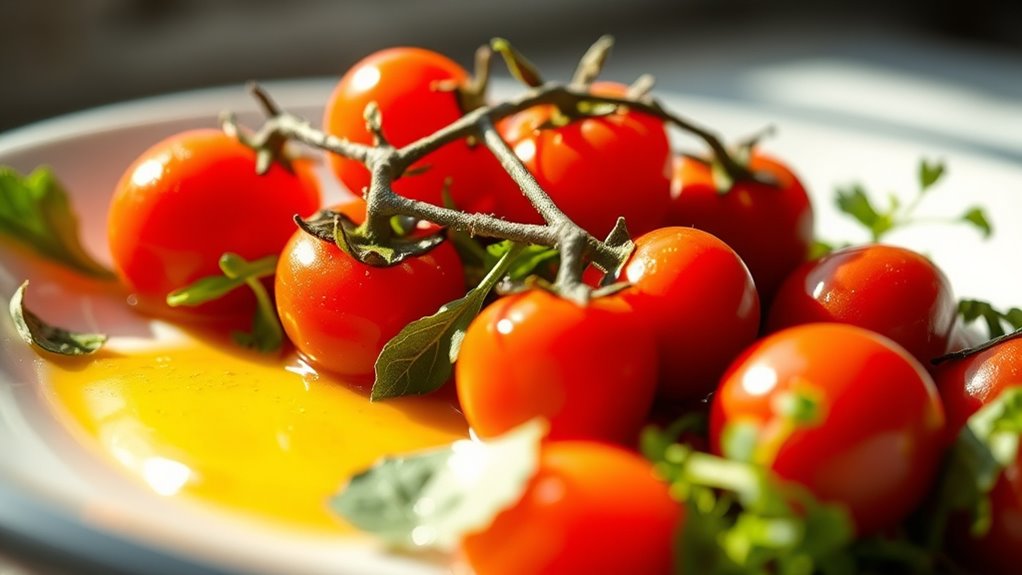
Reflectors are essential tools for brightening your food photos and softening harsh shadows. By bouncing light onto your dish, they create a balanced, inviting look. Using a reflector helps enhance color contrast, making the vibrant hues of your food pop. It also smooths out surface reflections, reducing glare and highlighting textures. Position the reflector opposite your main light source to fill in shadows without overexposing your shot. For a warmer tone, opt for a gold reflector; for a cooler, neutral effect, use a silver or white one. Keep your reflector close enough to bounce ample light but not so close that it causes unwanted reflections. This simple trick adds depth and dimension, making your food look more appetizing and professionally styled. Incorporating mindful placement of reflectors can also improve emotional regulation, creating a more relaxed and focused atmosphere during your food styling sessions.
Play With Angles to Capture the Most Flattering Perspective

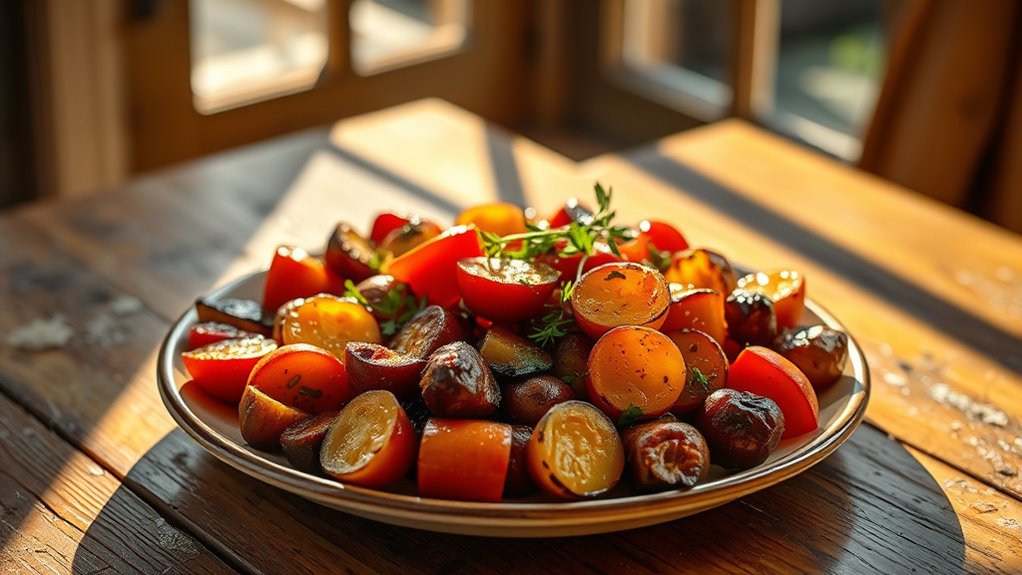
Choosing the right angle can make all the difference in showcasing your food’s best features. Experiment with different perspectives to find the most flattering one, focusing on highlighting the focal point of your dish. Shooting from above emphasizes color contrast and variety, making the plate look vibrant and inviting. A 45-degree angle offers depth, revealing layers and textures that entice viewers. Side angles can emphasize height or specific details, drawing attention to the focal point. Always consider how the angle affects the overall composition, ensuring the most appealing elements stand out. Incorporating lighting techniques can further enhance your shot by highlighting textures and creating mood, making your food look even more appetizing. By playing with angles, you can create a more dynamic, eye-catching shot that captures your food’s essence and appeals to your audience.
Incorporate Softbox Lighting for Consistent Illumination
To achieve consistent, professional-looking food photos, incorporating softbox lighting is essential. It provides diffuse light that minimizes harsh shadows and highlights, creating an even glow across your dishes. By adjusting the softbox, you can control the color temperature, ensuring your food looks natural and appetizing. This setup helps you maintain uniform illumination regardless of the time of day or ambient light conditions. Here’s a visual to help you picture it:
| Softbox Position | Light Quality | Effect on Food | Notes |
|---|---|---|---|
| Front-facing | Diffuse | Soft shadows | Even, flattering light |
| Slightly above | Consistent | Highlights texture | Reduces glare |
| Side angle | Balanced | Depth and dimension | Adds contrast |
| Behind | Fill light | Reduces shadows | Enhances detail |
This setup ensures your photos are clear, vibrant, and professional. Incorporating lighting techniques like softbox positioning can significantly improve your food photography results.
Experiment With Backlighting to Enhance Texture and Depth
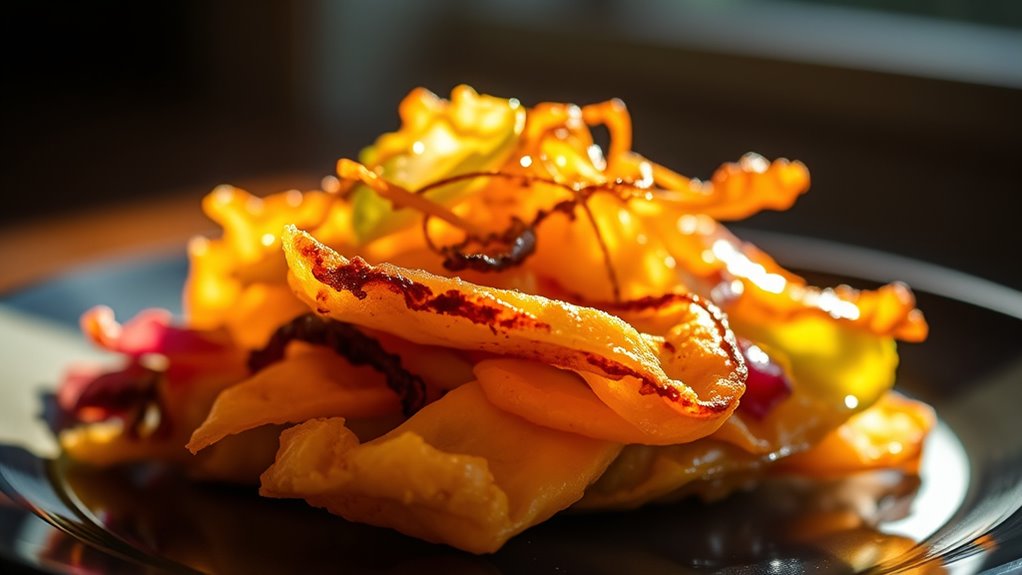
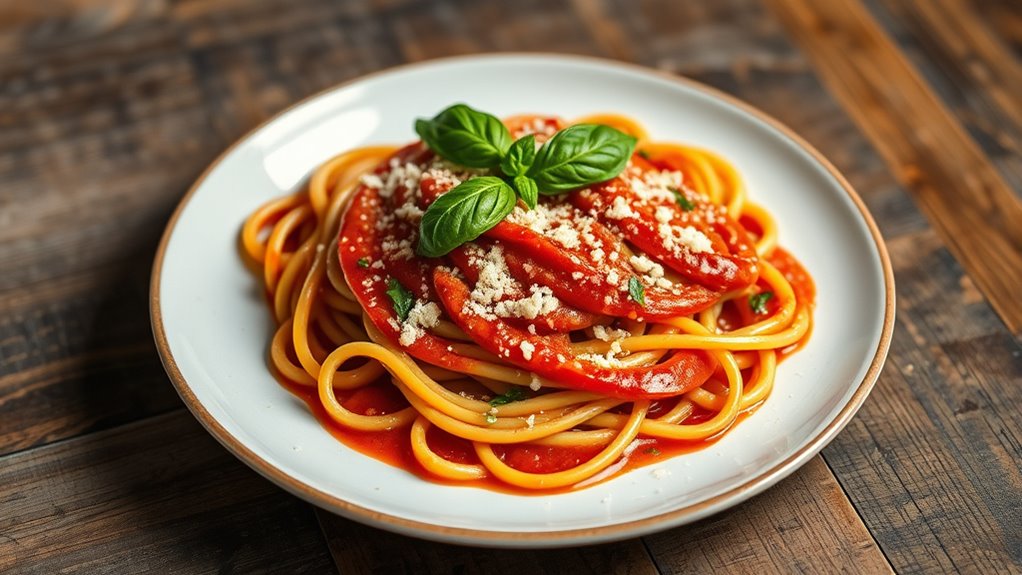
Backlighting is a powerful technique that can dramatically enhance the texture and depth of your food photos. By placing the light source behind your dish, you create a stunning silhouette that emphasizes intricate details. This method boosts color contrast, making vibrant ingredients pop and adding visual interest. Experimenting with backlighting also introduces shadow play, which adds dimension and a sense of realism. Adjust the angle and intensity to highlight specific textures, like crisp edges or juicy interiors. Keep in mind, subtle backlighting works best when you want to focus on fine details without overwhelming the shot. Incorporating proper lighting techniques ensures your images are both captivating and professional-looking. Combining backlighting with your existing lighting setup can elevate your food photography, making your images more dynamic and engaging.
Frequently Asked Questions
What Camera Settings Work Best for Food Photography?
To get the best results in food photography, you should focus on choosing the right lens choices and aperture settings. A macro or standard lens works well for capturing detailed shots. Use a wider aperture (like f/2.8 or f/4) to create a pleasing background blur that makes your food pop. Alter these settings based on your scene and lighting to guarantee sharp, vibrant images that truly showcase your dish.
How Can I Make My Food Look More Vibrant in Photos?
Think of your food as a canvas waiting to pop with color. To make it more vibrant, focus on food color enhancement by adjusting brightness and contrast settings. Use natural light or soft diffused lighting to bring out true hues. Try plating techniques that highlight contrasting colors and textures, making each dish visually striking. These simple tricks will make your food look more appetizing and lively in every shot.
Are There Specific Props That Enhance Food Presentation?
When choosing props, focus on selection and color coordination to elevate your food presentation. Opt for simple, stylish items that complement your dish without overpowering it, like rustic boards or sleek plates. Use props with colors that contrast or harmonize with your food to make it pop. Thoughtful props selection guides the viewer’s eye and enhances the overall aesthetic, making your food look more appealing and inviting.
How Do I Prevent Glare or Reflections on Glossy Surfaces?
Back in the day, photographers fought glare like dueling knights. To prevent glare or reflections on glossy surfaces, you should use a polarizing filter or adjust your light angles. Incorporate diffusers to soften harsh light, and position your lights at a 45-degree angle to the surface. For reflection control, try shooting from a slight angle instead of head-on. These techniques help achieve glare reduction and keep your food looking irresistibly delicious.
What Editing Techniques Improve Food Images Without Overprocessing?
To improve your food images without overprocessing, focus on subtle editing techniques. Use color correction to enhance natural tones and make your dish look more appealing. Background editing can help clean up distractions and highlight the food. Keep adjustments minimal to maintain realism, avoiding excessive sharpening or saturation. This approach ensures your images look vibrant and professional while still feeling authentic and inviting.
Conclusion
By mastering these lighting tricks, you can make your dishes look irresistibly appetizing. For example, imagine capturing a perfectly lit shot of a vibrant smoothie bowl, with sunlight streaming in and a reflector brightening the toppings, creating a mouthwatering scene. With practice, you’ll turn simple ingredients into stunning photos that truly showcase your culinary creations. So go ahead, experiment with these tips, and watch your food photography elevate to a whole new level!