
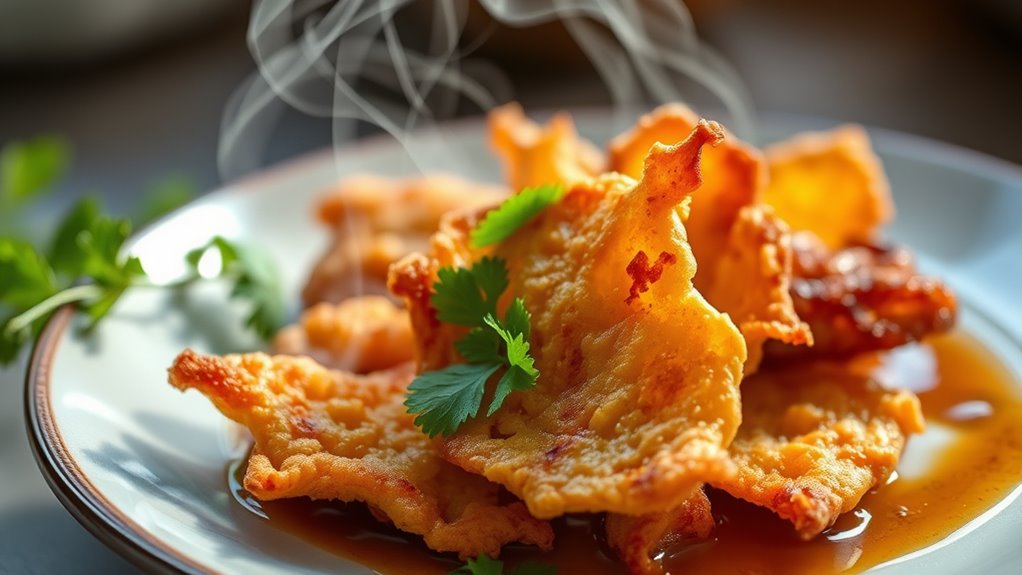
To capture steam-free, crispy food shots, shoot immediately after plating while ingredients still look fresh. Control the temperature to minimize steam, and allow dishes to cool slightly before photographing. Use natural or diffused lighting to make textures pop, and choose angles that highlight crispiness. Focus on clean plating and simple presentation. To learn more tips for perfecting your crispy shots, explore how careful styling and post-processing can elevate your photos even further.
Key Takeaways
- Allow dishes to cool slightly after plating to reduce steam and moisture before photographing.
- Use fans or gentle air circulation to quickly dissipate steam and keep food crispy and visually appealing.
- Capture images immediately after plating to showcase crisp textures before steam develops.
- Employ natural or diffused lighting to highlight textures and minimize reflections caused by steam.
- Keep the background and surroundings free of moisture or condensation to maintain a steam-free, crispy appearance.

NEEWER 700W Equivalent Softbox Lighting Kit, 2Pack UL Certified 5700K LED Lighting Bulbs, 24×24 inches Softboxes with E26 Socket, Photography Continuous Lighting Kit Photo Studio Equipment
- Kit Includes Softboxes and Light Bulbs: 2 softboxes, 2 LED bulbs, stands, and bag
- Large Softboxes for Even Lighting: 24×24 inch diffusing softboxes for perfect light
- High-Output LED Bulbs: 5700K, 35W bulbs equivalent to 700W incandescent
As an affiliate, we earn on qualifying purchases.
As an affiliate, we earn on qualifying purchases.
Choosing the Right Timing for Shooting
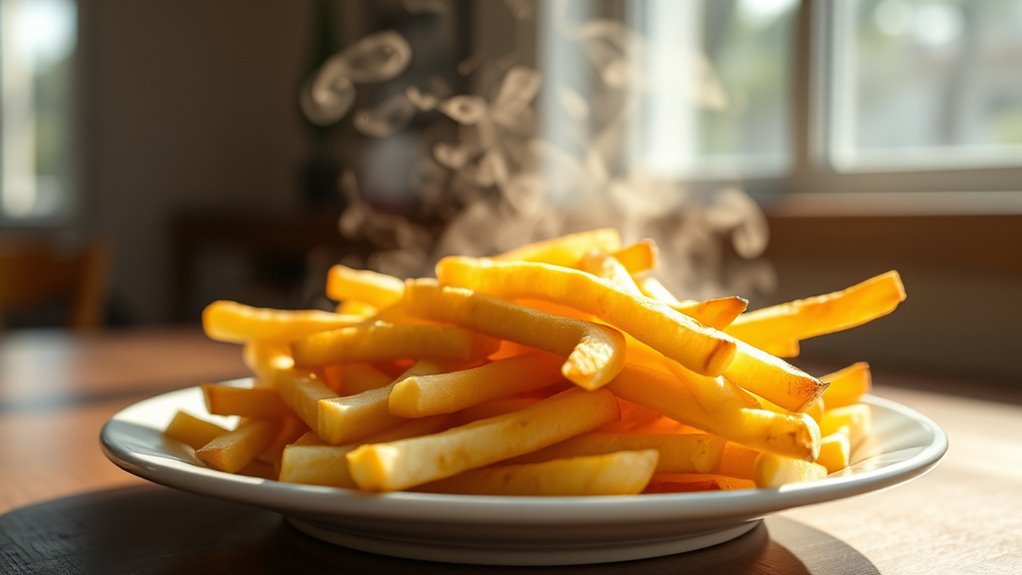
Choosing the right timing for shooting is essential to capturing food at its most appealing. You want to photograph your dish when it looks freshest and most vibrant, highlighting the effects of your plating techniques. Pay attention to how ingredients appear at different moments—some may lose their crispness or color if you wait too long. For example, crispy textures can soften quickly, so shoot immediately after plating to preserve their appeal. Consider the natural lighting and how it interacts with your ingredients, ensuring shadows and highlights enhance the presentation. Proper timing also means arranging your ingredients thoughtfully, so each element complements the overall look. By selecting the *ideal* moment, you ensure your photos showcase the dish’s beauty and freshness, enticing viewers to want a bite. Additionally, understanding creative practice can help you develop an intuitive sense of when your food looks its best for photography.
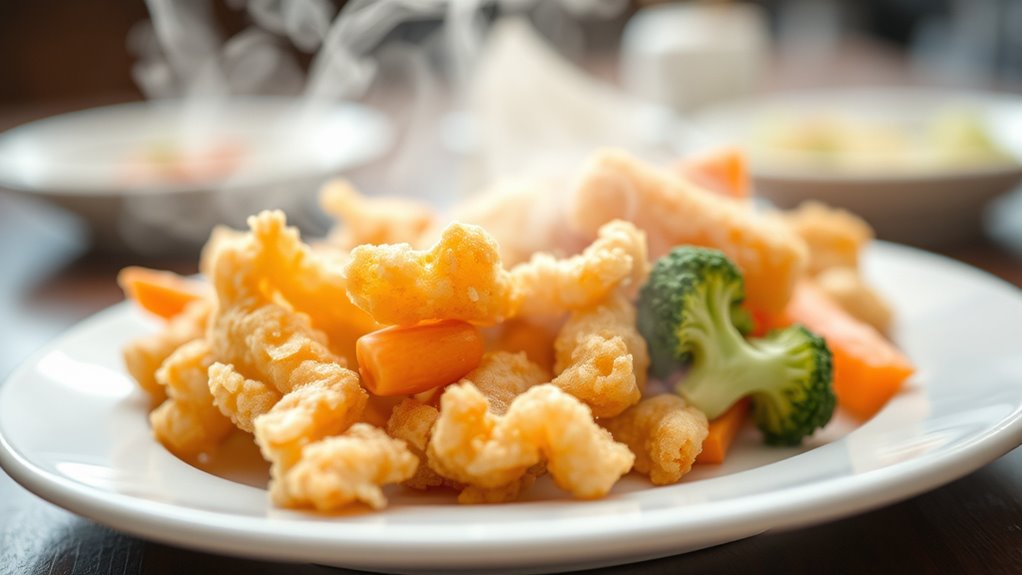
Managing Temperature and Steam Release

Managing temperature and steam release is essential for capturing food that looks as appetizing as it tastes. Effective steam management prevents unwanted moisture from dulling your shots and helps preserve the food’s crisp appearance. To achieve this, control the temperature carefully—allow dishes to cool slightly before photographing to reduce steam emission. Use a fan or gentle air circulation to help dissipate excess steam quickly without disturbing the setup. Keep the food warm enough to maintain its texture but not so hot that steam keeps rising. Timing is key: plan your shoot immediately after plating, and work swiftly to minimize steam buildup. Incorporating effective filtration methods can also help reduce airborne moisture and improve overall photo clarity. With precise temperature control and proactive steam management, you’ll ensure your photos showcase crispy, mouthwatering dishes free of distracting moisture.
Using Proper Lighting and Angles
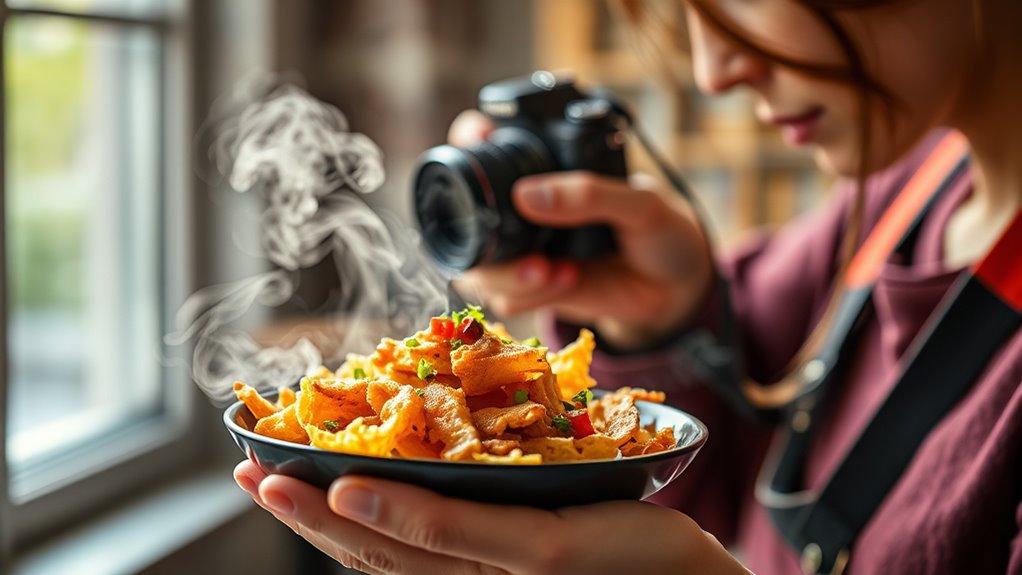
Once you’ve controlled the temperature and minimized steam, the next step is to highlight your dish with the right lighting and angles. Good lighting accentuates textures and creates appealing color contrast, making your food look irresistible. Experiment with natural light or diffused artificial sources to avoid harsh shadows. Use plating techniques that showcase the crispy edges and vibrant ingredients, guiding the viewer’s eye. Consider shooting from overhead for a flat-lay view that captures the entire scene, or from a side angle to emphasize layers and height. Keep in mind, the right angle can evoke emotion and make your dish pop. Remember, lighting and angles aren’t just technical choices—they’re tools to tell your food’s story visually. Additionally, understanding food presentation techniques can further enhance the visual appeal of your crispy shots.
Employing Post-Processing Techniques
Post-processing is where your food photos truly come to life, allowing you to enhance their visual appeal and correct any imperfections. Focus on refining plating aesthetics by straightening angles, cropping unnecessary elements, and emphasizing the main dish. Use subtle adjustments to brightness, contrast, and sharpness to make your crispy shots pop without overdoing it. Color enhancement is essential—boost warm tones to highlight the golden crispiness and make the food look more appetizing. Be careful not to oversaturate, as it can look unnatural. Small tweaks can deepen shadows or brighten highlights, adding depth and dimension. Remember, your goal is to make the food look irresistible while maintaining a true-to-life appearance. Effective editing can also help reduce distractions in the background and draw focus to the main subject. Thoughtful post-processing elevates your crispy shots from good to stunning.
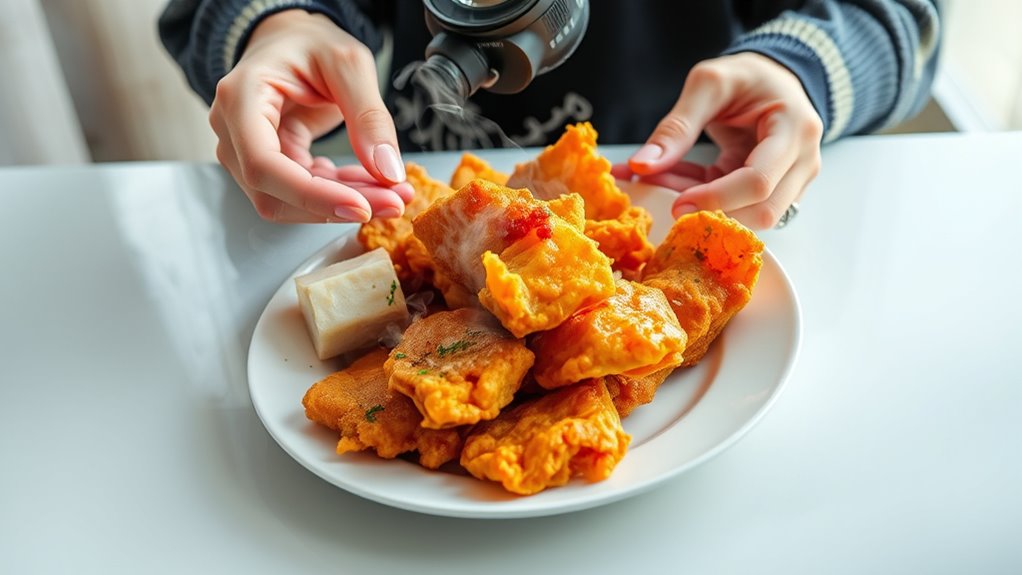
Practical Tips for Food Styling and Presentation
Effective food styling and presentation can transform your photos from ordinary to mouthwatering. Focus on careful food plating, arranging items thoughtfully to highlight textures and shapes. Use contrasting colors to make dishes pop—pair vibrant greens with creamy whites or bold reds with neutral backgrounds. Keep the presentation simple yet appealing, avoiding clutter that distracts from the main subject. Incorporate these practical tips:
- Use fresh ingredients to add natural vibrancy
- Play with height and layering for visual interest
- Balance color contrast to draw the eye
- Guarantee clean, neat plating for a professional look
- Consider tuning upgrades to enhance the overall quality of your images by improving lighting and clarity.
Frequently Asked Questions
What Camera Settings Are Best for Capturing Crispy Textures?
To capture crispy textures, you should focus on using the right camera settings. Start with a narrow aperture (around f/8 to f/11) to enhance detail, and set a low ISO for clarity. Use lighting techniques like side or diffused light to highlight textures without glare. Lens choices such as macro or prime lenses help capture sharp details. Adjust shutter speed to prevent motion blur, ensuring your crispy shots look irresistible and well-defined.
How Do You Prevent Condensation From Forming on Food?
To prevent condensation on food, you should focus on proper food styling and lighting techniques. Keep the food at room temperature before shooting, and gently pat it dry to remove excess moisture. Use fans or air circulation to keep air moving, which helps reduce humidity. When setting up your shot, guarantee good lighting to minimize the need for additional moisture. This way, your crispy, steam-free images stay perfect and visually appealing.
Can Editing Tools Enhance the Crispy Appearance Without Distortion?
You can enhance the crispy appearance with editing tools by boosting contrast, sharpening textures, and adjusting clarity—techniques that make food look irresistibly crunchy. Use these tools to refine lighting effects, highlight golden tones, and emphasize crisp edges without distortion. Mastering food styling and lighting techniques beforehand makes editing seamless, ensuring your photos capture the perfect crispy shot that looks mouthwateringly real and appetizing, all while maintaining natural appeal.
What Props and Backgrounds Complement Steam-Free Crispy Food Photos?
To enhance your crispy food photos, choose props that complement the dish’s texture and color, like rustic wooden boards or sleek plates. Opt for backgrounds that are simple and neutral to make the food stand out. Use effective lighting setups—natural light or soft diffused sources—to highlight the crispy details. Incorporate smart plating techniques to arrange elements appealingly. These choices create visually appealing images that emphasize the crispy, steam-free qualities of your food.
How Long Should I Wait After Cooking Before Photographing?
You should wait a few minutes after cooking before photographing to allow steam to dissipate. This enhances your food styling, making the crispy texture look more appealing. Use natural lighting techniques, like soft window light, to highlight details without creating glare. Patience is key—wait until the steam settles so your shots look crisp and inviting, showcasing the food’s texture and color perfectly.
Conclusion
Just like a master painter captures a moment’s essence, you can freeze that perfect crispy shot by timing your shoot right, controlling steam, and playing with light. Think of each dish as a fleeting masterpiece—once gone, it’s gone. With patience and practice, you’ll craft images that tempt, inspire, and linger in your audience’s mind, much like a timeless legend. Keep experimenting, and soon, your crispy creations will tell stories beyond the plate.