
To get smooth, creamy ice cream from your maker, you need to fully pre-freeze the bowl for 12 to 24 hours at about 0°F. Proper pre-freezing guarantees the bowl reaches the right temperature for quick and even freezing, which prevents icy or grainy textures. If you skip or rush this step, your ice cream won’t turn out right. Keep exploring to discover how to master the perfect freeze and prevent common mistakes.
Key Takeaways
- Properly pre-freeze the bowl for 12-24 hours at 0°F to ensure smooth, evenly frozen ice cream texture.
- Use an insulated bowl and monitor freezer temperature to achieve consistent, optimal freezing conditions.
- Freezing the bowl too long can harden it excessively, hindering churning and resulting in less creamy ice cream.
- Avoid rushing the pre-freeze process; insufficient freezing leads to grainy or icy textures.
- Maintain a stable freezer environment by organizing and limiting door openings for even freezing.

Cuisinart Ice Cream Maker Machine, 2-Quart Ice Cream, Sorbet and Frozen Yogurt Machine, Fully Automatic Double-Insulated Freezer Bowl Makes Frozen Desserts in Under 30 Minutes, ICE30BCP1, Silver
- Large 2-Quart Freezer Bowl: Holds ample frozen desserts
- Fully Automatic Operation: Makes desserts in under 30 minutes
- Stainless Steel Design: Durable and stylish construction
As an affiliate, we earn on qualifying purchases.
As an affiliate, we earn on qualifying purchases.
Why Is Pre-Freezing the Ice Cream Bowl So Important?

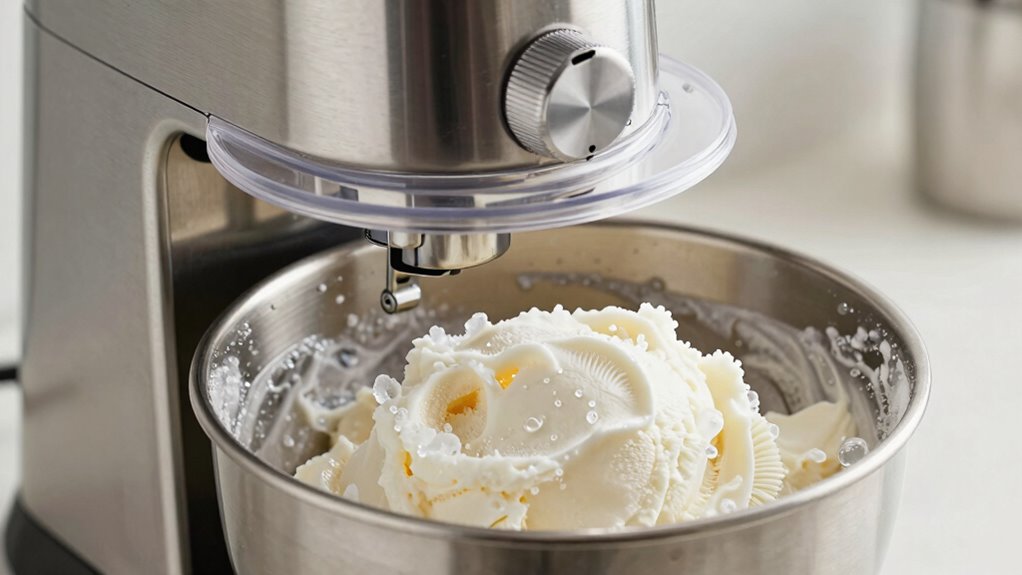
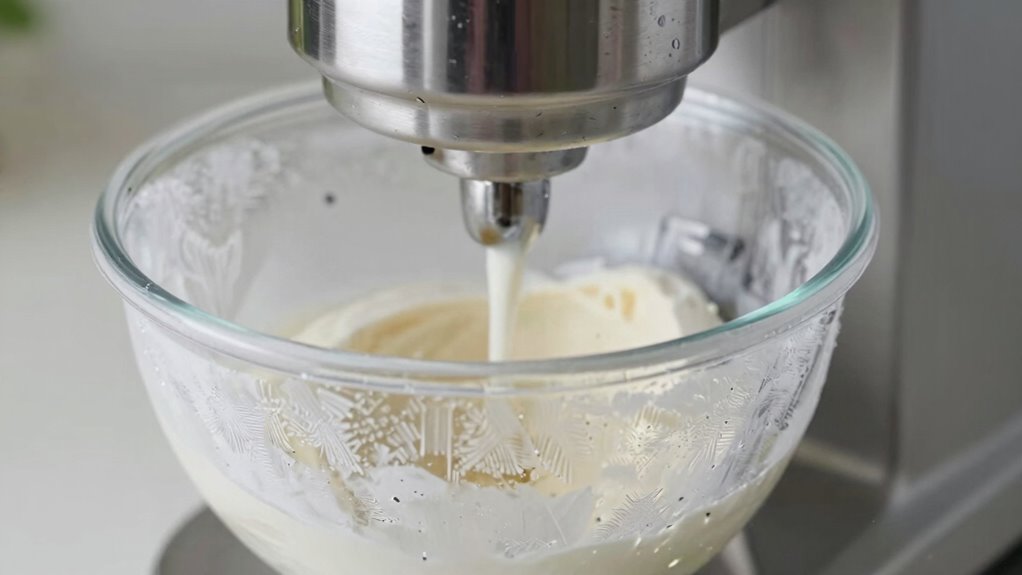
Have you ever wondered why your homemade ice cream doesn’t turn out as creamy as you’d like? The key is understanding pre-freezing benefits. When you freeze the ice cream bowl thoroughly, the bowl temperature drops considerably, which helps the mixture freeze faster and more evenly. This rapid freezing prevents ice crystals from forming too large, resulting in a smoother texture. A well-pre-chilled bowl acts as a cold environment that supports the churning process, allowing air to incorporate properly and creating creaminess. Without proper pre-freezing, the mixture might stay too warm, leading to a grainy or soft consistency. Proper insulation and temperature control are crucial for consistent results. Additionally, maintaining consistent freezing temperatures throughout the process ensures optimal texture development. Ensuring your ice cream bowl is fully frozen before use is not only essential for achieving that perfect, velvety texture you crave but also aligns with the importance of natural cooling techniques to optimize performance. In fact, using proper freezing practices can significantly impact the final quality of your homemade ice cream. Moreover, understanding the role of energy-efficient cooling methods can help in maintaining optimal conditions while reducing energy consumption.
How Long Should I Freeze My Ice Cream Bowl?

You should freeze your ice cream bowl for about 12 to 24 hours to reach the ideal temperature. If you freeze it too long or at the wrong temperature, your ice cream may become too hard or icy. Knowing the right duration helps you get perfect, scoopable ice cream every time.
Ideal Freezing Duration
To guarantee your ice cream comes out perfectly creamy and smooth, it’s important to freeze your ice cream bowl for the right amount of time. Generally, the ideal freezing duration is between 12 to 24 hours, depending on your freezer’s temperature control and the bowl’s thickness. For most home freezers, 15-20 hours provides excellent results. If you freeze it too long, the bowl may become overly cold, which can hinder proper freezing and lead to ice crystals. Conversely, too short a time won’t allow the bowl to reach the necessary low temperature for efficient cooling. Monitoring your freezer’s temperature control and adjusting the freezing duration accordingly helps ensure your bowl is at the perfect temperature for smooth, creamy ice cream.
Optimal Freezing Temperature
Ensuring your ice cream bowl reaches the ideal freezing temperature is key to achieving creamy, smooth results. To do this, you should use effective freezing methods such as placing the bowl in the coldest part of your freezer, ideally at 0°F (-18°C). Proper temperature calibration of your freezer guarantees consistent results; a miscalibrated freezer can lead to uneven freezing. Most manufacturers recommend freezing the bowl for at least 12-24 hours to reach the optimal temperature needed for proper churning. Avoid rushing the process by freezing too briefly, as it can compromise texture. Regularly check the freezer’s temperature with an appliance thermometer, and adjust as necessary. This guarantees your pre-freeze bowl remains at the right temperature to produce smooth, professional-quality ice cream. Smart thermostats can help maintain consistent freezer temperatures and prevent fluctuations that affect freezing performance.
Effects of Overfreezing
Overfreezing your ice cream bowl can negatively impact the final texture of your dessert. When you leave it in the freezer too long, overfreezing problems can occur, such as ice crystals becoming too large and making the ice cream grainy. This often happens if your freezer temperature is too cold or if you forget to remove the bowl at the right time. Ideally, you should freeze the bowl for the recommended 12-24 hours, depending on your freezer’s temperature—usually around 0°F (-18°C). Overfreezing can also cause the bowl to become too rigid, making it harder for your ice cream to churn smoothly. To avoid these issues, monitor your freezer’s temperature and stick to the suggested freezing duration.
What’s the Best Temperature to Freeze the Bowl?
Finding the right temperature to freeze your ice cream maker’s bowl is essential for achieving creamy, smooth results. To guarantee ideal bowl temperature and consistent freezing, consider these tips:
- Freeze the bowl at 0°F (-18°C) for at least 12 hours before use.
- Avoid overfreezing, which can lead to a brittle bowl and uneven freezing consistency.
- Check your freezer’s temperature regularly to maintain a steady environment.
- Proper freezer temperature control helps ensure the bowl stays within the optimal freezing environment for consistent results.
- Using a thermometer to monitor the bowl’s temperature can improve your results and prevent overfreezing.
- Ensuring the bowl is correctly pre-chilled helps maximize its ability to transfer cold efficiently during the freezing process.
- Maintaining a stable freezer temperature prevents fluctuations that could compromise the bowl’s performance and your ice cream’s texture.
- Consistent freezer conditions are key to avoiding temperature fluctuations that could affect the bowl’s performance and final ice cream quality.
How Do I Prepare My Freezer for Perfect Bowl Freezing?
Make sure your freezer is set to the ideal temperature, usually around 0°F, to guarantee your bowl freezes quickly and evenly. Keep your freezer well-organized so the cold air circulates freely and maintains a consistent temperature. This way, your ice cream will freeze perfectly every time. Additionally, consistent temperature helps prevent temperature fluctuations that could affect the texture of your frozen treats.
Freezer Temperature Settings
Setting your freezer to the right temperature is essential for achieving perfectly frozen ice cream. Aim for a consistent 0°F (-18°C) to maximize freezer efficiency and ensure proper bowl insulation. To prepare effectively:
- Check your freezer’s current setting and adjust if needed.
- Allow the freezer to stabilize at the optimal temperature for at least 24 hours before freezing your bowl.
- Avoid frequent door openings, which can raise the temperature and compromise bowl insulation.
- Understanding freezer efficiency can help you optimize your settings for better ice cream texture.
Maintaining this temperature ensures your freezer works efficiently and keeps the bowl cold enough for quick freezing. Proper temperature control prevents ice crystal formation and creates a smooth texture. Consistent temperature is key to achieving that perfect, scoopable result every time.
Proper Freezer Organization
To guarantee your freezer is ready for perfect bowl freezing, organize it so that cold air circulates freely and consistently. Maximize your freezer space by storing items in an organized manner, avoiding overcrowding that blocks airflow. Use organization tips like stacking similar items together and placing your ice cream bowl in a central, cold spot. Keep the freezer door closed as much as possible to maintain a stable temperature. Remove unnecessary items to create enough space for your ice cream bowl, ensuring it freezes evenly. Label and rotate stored foods so you can quickly access what you need without disturbing the rest. Proper freezer organization helps maintain consistent cold temperatures, which is vital for achieving the best texture in your ice cream. Additionally, airflow management plays a crucial role in maintaining uniform temperatures throughout your freezer. Ensuring proper freezer temperature settings can prevent temperature fluctuations that compromise your frozen treats.
Common Mistakes That Ruin Your Pre-Freeze Results
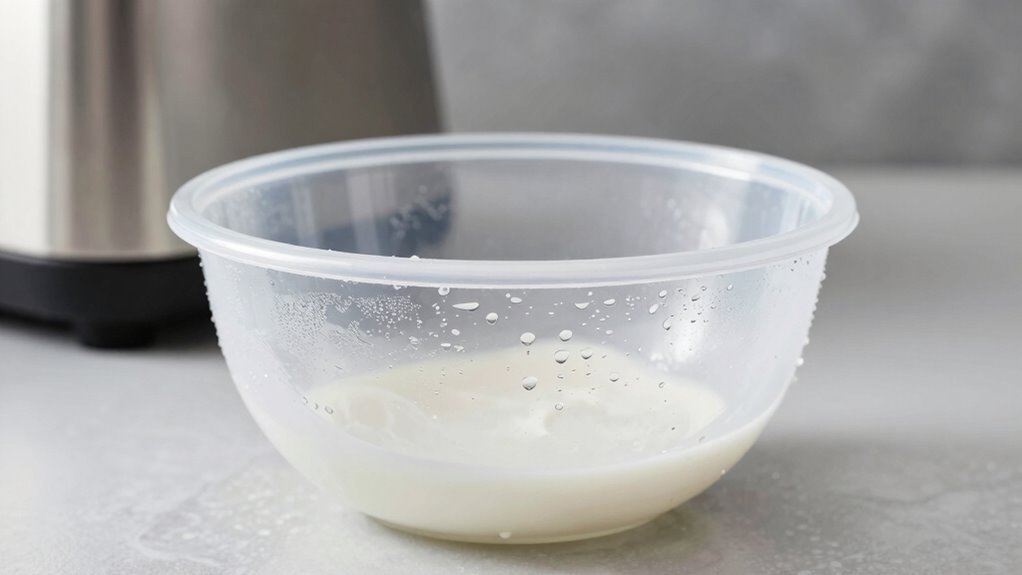
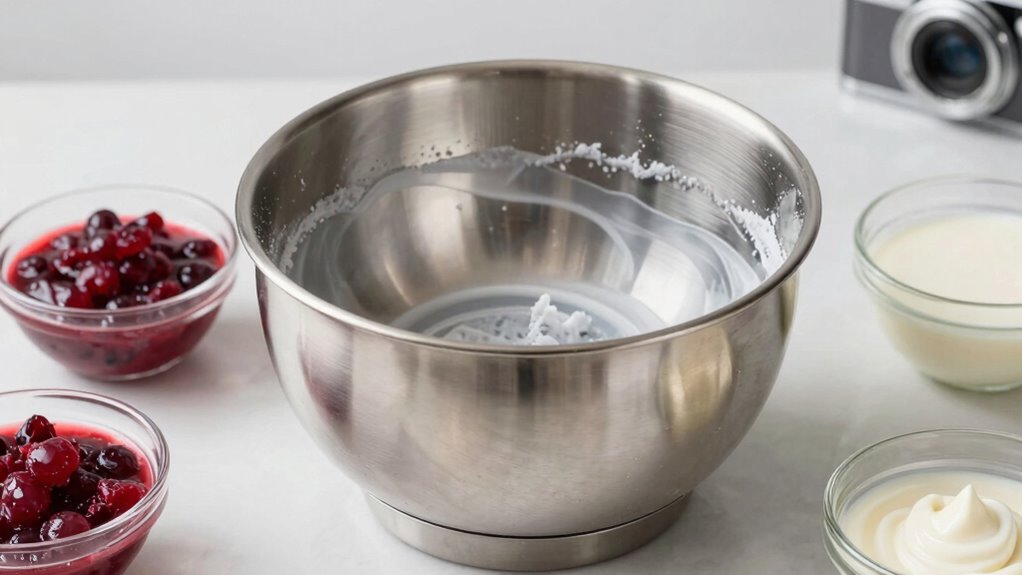
One common mistake that can ruin your pre-freeze results is neglecting to chill the mixing bowl or ingredients properly beforehand. If your bowl isn’t insulated or kept cold, it won’t freeze the mixture quickly enough, leading to uneven texture. To avoid this, focus on these key points:
- Ensure your bowl is well-insulated to maintain low temperatures during pre-freezing.
- Set your freezer to the ideal temperature, typically around 0°F (-18°C), for consistent results.
- Chill all ingredients thoroughly before mixing, so they start cold and freeze faster.
- Proper airflow around the bowl can also help in achieving even freezing and prevent ice crystals from forming unevenly. Additionally, using a pre-frozen bowl can significantly reduce freezing time and improve texture. Proper freezer organization can help maintain consistent temperatures and ensure your ingredients stay cold.
Skipping these steps can cause longer freezing times, larger ice crystals, and a less smooth ice cream. Proper bowl insulation and freezer temperature are crucial for achieving that perfect creamy texture.
How Does Freezing Time Affect Ice Cream Texture?
The amount of freezing time directly influences the ice cream’s final texture. If you don’t freeze the bowl long enough, the mixture won’t cool evenly, leading to larger ice crystals. Longer freezing duration allows the mixture to chill thoroughly, promoting smaller ice crystal formation. Smaller crystals create a smoother, creamier texture, while inadequate freezing results in a grainy or icy consistency. Overfreezing can cause the mixture to become hard and difficult to churn properly. To achieve the ideal texture, you need to strike a balance: freeze the bowl long enough for proper chilling without going overboard. Pay attention to your ice cream’s texture during churning, and adjust your freezing time if necessary. Proper freezing time is vital for consistently creamy, luxurious ice cream. Additionally, understanding the freezing process can help optimize your technique for better results, especially since factors like freezing temperature impact crystal size and overall quality. Knowing how temperature control affects the freezing process can help you fine-tune your approach to get the best possible texture. Being aware of ambient conditions, such as room temperature, can also influence the freezing efficiency and final outcome. Moreover, monitoring freezing consistency throughout the process can further improve your results.
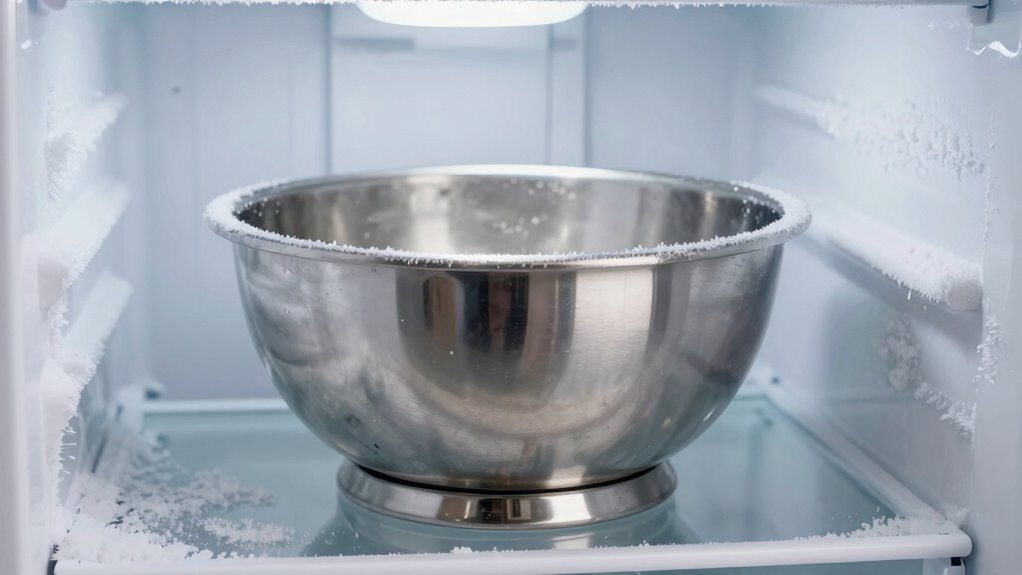
How Can I Tell When My Bowl Is Fully Frozen?
- The bowl feels rigid and cold to the touch, indicating it has reached the optimal freezing point for ice cream texture.
- A slight frost or icy film forms on the surface, which is a sign that the bowl is nearing its ideal temperature.
- When gently shaken, it’s hard to move or jiggle, showing that the contents are solidifying properly.
- Ensuring the bowl is free of cracks or damage helps maintain consistent freezing temperature, preventing uneven texture.
- Regularly checking the bowl’s temperature with a kitchen thermometer can help confirm it has reached the optimal freezing range for best results.
Why Is My Ice Cream Too Icy or Sticky? Is the Pre-Freeze Step to Blame?

Have you ever wondered why your ice cream turns out icy or sticky despite following the recipe? Texture issues often stem from ingredient balance—too much sugar or fat can cause unwanted consistency. If your pre-freeze step isn’t done properly, it can lead to uneven freezing, resulting in icy or sticky texture. An inadequately frozen bowl won’t chill your mixture evenly, causing ice crystals to form or preventing the mixture from thickening smoothly. Additionally, skipping the pre-freeze process or not freezing the bowl long enough can compromise the texture, making your ice cream less creamy. To improve, ensure your ingredients are balanced and your bowl is fully frozen before churning. Proper preparation helps achieve a smooth, scoopable texture without ice crystals or stickiness.
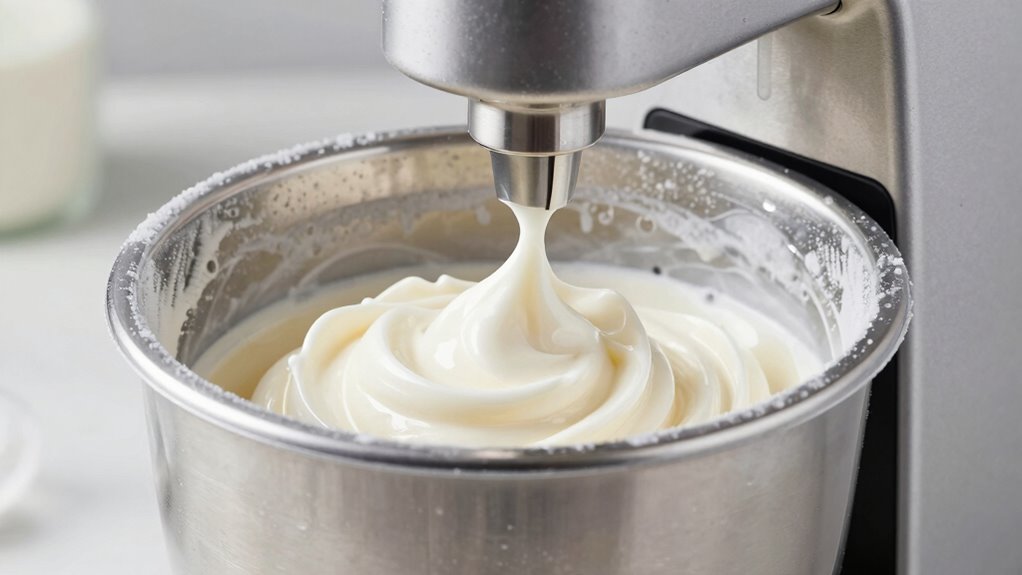
Tips for Consistently Smooth and Creamy Homemade Ice Cream
Wondering how to keep your homemade ice cream consistently smooth and creamy? Focus on mastering your mixing techniques and experimenting with flavor variations. Here are three tips to help you achieve that perfect texture:
- Use steady, consistent mixing during churning to prevent ice crystal formation.
- Incorporate alcohol or stabilizers to improve creaminess and resist iciness.
- Try flavor variations like fruit purees or extracts near the end of churning to maintain smoothness.
Frequently Asked Questions
Can I Reuse the Pre-Frozen Bowl Multiple Times in a Row?
Yes, you can reuse the pre-frozen bowl multiple times in a row, but keep in mind that each freezing cycle may slightly reduce its effectiveness. To maintain ideal texture, ensure the bowl is frozen solid before each use. Avoid overusing it without refreezing, as repeated cycles can diminish the chilling power. Properly storing and refreezing the bowl helps preserve its ability to create smooth, creamy ice cream every time.
How Do Ambient Temperatures Affect the Pre-Freezing Process?
Ambient temperature notably influences your pre-freeze duration, so if it’s warmer, you need to freeze the bowl longer to guarantee ideal ice cream texture. High ambient temperatures slow down the freezing process, meaning you might need to extend the pre-freeze time by a few hours. Conversely, in cooler environments, the bowl may freeze faster. Always monitor the bowl’s firmness and plan accordingly based on your room’s temperature to achieve the best results.
Is There an Ideal Age or Condition for the Ice Cream Mixture?
Think of your ice cream mixture like a masterpiece painting—best when it’s just right. Ideally, you should mix it until smooth and store it in the freezer for no more than 24 hours to maintain ideal consistency. If it’s too old or has an uneven mixing consistency, it may turn icy or grainy. Freshly prepared, well-mixed mixtures yield the creamiest texture, ensuring your ice cream turns out perfect every time.
What Are Signs That My Freezer Isn’t Cold Enough for Pre-Freezing?
If your freezer isn’t cold enough, you’ll notice the temperature isn’t at or below 0°F (-18°C), which affects ice cream consistency. Signs include a softer, less firm texture, ice crystals forming, and difficulty achieving that creamy finish. To fix this, check your freezer’s temperature setting and verify it’s properly chilled. If not, adjust it to maintain the right cold level for pre-freezing your ice cream bowl effectively.
Does the Shape or Size of the Bowl Impact Freezing Efficiency?
Think of your pre-freeze bowl as a spaceship’s shield—its shape and size can make a big difference. A wider, shallower bowl cools faster, like a pancake hitting a hot griddle, while a taller, narrower one takes longer, like a skyscraper warming up. Size variations also matter; smaller bowls freeze quicker, helping you achieve a smoother texture. So, choose the right shape and size for quicker, more efficient freezing.
Conclusion
Remember, mastering the pre-freeze bowl is like a secret potion for perfect ice cream. Keep your freezer well-organized, freeze the bowl long enough, and pay attention to temperature details. Don’t rush the process—think of it as a timeless art, like crafting a fine elixir. When your bowl is fully frozen, every scoop will be smooth and creamy, turning your kitchen into a parlor of delights. Happy freezing!