
To fix dense loaves in your bread maker, pay attention to the ingredient order. Start with liquids, adding warm water or milk, then layer dry ingredients like flour, sugar, and salt, keeping yeast separate and on top of liquids. Proper sequence guarantees yeast activates correctly and gluten develops evenly. Adjusting this order can make a big difference. Keep going to uncover more expert tips on achieving light, fluffy bread every time.
Key Takeaways
- Add liquids first to ensure even mixing and proper yeast activation before adding dry ingredients.
- Place yeast on top of liquids, away from salt and sugar, to control activation timing.
- Keep dry ingredients separate and create a well in the flour before pouring liquids.
- Add salt and sugar after liquids and yeast are incorporated to avoid inhibiting fermentation.
- Follow the proper sequence to promote gluten development and achieve a light, airy loaf.
Why Dense Loaves Happen and How Ingredient Order Can Help
Dense loaves often occur when the ingredients are added in the wrong order or when the dough isn’t properly mixed. If you don’t follow the correct sequence, gluten development can be compromised, resulting in a tight, heavy crumb. Proper ingredient order guarantees that the flour and liquids combine evenly, allowing gluten to form correctly. Additionally, yeast activation depends on the right conditions; adding yeast too early or too late can hinder its ability to produce the gases needed for rising. When yeast isn’t activated properly, the dough won’t expand fully, leading to a dense texture. By paying attention to the order of ingredients, you give the gluten structure time to develop and the yeast the environment it needs to work effectively, helping you achieve a lighter, fluffier loaf.
The Correct Ingredient Sequence for Fluffy Bread
Getting your ingredient order right is essential for baking fluffy bread in your bread machine. Start by adding the liquids first, such as water and milk, to guarantee even yeast activation. Next, add the salt and sugar, but keep them separate from the yeast initially to prevent premature activation. Place the yeast on top of the liquids, away from the salt and sugar, so it activates at the right time. Proper sequencing promotes ideal gluten development, which is vital for fluffy texture. When the ingredients are in the correct order, the yeast activates gradually, producing carbon dioxide that causes the dough to rise. This process results in a lighter, airier loaf. Additionally, maintaining the proper ingredient layering helps ensure consistent results and optimal fermentation, leading to perfectly risen bread every time. The biochemical reactions involved in fermentation are highly sensitive to ingredient placement, so precise layering sets the foundation for perfect, fluffy bread every time. Ensuring the correct ingredient integration can significantly improve your baking results and bread quality.
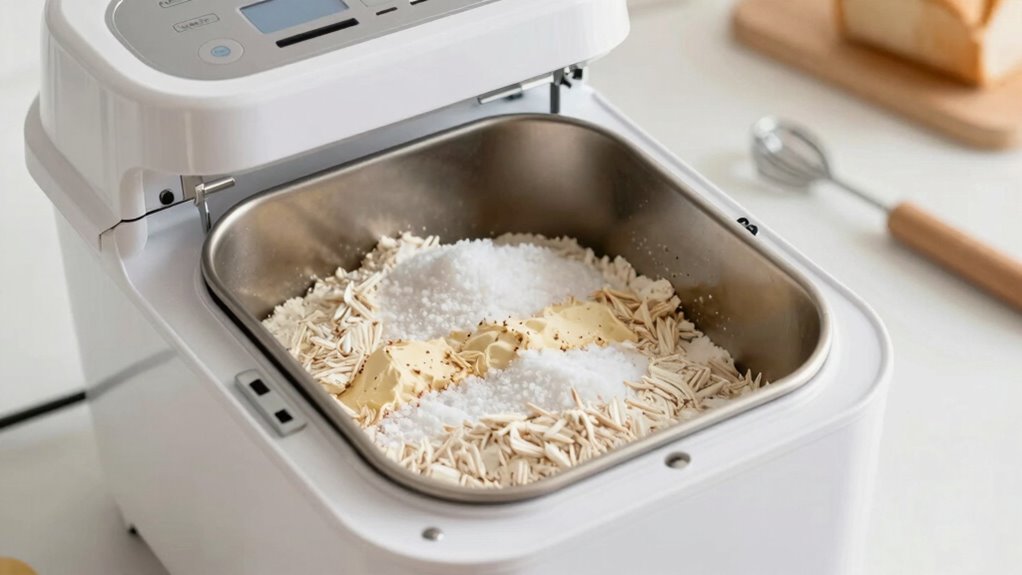
How to Properly Add Ingredients to Your Bread Maker
When adding ingredients to your bread maker, it’s important to follow the correct order to make sure proper mixing. You should add liquids first, then dry ingredients, and finally yeast, at the right time. Use accurate measurements and level them off to keep your bread consistent every time. Additionally, ensure your bread maker’s airflow is unobstructed to promote even mixing and baking results. Proper ingredient placement helps prevent issues like dense loaves and ensures better texture. Following a biography-focused approach by understanding the roles of each ingredient can also enhance your baking success.
Order of Ingredients
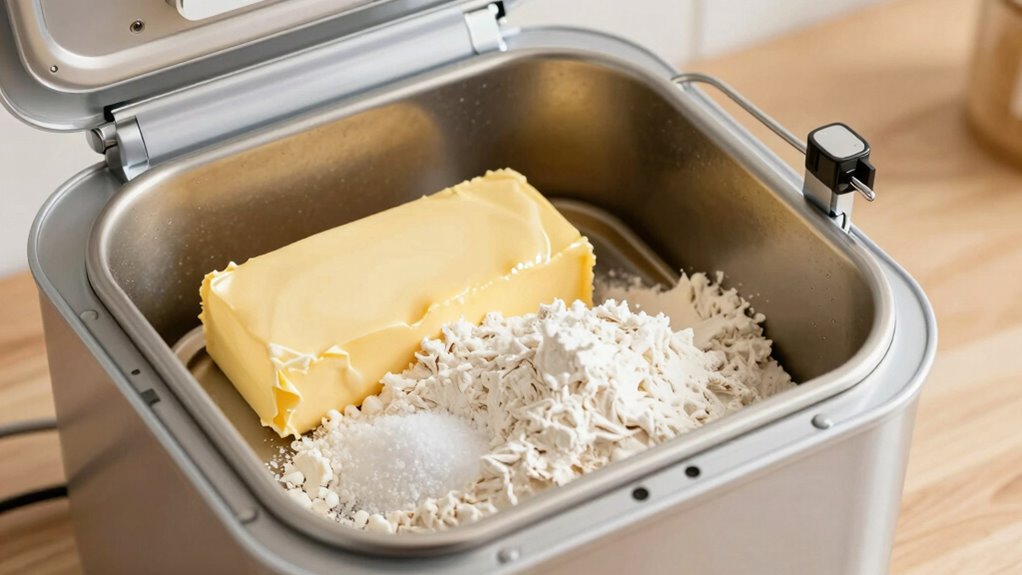
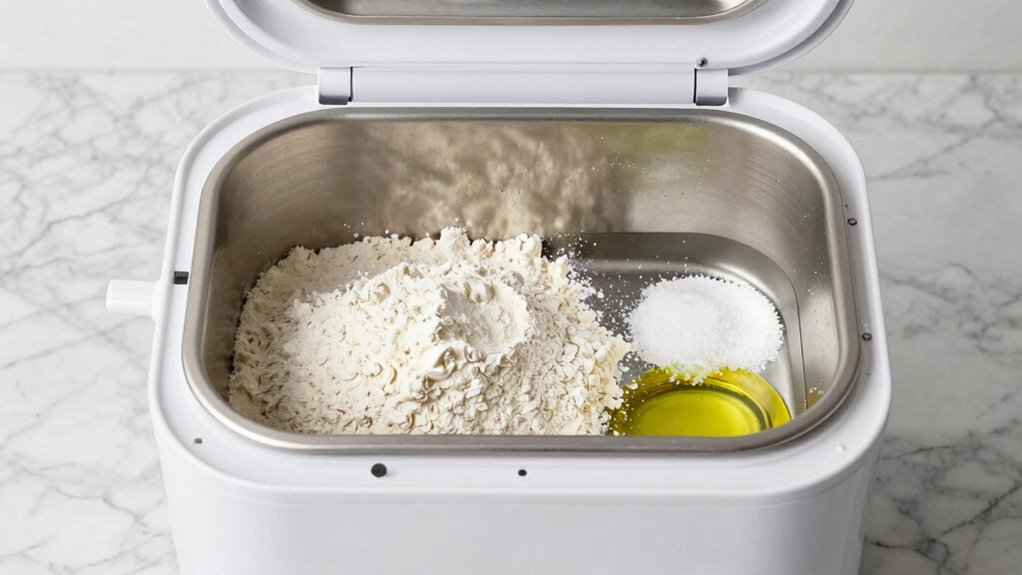
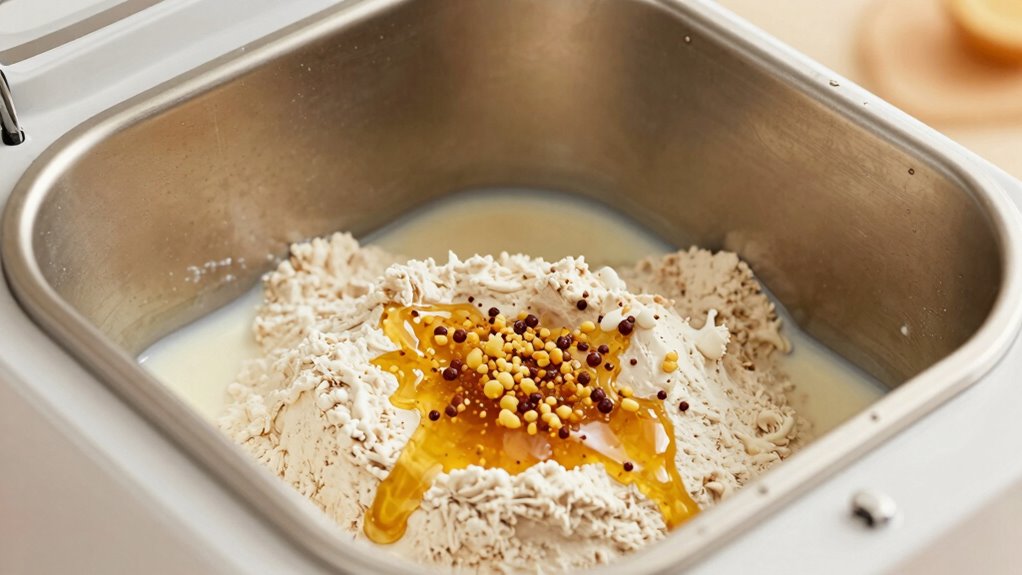
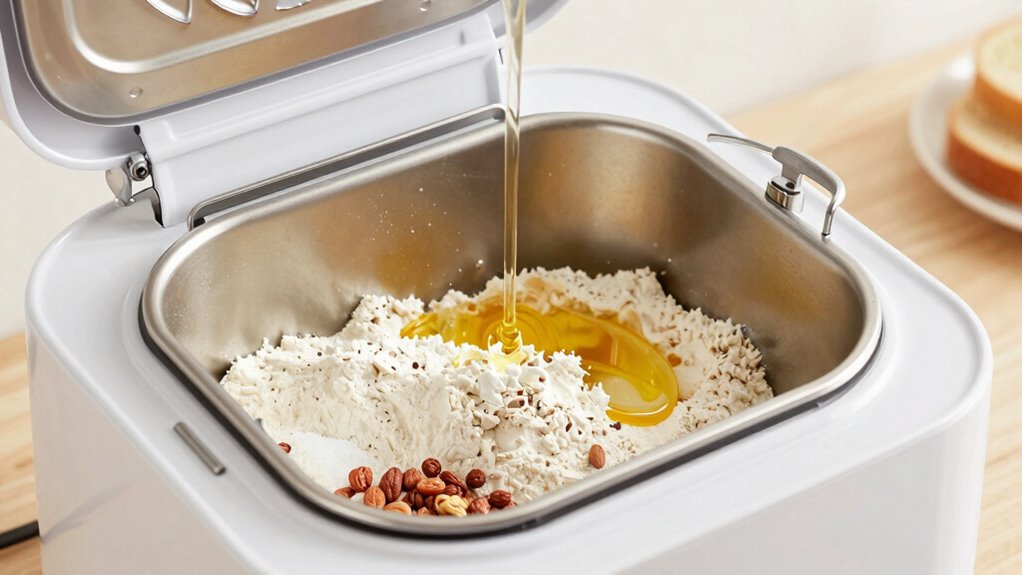
To make certain your bread turns out perfectly, it is vital to add ingredients to your bread maker in the correct order. Start by placing the liquids—water, milk, or eggs—at the bottom, as they promote yeast activation and help with even mixing. Next, add the dry ingredients, such as flour, sugar, and salt, making sure they don’t touch the yeast directly. This prevents premature activation and ensures proper gluten development later. Order of ingredients is crucial for achieving consistent bread quality. Proper ingredient layering is essential for consistent results and optimal bread texture. Finally, create a small well in the center of the dry ingredients and add the yeast. Keeping yeast separate until mixing begins helps it activate at the right time. Ensuring the correct ingredient sequence is followed can significantly improve the rise and texture of your bread. Following this order ensures balanced yeast activity, ideal gluten development, and a better-rise for your bread. Additionally, understanding electric power generation can help you explore sustainable energy options for your home or outdoor adventures.
Timing for Additions
Timing is crucial when adding ingredients to your bread maker to guarantee the best results. Proper timing ensures ideal fermentation, which influences the bread’s texture and flavor. Add liquids first, then dry ingredients, followed by yeast, so that the yeast doesn’t activate prematurely. Pay close attention to fermentation timing; adding ingredients at the right moment allows gluten development to occur gradually, creating a stronger dough structure. If you add yeast too early or too late, it can hinder fermentation and lead to dense bread. For best results, follow your bread maker’s instructions on when to introduce ingredients, especially when including mix-ins or special additives. Precise timing helps develop the gluten network properly, resulting in a light, airy loaf instead of a dense one.
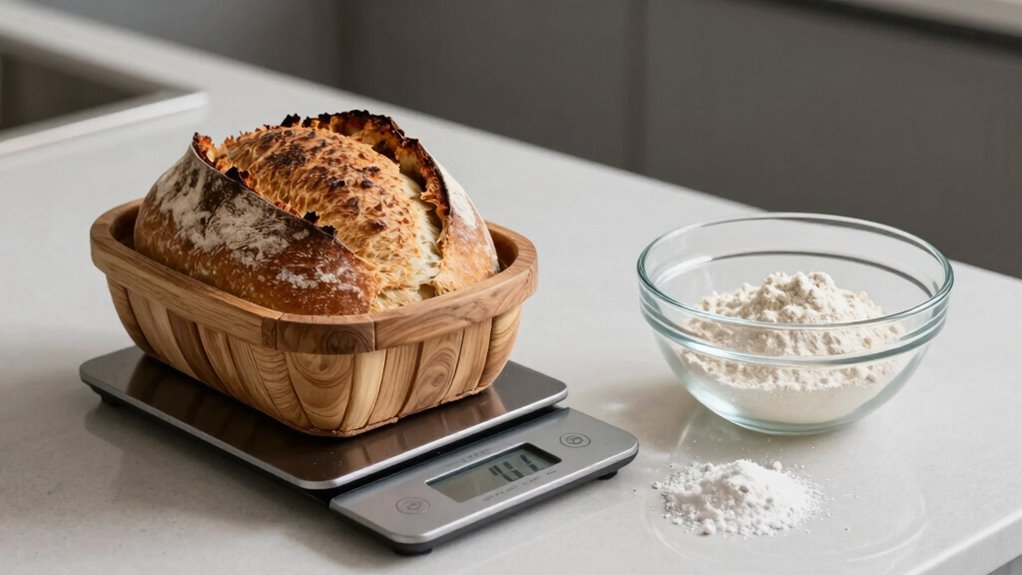
Measuring and Leveling
Accurate measuring and leveling of ingredients are key to achieving consistent, high-quality bread. Begin by pre-measuring each ingredient carefully before adding it to your bread maker. Use a proper measuring spoon or cup, and level it off with a straight edge to ensure precision. For yeast activation, measure the yeast separately and add it at the right time, usually away from liquids until the machine starts mixing. Proper ingredient pre-measurement prevents errors like over-adding salt or under-activating the yeast, which can cause dense loaves. Leveling your ingredients guarantees consistent results, especially with flour, which needs to be measured accurately for proper dough development. Measuring accuracy plays a crucial role in bread baking success. By paying attention to measurement and leveling, you’ll improve your bread’s rise and texture every time. Additionally, understanding how ingredient ratios impact dough consistency can help troubleshoot issues like dense loaves.
Common Mistakes That Cause Dense Bread: and How to Avoid Them
Dense bread often results from common mistakes that can be easily prevented with a little attention. One mistake is not properly activating yeast; make sure your yeast is fresh and dissolved in warm water to trigger yeast activation. Additionally, poor gluten development can lead to heavy loaves, so knead your dough adequately to build strong gluten strands. Here’s a quick guide:
| Mistake | How to Avoid | Impact |
|---|---|---|
| Using expired yeast | Use fresh, active yeast | Poor rising and dense texture |
| Insufficient kneading | Knead until dough is elastic | Weak gluten structure, dense crumb |
| Incorrect liquid temperature | Use warm (not hot) water | Yeast may not activate properly |
Pay close attention to these steps for a lighter, airier loaf.
Adjusting Ratios and Timing for Light, Fluffy Bread
Getting your bread light and fluffy starts with the right ingredient order and proportions. You should adjust flour and liquids carefully to achieve the perfect dough consistency. Additionally, paying attention to timing and rest periods helps develop the ideal texture and volume. Proper ingredient sequencing ensures the dough develops the right structure and elasticity for a light crumb.
Ingredient Order Importance
The order in which you add ingredients can considerably impact the texture and rise of your bread. Proper sequencing guarantees ideal yeast activation, which is vital for a good rise. Adding yeast directly with warm liquids helps it activate quickly, producing the carbon dioxide needed for leavening. Meanwhile, placing flour and liquids in the correct order promotes gluten development, giving your bread structure and elasticity. If you add salt too early, it can inhibit yeast activity; too late, and it might not be fully incorporated. Making sure the yeast and liquids are combined first allows for proper activation before mixing in other ingredients. This careful order supports a lighter, fluffier loaf by balancing fermentation and gluten formation from the start. Understanding fermentation can help bakers optimize their ingredient order for the best results.
Adjusting Flour and Liquids
To achieve a light, fluffy loaf, adjusting the ratio of flour to liquids during your bread-making process is essential. Proper yeast activation depends on the right moisture level, so ensure your liquids are sufficient to hydrate the flour and activate the yeast effectively. Too much liquid can weaken gluten development, resulting in a dense crumb, while too little can hinder rise. Aim for a balanced ratio that promotes excellent gluten formation, giving your bread structure and elasticity. If your dough feels too stiff, add a small amount of liquid gradually. Conversely, if it’s too sticky, incorporate a bit more flour. Adjusting these ratios carefully helps create the ideal environment for yeast activation and gluten development, leading to a lighter, fluffier loaf.
Timing and Rest Periods
Timing and rest periods are essential for creating light, fluffy bread because they allow the dough to develop gluten structure and yeast activity properly. Proper fermentation timing ensures yeast activation happens at the right moment, producing enough carbon dioxide to leaven the bread. If you rush the resting stages, the dough won’t ferment fully, resulting in dense loaves. Conversely, too long a rest can weaken gluten structure. To improve your bread, monitor yeast activation carefully and give the dough adequate time to ferment during bulk rising. Rest periods also help gluten strengthen, trapping gas more effectively. Adjusting these times based on your ingredients and environment can lead to a noticeably lighter, more airy loaf. Patience during fermentation is key to achieving perfect, fluffy bread.
Troubleshooting Persistent Density Problems
Persistent density problems in bread can be frustrating, but understanding the common causes can help you troubleshoot effectively. One key factor is ingredient substitutions; using the wrong flour or too much liquid can result in dense loaves. Make certain you’re following the recommended ingredient order, especially if you’re adjusting for crust preferences, as different crust settings may impact the rise. Overmixing or under-mixing ingredients can also lead to dense texture—mix just until combined. Check your bread machine’s settings and cycle; some cycles produce lighter bread than others. Finally, consider the freshness of your yeast and whether it’s active. Addressing these issues by sticking to proper ingredient amounts and adjusting for crust preferences will help you achieve a lighter, fluffier loaf. Proper ingredient order and techniques can significantly influence the bread’s final texture. Support Breakfast options, such as choosing the right types of flour, can also influence the bread’s texture. Being mindful of baking techniques and ensuring precise measurements can further improve results.
Expert Tips for Consistently Perfect, Light Bread
Achieving consistently perfect, light bread requires attention to detail and small adjustments. Proper yeast activation is vital; ensure your yeast is fresh and dissolved in warm water before mixing. This step kickstarts fermentation, leading to better gluten development. Use high-quality flour with strong protein content to enhance gluten structure.
| Tip | Effect |
|---|---|
| Warm liquids | Activates yeast faster |
| Proper mixing | Develops gluten evenly |
| Accurate measurements | Ensures consistent results |
| Resting dough | Improves gluten strength |
Focusing on these tips helps you control dough elasticity and rise. When yeast activates fully and gluten develops properly, your bread becomes light and airy every time. Small tweaks can make a big difference in achieving bakery-quality loaves.
Frequently Asked Questions
Can Using Different Bread Flour Types Affect Loaf Density?
Yes, using different bread flour types can affect loaf density. Higher protein flours, like bread flour, promote better gluten development, which creates a stronger structure and lighter texture. Variations in flour hydration also impact the dough’s elasticity and rise. Experimenting with different flours helps you find the perfect balance, ensuring your bread has ideal gluten development and proper hydration, resulting in a less dense, airy loaf.
How Does Humidity Impact Ingredient Measurements and Bread Texture?
You might find it amusing how humidity effects can subtly sabotage your baking plans, making ingredient accuracy tricky. When humidity rises, flour absorbs more moisture, so you’ll need less than a recipe calls for—yet, if you don’t adjust, your bread can turn dense or gummy. Conversely, low humidity can cause dry, crumbly loaves. Always measure carefully and adjust ingredients based on your environment to achieve perfect texture.
Are There Specific Settings on Bread Machines to Prevent Dense Loaves?
To prevent dense loaves, you should check your bread machine calibration and make certain it’s accurate. Many machines have specific settings or calibration options to fine-tune baking conditions. Also, pre-measuring ingredients carefully and following the recommended order helps ensure consistent results. Using these settings and pre-measuring can improve yeast activation and dough rise, resulting in lighter, fluffier bread instead of dense loaves.
What Role Does Kneading Time Play in Achieving Fluffy Bread?
Kneading time is vital for fluffy bread because it promotes proper gluten development, which gives the dough structure and elasticity. If you knead too little, the gluten won’t develop enough, resulting in dense bread. Conversely, kneading too long can overwork the dough. Aim for the ideal kneading duration recommended in your machine’s instructions to guarantee the right gluten development, leading to a light, airy loaf.
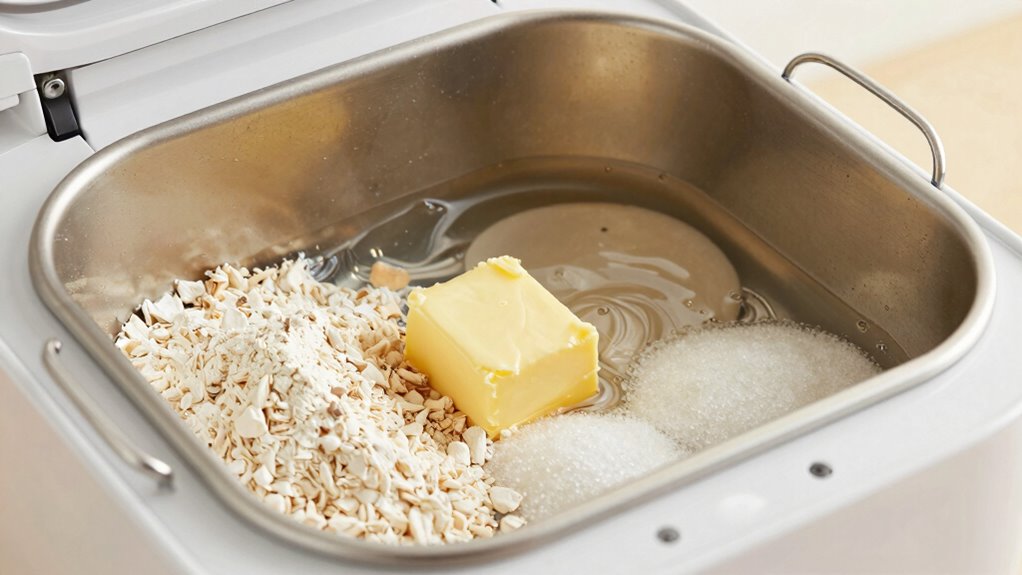
Can Adding Ingredients Like Fats or Sugars at Different Times Improve Bread Texture?
Adding ingredients like fats or sugars at different times can improve your bread’s texture through ingredient layering and timing adjustments. You should add fats later in the kneading cycle to ensure proper gluten development, while sugars can be added early or later, depending on desired sweetness and browning. Experiment with these timing adjustments to achieve a lighter, fluffier loaf, as proper ingredient layering enhances overall bread quality.
Conclusion
By mastering the right ingredient order and timing, you’ll transform your bread into a golden, airy masterpiece—like a gentle sunrise spilling warmth and light into every slice. With each loaf, you’ll navigate the delicate dance of ratios and sequence, turning dense, stubborn dough into fluffy clouds of perfection. Your bread maker becomes a trusted partner, guiding you through the art of baking that fills your home with irresistible aroma and the promise of a beautifully risen loaf.