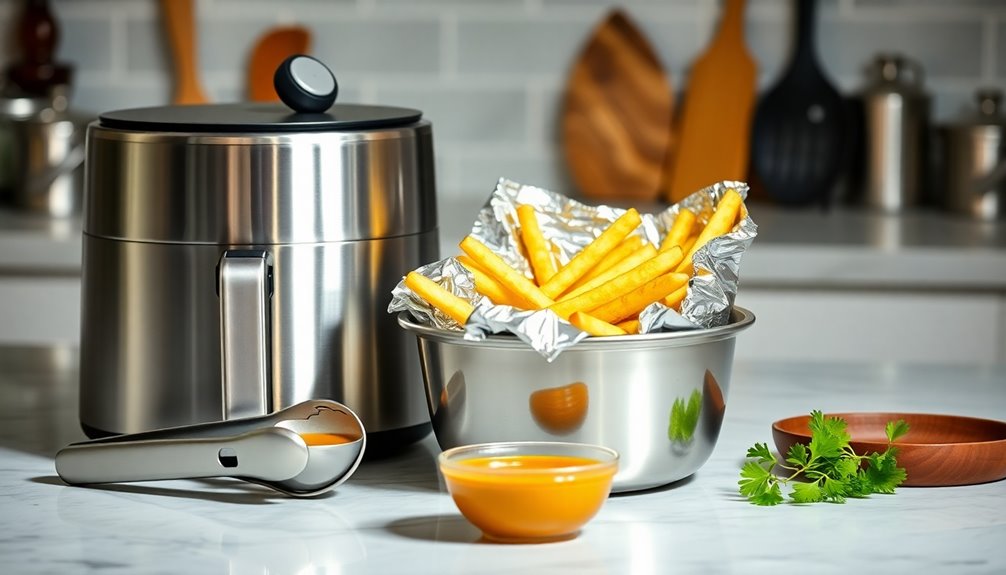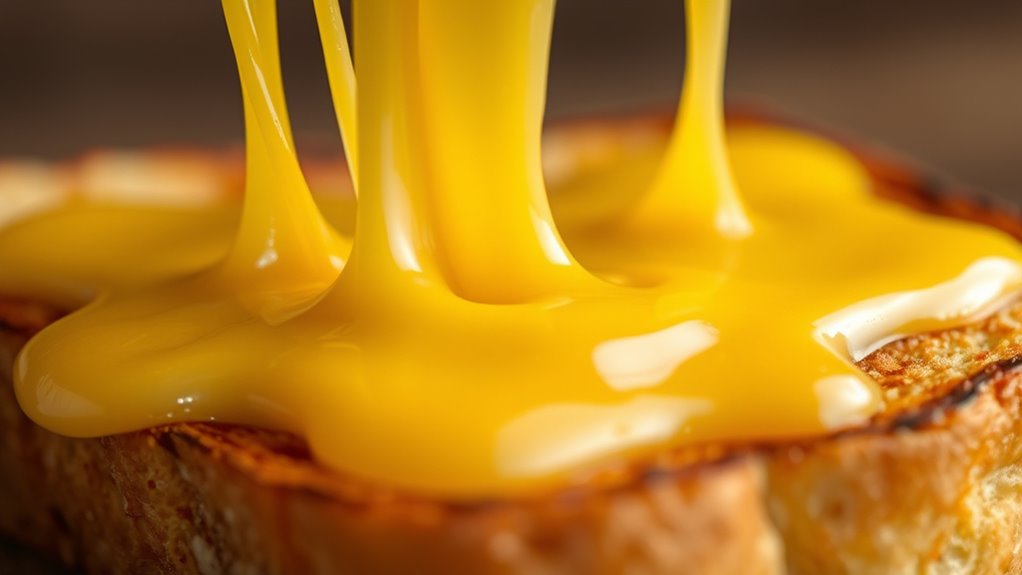

To melt cheese without making a mess, choose varieties like mozzarella or Gruyère that melt smoothly, and bring them to room temperature first. Use low, gentle heat with a double boiler or heavy pan, stirring constantly to prevent sticking. Line your pan with parchment paper or foil to catch spills. Incorporate small amounts of thickening agents if needed, and keep tools and surface clean. Continue exploring these techniques for perfectly melted, mess-free cheese every time.
Key Takeaways
- Choose smooth-melting cheeses like mozzarella or Gruyère, and bring them to room temperature before melting.
- Use gentle, low heat with double boilers or heavy-bottomed pans to prevent scorching and spills.
- Incorporate thickeners like cornstarch gradually, stirring constantly for a smooth, stable melt.
- Line cookware with parchment paper or foil to contain messes and make cleanup easier.
- Cover melting containers with silicone mats or cheese dome covers to prevent splatters and promote even melting.
Choosing the Right Type of Cheese for Easy Melting

When selecting cheese for melting, it’s important to choose varieties known for their smooth, even meltability. Certain cheese varieties, like mozzarella, Monterey Jack, and Gruyère, melt beautifully without becoming greasy or stringy. These cheeses have mild flavor profiles that complement many dishes without overpowering them. Cheddar can melt well, but its sharper flavor profile might alter the dish’s taste, so opt for milder options if you want a cleaner melt. For sauces and dips, cheeses with higher moisture content tend to melt more smoothly. Avoid processed cheeses or cheeses with low moisture, as they can become rubbery or greasy when heated. Picking the right cheese varieties ensures a clean, even melt and enhances your dish’s flavor profile. Additionally, moisture content plays a crucial role in achieving a smooth melt, so selecting cheeses with appropriate moisture levels can make a significant difference.
Preparing Your Ingredients for a Cleaner Melt
To achieve a smooth, even melt, start by preparing your cheese properly. Proper ingredient prep ensures your cheese melts evenly and reduces mess. First, check your cheese storage—bring it to room temperature to promote better melting. Cold cheese is harder to melt smoothly and can cause uneven heating. Next, cut your cheese into small, uniform pieces to facilitate quick and consistent melting. This step helps prevent sticking or burning. Finally, ensure your utensils and cookware are clean and dry to avoid unwanted moisture that can cause splattering. Temperature control is also crucial for a mess-free melting process. By focusing on ingredient prep and handling your cheese carefully, you’ll set the stage for a cleaner, more controlled melt every time.
Using Low and Even Heat to Prevent Spills
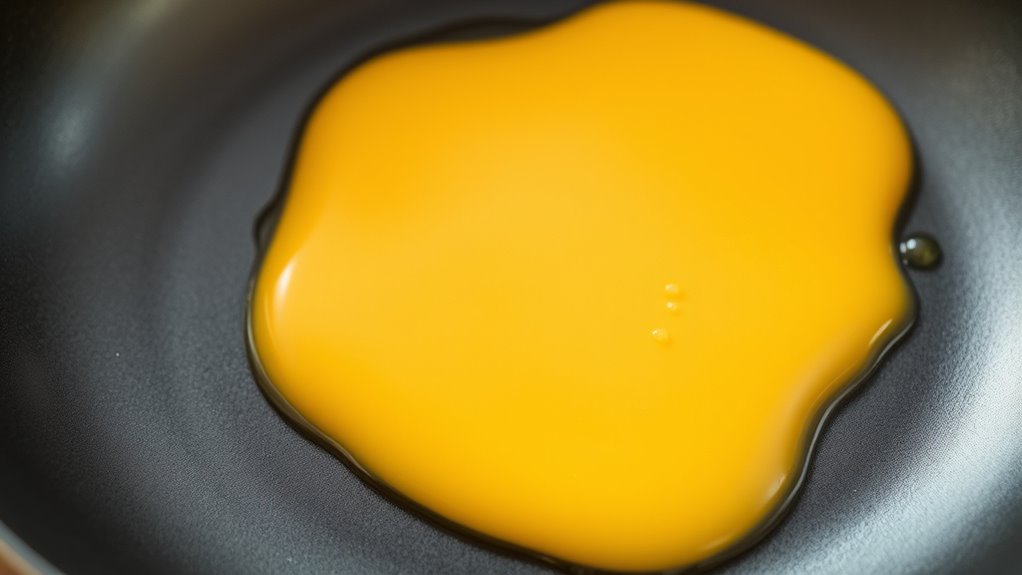
Using low and even heat keeps your cheese from scorching or spilling over. You should gently warm it and avoid sudden temperature shifts that can cause clumping. Maintaining a steady temperature guarantees a smooth, mess-free melt every time. Incorporating temperature control techniques can further enhance your results.
Use Gentle Heat
Applying gentle heat is essential for melting cheese smoothly and preventing spills. When working with different cheese types, it’s important to adjust the heat accordingly and guarantee proper ingredient prep. Using low and even heat allows the cheese to melt gradually, reducing the risk of burning or separation. This technique works well for soft cheeses like Brie or mozzarella, as well as harder varieties like cheddar or Swiss.
To maximize results:
- Use a double boiler or a heavy-bottomed pan to distribute heat evenly
- Stir frequently to prevent sticking or hotspots
- Start with small amounts and gradually add more cheese for control
Maintain Consistent Temperature
Maintaining a consistent temperature throughout the melting process helps prevent cheese from scorching or separating. Using low and even heat preserves the cheese’s delicate flavor and ensures smooth melting techniques. When the heat fluctuates, cheese can seize up or develop a grainy texture, ruining its flavor and making spills more likely. To keep temperature steady, use a double boiler or a heavy-bottomed pan. Pay close attention to your melting method to avoid sudden temperature changes. Additionally, monitoring the temperature control of your heat source can further optimize the melting process.
Avoid Sudden Temperature Changes
To prevent cheese spills and texture problems, it’s essential to keep the temperature steady during melting. Sudden temperature changes can cause cheese to seize or become greasy, ruining its texture. Using low and even heat helps maintain control, ensuring smooth melting techniques. This gentle approach allows the cheese to melt uniformly without overheating, preventing clumps or separation. Employing consistent heat distribution through tools like a double boiler or heavy-bottomed pan is crucial for successful melting. This way, you can achieve the perfect, mess-free cheese melt every time.
Incorporating Thickeners to Achieve Smoothness
Choosing the right thickener is essential for achieving a silky, smooth cheese melt. Once you’ve selected your thickener, you’ll need to incorporate it correctly to prevent clumping. Proper techniques make all the difference in creating a perfectly smooth and creamy consistency. Additionally, understanding the safety measures involved in handling and processing ingredients can help ensure a successful outcome.
Subheading 1: Choosing the Right Thickeners
Selecting the right thickener is essential for achieving a smooth, creamy cheese melt. The best choices depend on the type of cheese you’re using and your desired texture. For example, cornstarch creates a glossy, stable sauce, while arrowroot offers a clear, glossy finish that enhances flavor. When choosing thickeners, consider how they’ll affect cheese storage—some thickeners maintain consistency over time. Additionally, the right thickener can help preserve flavor, preventing it from becoming dull or grainy. Keep in mind that different options have unique properties and melting points. To get the best results, experiment with small amounts first. Your goal is a melt that’s smooth, stable, and packed with flavor, without risking a mess. For those seeking reliable performance, considering Vetted electric bike conversion kits can provide insights into durable and effective options.
Subheading 2: Proper Incorporation Techniques
Achieving a smooth cheese melt depends heavily on how you incorporate your chosen thickener. To guarantee a creamy texture, add the thickener gradually while stirring constantly, preventing lumps and uneven melting. For best cheese texture, dissolve powders like cornstarch or flour in a small amount of cold liquid before mixing into the hot cheese, avoiding clumps. When using a slurry, pour it slowly and keep stirring to promote even thickening. Proper incorporation also enhances flavor, as a smooth consistency allows the cheese’s taste to shine without bitterness or graininess. Always heat gently and avoid boiling, which can cause separation. With careful technique, your cheese will melt evenly, delivering a luscious, flavorful result without mess or frustration.
Applying the Proper Technique for Melting Cheese on the Stovetop

To melt cheese smoothly on the stovetop, you need to use gentle heat and constant stirring. Different cheese varieties require specific melting techniques to prevent clumping or burning. For example, softer cheeses melt quickly, while aged cheeses need lower temperatures and longer stirring. Keep the heat low to control melting and avoid scorching. Stir continuously to ensure even heat distribution and a smooth texture. Using techniques similar to exfoliating dead skin cells with glycolic acid can help achieve an even, refined surface. Consistent temperature control is essential for melting cheese perfectly, no matter the variety.
Tips for Melting Cheese in the Oven or Broiler

When melting cheese in the oven or broiler, use low heat settings to prevent burning and guarantee even melting. Lining your baking dish with parchment paper or aluminum foil makes cleanup easier and helps prevent sticking. Keep a close eye on your cheese to achieve that perfect, gooey finish. To enhance your melting process, consider using proper cheese selection, which can influence the texture and melting quality.
Use Low Heat Settings
Using low heat settings is essential for melting cheese smoothly without burning or overcooking it. This gentle approach helps you control the cheese texture and melt timing, preventing it from becoming greasy or rubbery. When you use low heat, the cheese melts evenly, ensuring a creamy consistency without scorching. Keep an eye on the process to avoid over-melting, which can cause separation or a greasy surface. Incorporating techniques like gentle heat application can further enhance your results. – Use a double boiler or a heatproof dish set over simmering water for even heat distribution – Stir frequently to promote a uniform cheese texture – Start with a short melt time, then gradually increase if needed, to prevent overcooking
Use Parchment or Foil
Lining your baking sheet or dish with parchment paper or aluminum foil creates a barrier that prevents cheese from sticking or burning directly onto the surface. This simple step helps maintain a smooth cheese texture and consistent melting. When cheese touches foil or parchment, it’s less likely to develop uneven spots or become greasy. Using foil can also reflect heat, promoting even melting and improving the melting consistency. Parchment is especially good for delicate cheeses, as it prevents direct contact with high heat. Both options make cleanup easier and reduce mess. Keep in mind, if you want a more uniform melt, choose foil for direct heat or parchment for gentle, even heating. This way, your cheese melts perfectly without sticking or burning.
Using Parchment Paper and Silicone Mats to Minimize Mess

To keep your kitchen clean while melting cheese, parchment paper and silicone mats are invaluable tools. They prevent cheese from sticking to surfaces and contain messes, making cleanup easier. Using these tools also helps preserve cheese flavor by avoiding burnt or scorched spots. When applying melting techniques, place your cheese on parchment or silicone mats for even heat distribution and minimal spillage.
- Use parchment paper for quick, no-mess melting in the oven
- Silicone mats provide reusable, non-stick surfaces for stovetop melting
- Both tools help prevent cheese from seeping into cracks or crevices, keeping your workspace tidy
With these options, you can focus on perfecting your melting techniques without worrying about cleanup, while ensuring your cheese stays delicious and mess-free.
Quick Cleanup Strategies for Spills and Drips
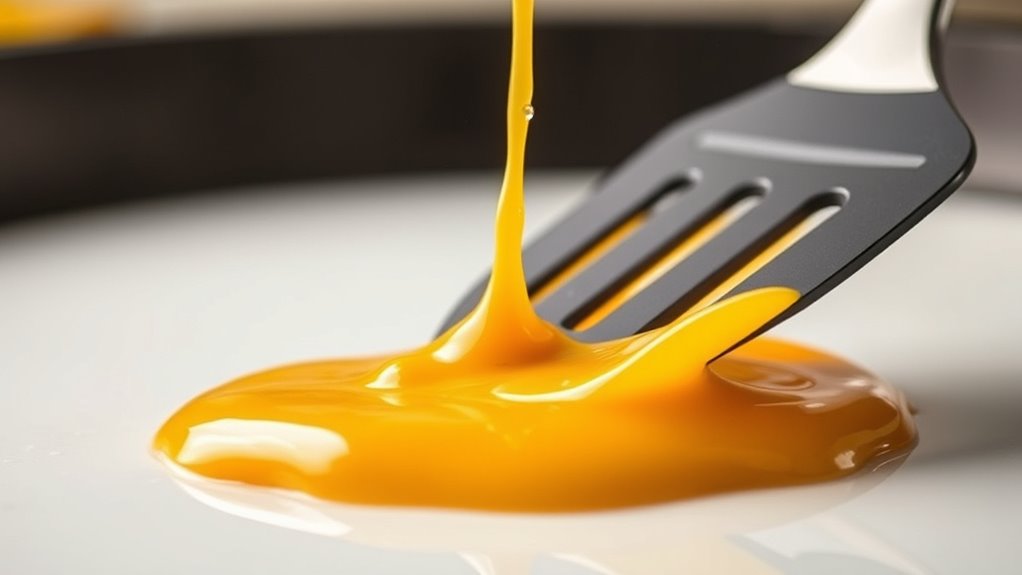
Spills and drips happen even with careful cheese melting, but quick action can minimize their mess. When you notice a spill, grab a damp cloth or paper towel immediately to blot the area. This prevents melted cheese from hardening and sticking, making cleanup easier. For drips on countertops or cookware, warm soapy water helps loosen residue without damaging surfaces. Using proper melting techniques, like gentle heat and constant stirring, reduces the chances of spills. Keeping a spatula nearby allows you to control cheese flow and prevent overflows. Act swiftly to wipe up spills before cheese cools and hardens, which makes cleanup more difficult. These strategies help preserve your cheese’s flavor and keep your workspace tidy, ensuring your melting process remains smooth and mess-free.
Creative Tools to Contain Melting Cheese
Using creative tools to contain melting cheese can make the process cleaner and more controlled. You can shape or shield your cheese to preserve its ideal texture and flavor enhancement. For example, silicone baking mats or cheese dome covers help contain drips and prevent messes. These tools also promote even melting, improving cheese texture and ensuring the flavor develops uniformly. Additionally, using small ramekins or heatproof bowls creates localized melting zones, reducing spill risk. For a more inventive approach, try using parchment paper makeshift shields or silicone sleeves designed for cheese. These tools give you better control over the melting process, keeping your workspace tidy while maintaining the quality of your cheese. With the right tools, you’ll enjoy perfect, mess-free melted cheese every time.
Final Tips for Achieving Perfectly Melted Cheese Every Time
Achieving perfectly melted cheese every time hinges on a few key techniques that guarantee consistent results. First, consider cheese textures—soft cheeses melt faster, while firmer varieties need gentle heat. Use low to medium heat to prevent scorching and preserve flavor combinations. Stir gently to ensure even melting without breaking down the cheese. Visualize your cheese melting in this way:
| Cheese Type | Texture | Ideal Melting Method |
|---|---|---|
| Cheddar | Firm, crumbly | Low heat, slow melting |
| Mozzarella | Soft, elastic | Gentle stirring |
| Brie | Soft, creamy | Short heat bursts |
Frequently Asked Questions
How Can I Prevent Cheese From Sticking to Cookware?
To prevent cheese from sticking to cookware, you should focus on your melting techniques and cheese texture. Use low heat to gently melt the cheese, stirring constantly to prevent sticking. Adding a bit of liquid like milk or cream helps achieve a smooth texture, making the cheese easier to melt evenly. Also, consider using non-stick cookware or lining your pan with parchment paper for an even better result.
What Are the Best Storage Methods for Leftover Melted Cheese?
When storing leftover melted cheese, you should use airtight storage containers to preserve its cheese aroma and prevent odors from spreading. Allow the cheese to cool slightly before sealing it to avoid condensation. Label the containers with the date to track freshness. Keep them in the refrigerator, and consume within a few days for the best flavor and texture. Proper storage guarantees your cheese stays delicious and ready for your next use.
Can I Reuse Melted Cheese Without Mess?
Sure, reusing melted cheese sounds easy—until you realize it’s a mess waiting to happen. To keep the cheese texture smooth and flavor preserved, reheat gently in a double boiler or microwave at low power. Stir often to prevent sticking or burning. While it’s tempting to reuse, be aware that reheating can alter texture and flavor. With care, you can enjoy your cheese without the mess, again and again.
How Do I Prevent Cheese From Burning During Melting?
To prevent cheese from burning during melting, you should use gentle melting techniques like double boiling or a microwave with short intervals. Keep the heat low and stir constantly to preserve the cheese flavor and guarantee even melting. Avoid high temperatures, as they can cause burning and a bitter taste. By controlling the heat and stirring often, you get smooth, melted cheese without risking burnt bits or compromising flavor.
Are There Specific Utensils That Reduce Cheese Splatter?
Imagine your stovetop as a calm lake, not a storm. To keep cheese from splattering, use a silicone spatula to gently stir, preventing hot bubbles from bursting out. A cheese grater can help you prepare smaller, evenly melted pieces, reducing splatter chances. These utensils work together to keep your melting process smooth and mess-free, making your kitchen experience more enjoyable and less cleanup-heavy.
Conclusion
With these tips, melting cheese becomes a smooth sail rather than a messy storm. Think of your kitchen as a well-tuned orchestra, where each step plays a part in creating perfect, gooey cheese without chaos. Keep your heat gentle, your tools handy, and your technique steady. Soon, you’ll be the maestro of melt, serving up cheesy masterpieces that delight without the cleanup storm. Happy melting!