To bake mini cheesecakes with a water bath, start by preparing your batter and filling the mini molds evenly. Wrap the pan with aluminum foil and place it in a larger roasting dish, then add hot water until it reaches halfway up the sides. Bake at the recommended temperature, monitor for doneness, and cool properly to prevent cracks. Want perfect results? Keep exploring for detailed tips and techniques to master this method.
Key Takeaways
- Use a larger roasting pan to hold the mini cheesecake tins and fill halfway with hot water for even baking.
- Wrap the outside of the cheesecake pan with aluminum foil to prevent water leaks during baking.
- Place the filled pan on an oven rack before adding hot water to ensure stability and even heat distribution.
- Check for doneness by gently jiggling the center or inserting a toothpick; avoid overbaking to prevent cracks.
- Cool the cheesecakes gradually at room temperature before refrigerating to prevent cracks and ensure smooth texture.
Gathering Your Ingredients and Tools
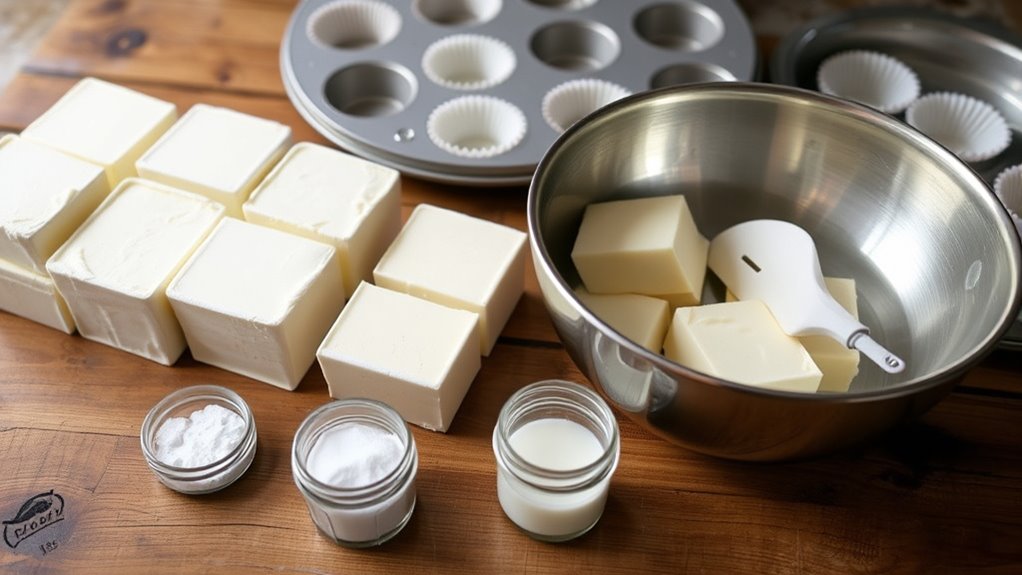
Before you begin baking your mini cheesecakes, it’s important to gather all the necessary ingredients and tools. Focus on ingredient selection by choosing fresh cream cheese, quality graham crackers, and proper sweeteners to guarantee the best flavor. Check your pantry and fridge to avoid last-minute runs. Additionally, inspect your tools—make sure your mixing bowls, electric mixer, and mini cheesecake molds are clean and in good condition. Proper tool maintenance prevents issues during baking, like uneven mixing or sticking. Having everything ready saves time and keeps your process smooth. Organizing your ingredients and tools beforehand so you can focus on creating a perfect water bath setup. Well-prepared ingredients and maintained tools set the foundation for successful mini cheesecakes. Natural materials in Waldorf toys can inspire a sense of harmony and creativity that complements the calming process of baking.
Preparing the Cheesecake Batter

With your ingredients and tools ready, it’s time to prepare the cheesecake batter. Achieving the right cheesecake texture depends on mixing ingredients until smooth and well combined. To guarantee the batter consistency is just right, follow these steps:
Prepare a smooth, well-mixed batter for a perfectly textured cheesecake.
- Beat cream cheese and sugar until creamy and fluffy, avoiding lumps.
- Add eggs one at a time, mixing thoroughly after each to maintain a smooth, pourable batter.
- Incorporate sour cream or heavy cream gradually, blending until the mixture is silky and uniform.
This process assures a batter that’s neither too thick nor too runny, which is essential for a perfect cheesecake. Properly prepared batter will produce a tender, dense texture with a smooth, creamy consistency when baked.
Assembling the Mini Cheesecakes in the Pan
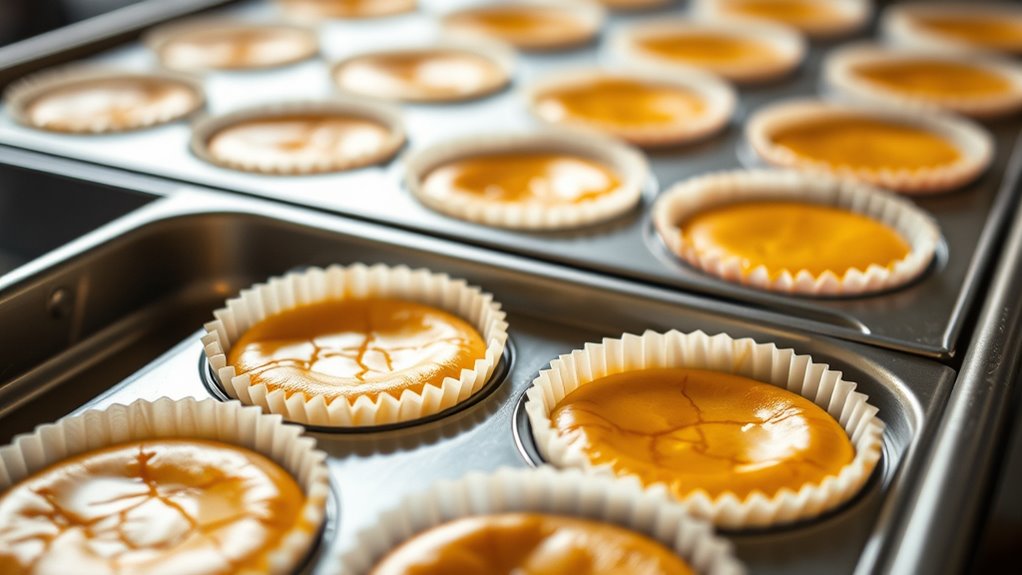
Once your mini cheesecake batter is prepared, it’s time to assemble the cheesecakes in the pan. Start by placing paper liners or greasing each compartment of your muffin tin. Pour or scoop the cheesecake batter into each liner, filling about three-quarters full to allow room for the cheesecake layers to set properly. For appealing presentation styles, consider layering different flavors or mixing in fruit or chocolate swirls before baking. When assembling, aim for uniformity in portion size to ensure even baking and a professional look. You can also add decorative toppings like fresh fruit or whipped cream after baking. Properly assembled, these mini cheesecakes will showcase attractive cheesecake layers and make a delightful, visually appealing treat. Additionally, choosing the right baking equipment can help achieve consistent results.
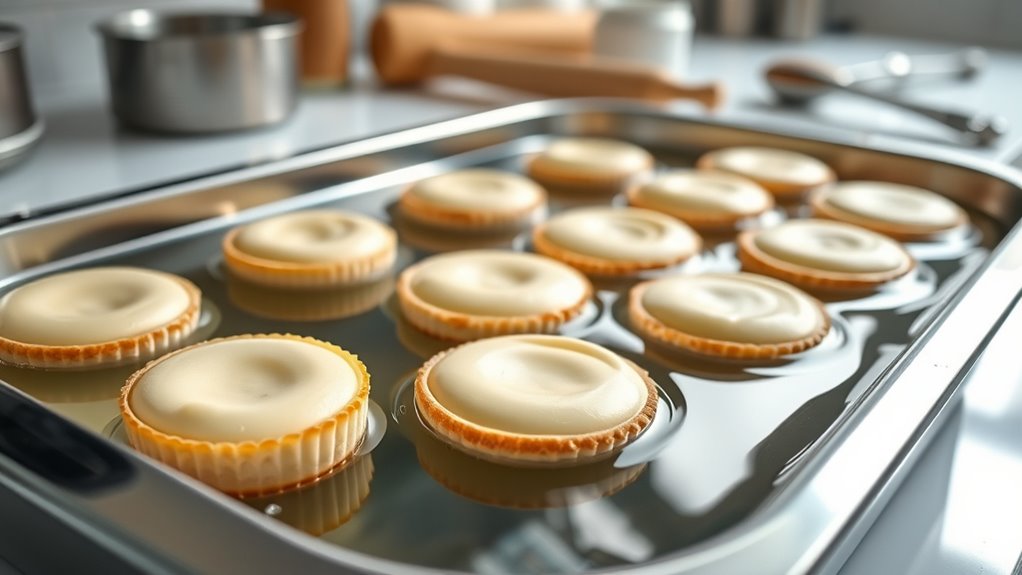
Creating the Water Bath Setup

To guarantee your mini cheesecakes bake evenly and develop the right texture, setting up a water bath is a helpful step. Begin by placing your filled pan with cheesecake batter inside a larger roasting pan. Then, carefully pour hot water into the larger pan until it reaches halfway up the sides of the mini cheesecake cups. To ensure stability and prevent water from seeping in, follow these tips:
- Wrap the outside of the mini cheesecake pan with aluminum foil to prevent leaks.
- Use a kettle or saucepan to gently add hot water, avoiding splashes that could disturb the cheesecake batter.
- Place the setup on the oven rack before pouring water to keep everything steady.
- Remember that fatherhood often emphasizes support and nurturing, which can be metaphorically related to caring for your cheesecake as it bakes.
This water bath setup promotes even baking and a silky, smooth texture.
Baking the Cheesecakes to Perfection
To bake your mini cheesecakes perfectly, you need to focus on even heat distribution and monitor their progress carefully. This helps prevent cracks and guarantees they cook evenly. By paying close attention, you’ll achieve smooth, creamy results every time. Incorporating consistent practice can also improve your baking skills over time, leading to more reliable and impressive results.
Achieving Even Baking
Achieving even baking is essential for perfectly textured mini cheesecakes, and it starts with your oven setup. To guarantee uniform heat distribution, avoid overcrowding the oven and rotate the pans halfway through baking. Use an oven thermometer to verify the temperature stays consistent, as hot spots can cause uneven cooking. Additionally, consider placing a baking stone or an inverted baking sheet beneath your water bath to promote even heat transfer. Proper oven setup ensures that the cheesecakes bake evenly. Once baked, allow the cheesecakes to cool completely before topping with chocolate ganache or fruit toppings, which highlight their smooth texture. Proper baking ensures that the center remains creamy without cracks, and toppings sit beautifully, enhancing both flavor and presentation. This careful process guarantees mini cheesecakes that are both delicious and visually appealing.
Preventing Cracks Naturally
Cracks in mini cheesecakes often occur when the batter loses moisture or experiences sudden temperature changes during baking. To prevent cracks naturally, focus on maintaining proper batter consistency—aim for a smooth, creamy texture that isn’t too runny or stiff. Overmixing can lead to air pockets, increasing crack risk, so mix just until ingredients are combined. Using a water bath helps regulate temperature and adds moisture, reducing stress on the batter. Additionally, avoid opening the oven door too early, as rapid cooling can cause cracks. Ensuring even heat distribution and gentle handling during baking are key to crack prevention. Incorporating baking techniques such as water baths and gentle procedures helps enhance the overall outcome. By controlling batter consistency and maintaining stable baking conditions, you’ll achieve beautifully smooth, crack-free mini cheesecakes.
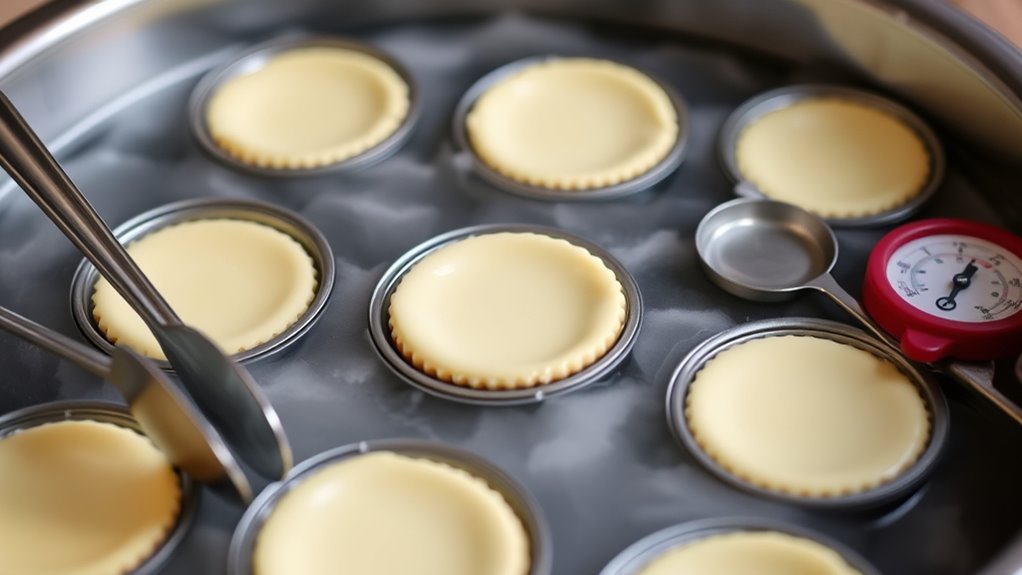
Monitoring Baking Progress
Monitoring the baking process closely guarantees your mini cheesecakes come out perfectly smooth and creamy. Keep a close eye on your oven temperature, ensuring it stays consistent, as fluctuations can affect baking time and texture. To achieve ideal results, follow these steps:
- Check the cheesecakes around the 20-minute mark, as they should be slightly jiggly in the center.
- Adjust baking time if necessary, adding or subtracting a few minutes based on your oven’s performance.
- Use a toothpick or cake tester inserted near the center; it should come out with moist crumbs but no wet batter.
- Remember that baking time can vary depending on your specific oven and the size of your mini cheesecakes.
Cooling and Chilling for Best Results

After removing the cheesecakes from the oven, give them time to cool properly to prevent cracks. Use proper cooling techniques, like letting them sit at room temperature first, then refrigerate. Make sure to chill them for the right amount of time to achieve the best texture and flavor. Reservations recommended for popular nights to ensure optimal serving conditions.
Proper Cooling Techniques
Ever wondered how to guarantee your mini cheesecakes set perfectly and stay smooth? Proper cooling techniques are essential for ideal results. Focus on temperature regulation during this phase. First, let your cheesecakes cool gradually at room temperature for about 30 minutes; this prevents sudden temperature shifts. Second, transfer them to a chilled environment—either a refrigerator or an ice bath—ensuring they cool evenly without cracking. Third, avoid opening the fridge frequently, as temperature fluctuations can affect their texture. Keeping the cheesecakes at a consistent, cool temperature allows the filling to firm up without over-contraction. Additionally, using proper filtration during the cooling process can help maintain a uniform environment and prevent any external contaminants from affecting the texture. By mastering these cooling techniques, you ensure your mini cheesecakes remain silky, smooth, and beautifully set. Proper temperature control during cooling is key to professional-looking results.
Optimal Chilling Duration
Achieving perfectly set mini cheesecakes depends heavily on choosing the right chilling duration. Proper refrigeration time assures they hold their shape and develop rich flavors. Typically, chilling for at least 4 hours is ideal, but overnight refrigeration guarantees the best results. If you refrigerate too briefly, the cheesecakes may be too soft or crumbly. Conversely, over-chilling can make them overly firm. Use this guide to gauge your chilling needs:
| Chilling Duration | Result |
|---|---|
| 2-3 hours | Slightly soft, needs more time |
| 4-6 hours | Firm with good texture |
| Overnight (8+ hrs) | Perfectly set, slice-ready |
Additionally, understanding decoding slang can help you better interpret recipe instructions and food-related terminology.
Removing the Mini Cheesecakes From the Pan

To successfully remove mini cheesecakes from the pan, gently loosen the edges with a small spatula or butter knife to loosen any sticking. This helps with pan release and prevents tearing. Once loosened, carefully lift each cheesecake using the appropriate utensil choice, such as a thin spatula or a cupcake liner if used.
- Use a flexible spatula to slide beneath the cheesecake without damaging its shape.
- If you used parchment liners, gently peel them away for easy removal.
- Support the bottom of each cheesecake with your hand or another spatula to keep it intact during transfer.
Take your time to ensure the cheesecakes come out cleanly, maintaining their smooth tops and perfect shape.
Decorating and Customizing Your Cheesecakes
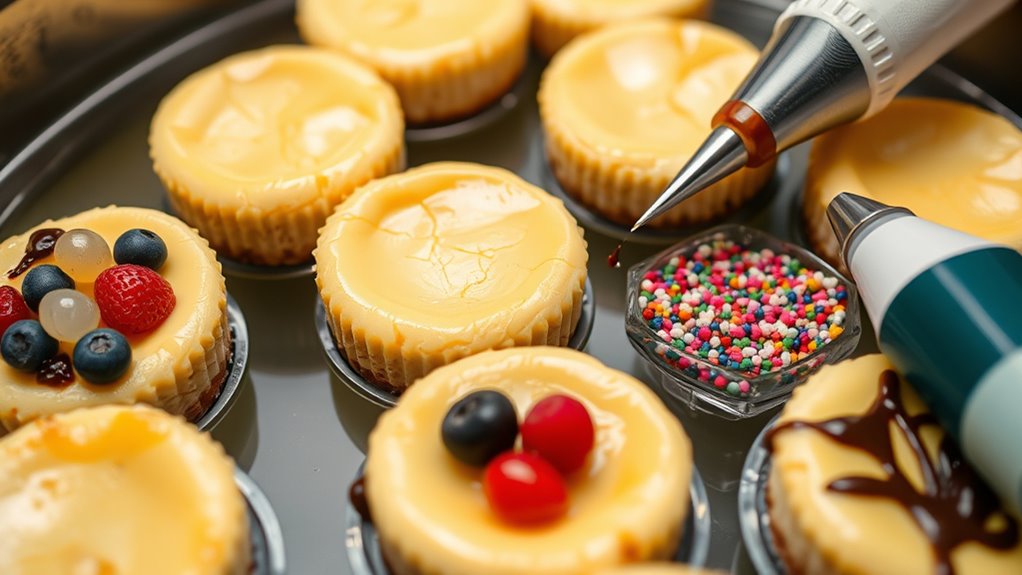
Once your mini cheesecakes are removed from the pan, it’s time to get creative with their appearance. You can add cake toppers that reflect any theme or occasion, instantly elevating their presentation. Fresh fruit, chocolate shavings, or colorful sprinkles are simple options that add visual appeal and flavor. To customize further, experiment with flavor variations by mixing in ingredients like lemon zest, vanilla extract, or fruit purees into the cheesecake batter before baking. Drizzle fruit sauces or caramel on top for added flair. Using decorative piping or edible flowers can also make your mini cheesecakes look professional and inviting. Personalizing each one allows you to match the taste and style to any celebration or mood, making your desserts uniquely yours.
Tips and Tricks for Troubleshooting Common Issues
After decorating your mini cheesecakes, you might encounter some common issues that can affect their appearance or texture. To troubleshoot effectively, identify potential pitfalls and consider ingredient substitutions.
Decorate confidently by identifying common pitfalls and exploring ingredient swaps to perfect your mini cheesecakes.
- If your cheesecakes crack, avoid overbaking by reducing the baking time or lowering the oven temperature. Using a water bath helps prevent this.
- If the texture is too dense or grainy, ensure your cream cheese is softened properly and avoid overmixing.
- For a runny or loosened cheesecake, check your ingredient ratios, especially if substituting ingredients like Greek yogurt or sour cream, which may alter consistency.
Frequently Asked Questions
Can I Bake Mini Cheesecakes Without a Water Bath?
You can bake mini cheesecakes without a water bath, but it may influence their texture. Alternative baking techniques, like baking at a lower temperature or using a bain-marie, help prevent cracks and ensure creaminess. Experimenting with cheesecake flavor variations is easier when you avoid the water bath, but keep an eye on baking time. Just remember, a water bath often yields the best, smooth results for mini cheesecakes.
How Do I Prevent Cracks in Water Bath-Baked Cheesecakes?
Cracks in your cheesecake are like unwanted scars on a masterpiece. To prevent cracks using water bath techniques, make certain your batter isn’t overmixed and tap the pan gently to release bubbles. Use a shallow water bath, and wrap the pans tightly to prevent steam from seeping in. Keep the oven at a consistent temperature, and avoid opening the oven door mid-baking, which can cause cracks.
What Type of Pan Is Best for Water Bath Baking?
For water bath baking, a springform pan is your best choice because it’s easy to remove the cheesecake without damaging it. A sturdy metal pan also works well, especially if you don’t have a springform. Just make sure your pan is deep enough to hold hot water and fits your oven. Using the right pan helps prevent leaks and guarantees even baking, giving you a smooth, crack-free cheesecake.
How Long Can I Store Water Bath Mini Cheesecakes?
You can store water bath mini cheesecakes in the fridge for up to 3-4 days. To keep them fresh, cover them tightly with plastic wrap or store in an airtight container. Refrigeration tips include placing them on a flat surface and avoiding stacking, which can cause damage. If you want to keep them longer, consider freezing for up to a month, but make sure they’re well wrapped to prevent freezer burn.
Can I Freeze Mini Cheesecakes Baked in a Water Bath?
Yes, you can freeze mini cheesecakes baked in a water bath. For best results, follow freezing instructions by wrapping them tightly with plastic wrap or placing them in an airtight container. When you’re ready to enjoy, thaw them in the refrigerator overnight. Thawting tips include avoiding microwave thawing to prevent spoilage or texture changes. Freezing preserves their freshness and flavor, making them convenient for future treats.
Conclusion
Using the water bath method guarantees your mini cheesecakes bake evenly and stay smooth. Did you know that water baths help prevent cracking by maintaining a consistent temperature? With these tips, you’ll achieve perfectly creamy, crack-free cheesecakes every time. So, gather your ingredients, follow the steps, and enjoy your beautifully baked treats—impressing friends and family alike! Baking perfection is just a water bath away, making your dessert experience both rewarding and delicious.