
Decadent air fryer chocolate lava cakes are a quick, easy way to satisfy your sweet tooth with minimal ingredients and effort. Simply melt chocolate and butter, mix with eggs and sugar, then fold in flour before baking in ramekins in your air fryer for about 8–10 minutes. The result is a rich, gooey-center dessert perfect for any occasion. If you want to master this recipe and customize flavors, keep exploring how to perfect your lava cakes.
Key Takeaways
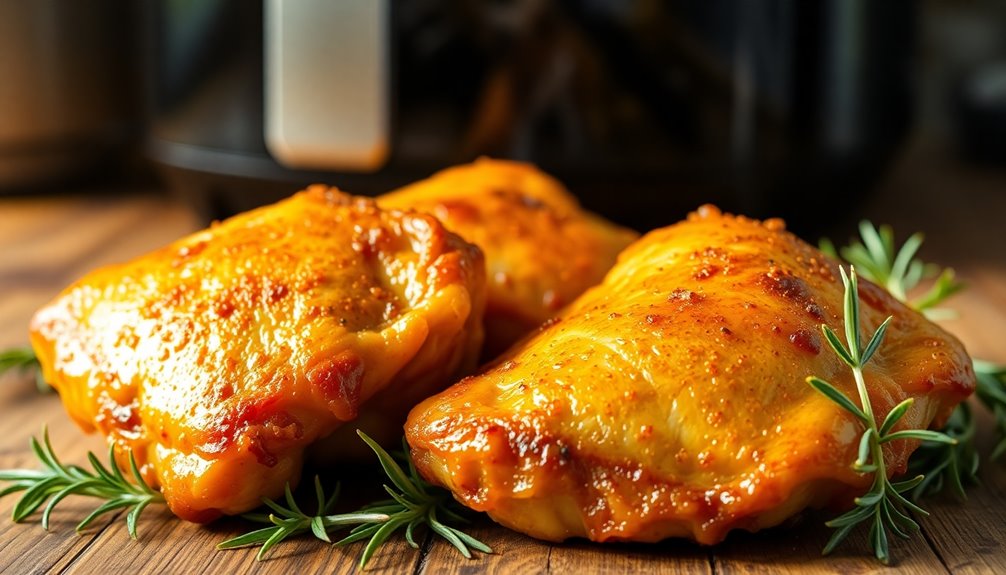
- Quick, easy-to-make dessert with rich, gooey chocolate centers using minimal ingredients and an air fryer.
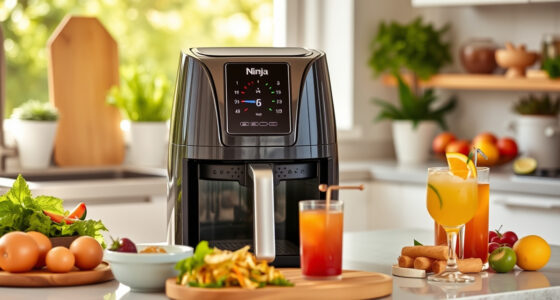
- Requires simple equipment like ramekins, butter, cocoa powder, and common pantry items.
- Involves melting chocolate and butter, then mixing with eggs, sugar, and flour before air frying.
- Cooks in approximately 8-10 minutes at 375°F, delivering consistent, decadent results.
- Perfect for spontaneous treats or impressive presentations with customization options for toppings and flavors.
Top picks for "decadent fryer chocolate"
As an affiliate, we earn on qualifying purchases.
Recipe
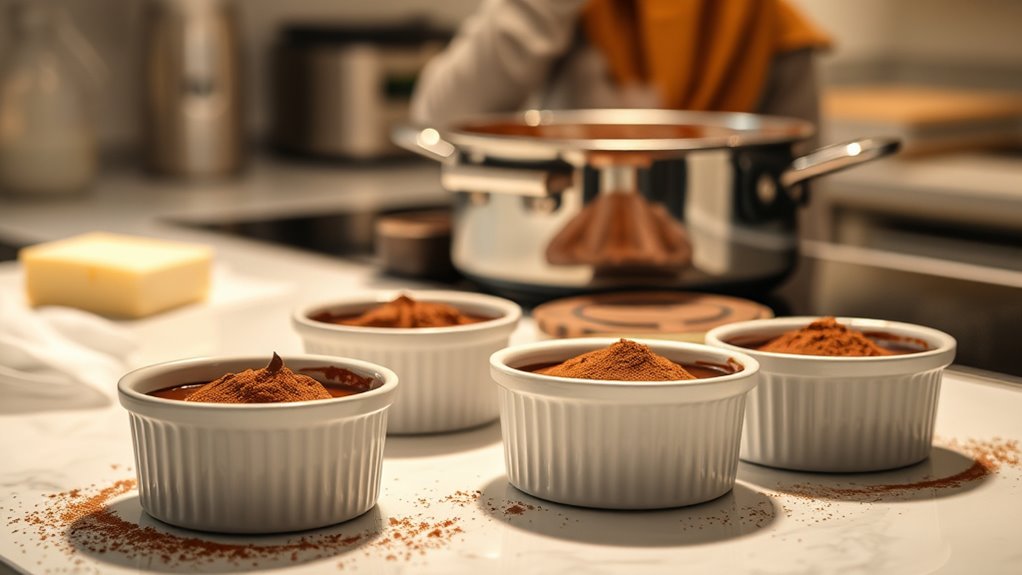
To make delicious air fryer chocolate lava cakes, start by preparing your ramekins or small oven-safe bowls. Grease them lightly with butter and dust with cocoa powder to prevent sticking. In a microwave-safe bowl, melt the semi-sweet chocolate and butter together until smooth, either in short bursts in the microwave or over a double boiler. Allow the mixture to cool slightly, then whisk in the eggs and egg yolks until well combined. Stir in the sugar, followed by the flour and a pinch of salt, mixing until just combined. The batter should be thick and glossy.
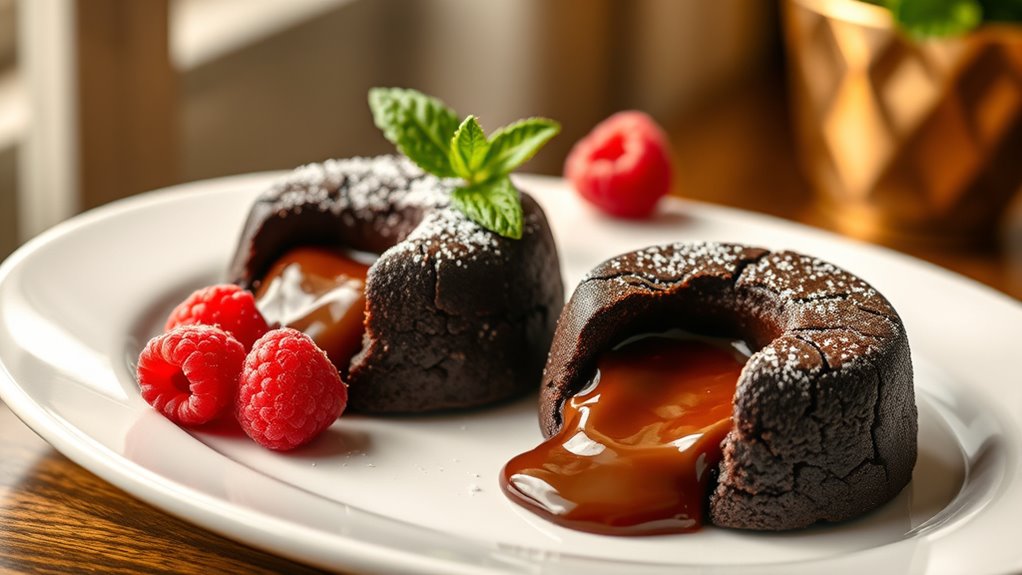
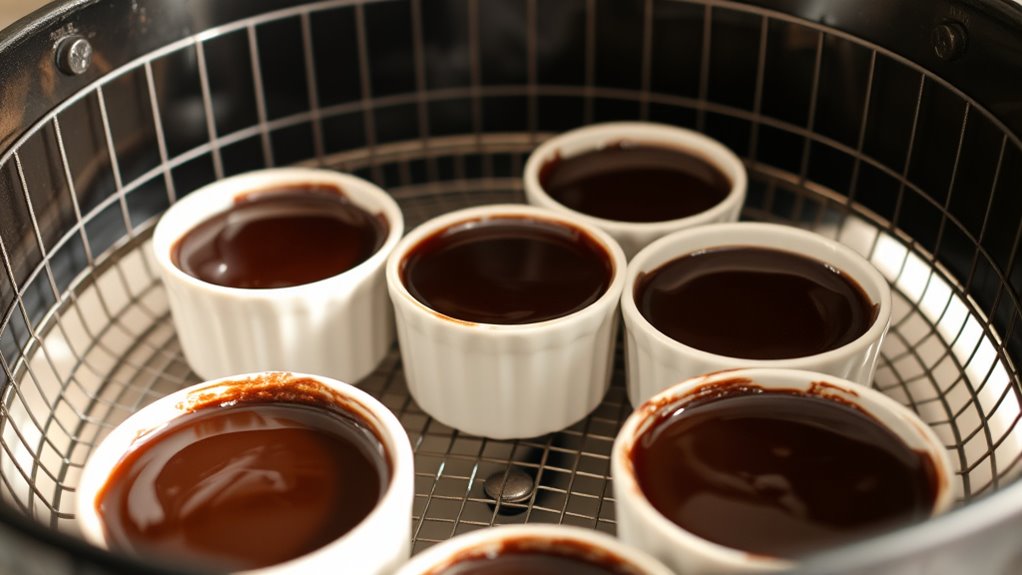
Pour the batter evenly into the prepared ramekins, filling them about three-quarters full. Preheat your air fryer to 375°F (190°C). Place the ramekins in the air fryer basket, making sure they aren’t touching. Cook for about 8-10 minutes, or until the edges are firm but the center remains soft and gooey. Remove the cakes carefully from the air fryer and let them sit for a minute before inverting onto serving plates. Serve warm with a dusting of powdered sugar or a scoop of vanilla ice cream for an extra indulgence.
Adding a baking technique such as using a thermometer can help you achieve perfect doneness every time.
Remember, the contrast ratio of your setup can also affect how vibrant and appealing the cake looks, especially if you are serving it on a display-worthy plate. Additionally, knowing the local resources and tools available can help you optimize your baking process for the best results. Incorporating baking techniques can further enhance the texture and presentation of your lava cakes.
Cooking Steps
To make perfect air fryer chocolate lava cakes, you’ll start by melting the chocolate and butter together. Next, prepare your mise en place and create the rich chocolate filling, pouring it carefully into the ramekins. Following these steps guarantees your cakes turn out gooey and delicious. For best results, consider using proper placement of your ramekins in the air fryer to ensure even cooking. Proper placement helps prevent uneven baking and ensures the lava cakes are cooked uniformly throughout. Additionally, using crochet techniques to handle delicate ramekins can prevent accidents and make your baking process smoother. Being mindful of toilet maintenance can also prevent unexpected kitchen disruptions, so always keep your cooking area clean and organized. Maintaining a high vibrational energy in your environment can also enhance the overall cooking experience and infuse your baked goods with positive energy. Incorporating kitchen safety practices is essential for a stress-free baking experience and to avoid mishaps.
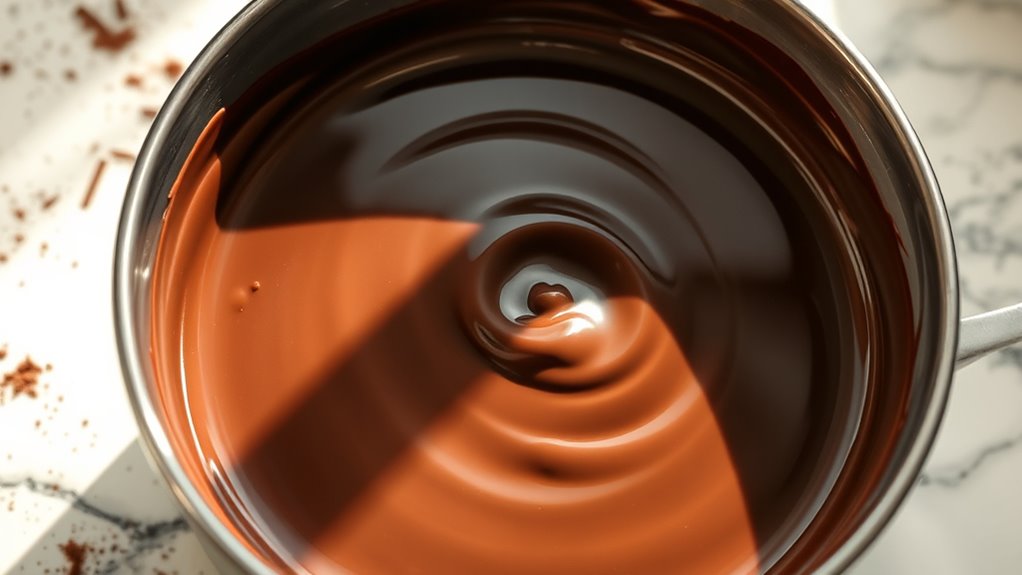
Step 1. Melted Chocolate and Butter
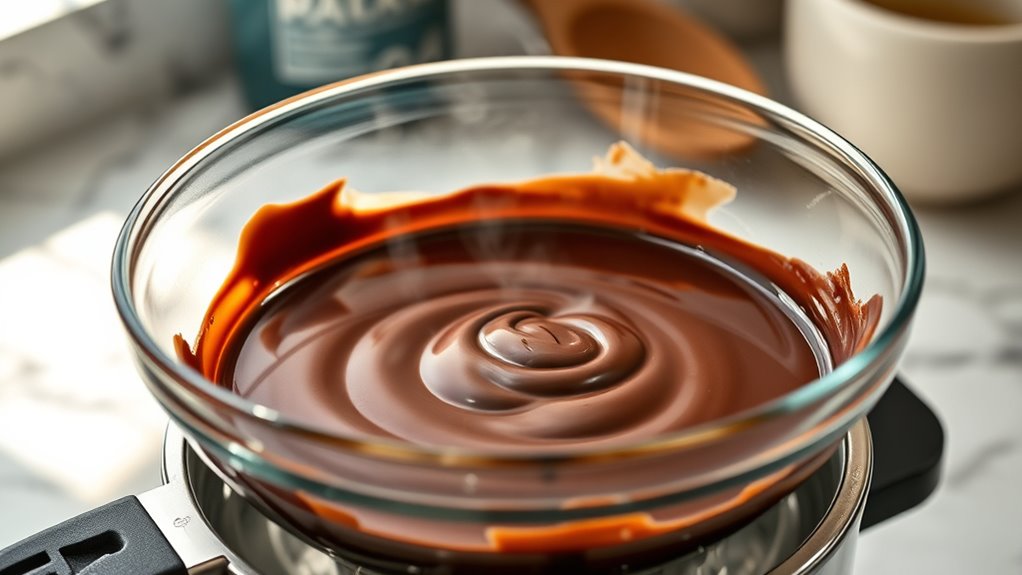
Begin by placing the chopped chocolate and butter in a heatproof bowl. Set the bowl over a pot of simmering water, creating a double boiler, or microwave in short bursts, stirring after each, until smooth and glossy. You want the chocolate and butter to melt completely, blending into a silky mixture. Be careful not to overheat, as this can cause the chocolate to seize or burn. Stir continuously to ensure even melting. Once fully melted, remove the bowl from heat and set it aside. This rich, velvety mixture will serve as the base for your lava cake. It’s essential to attain a smooth consistency, as it will incorporate seamlessly into your batter, ensuring a luscious, gooey center once baked. Incorporating the right butter quality can enhance the flavor and texture of your lava cake for a more decadent result.
Step 2. Melted Chocolate and Butter
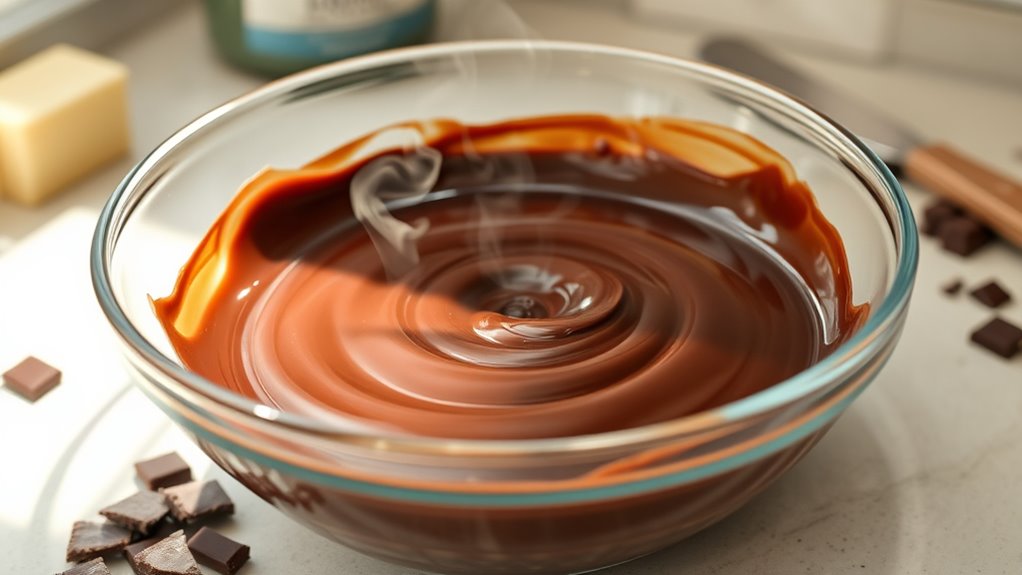
Once your chocolate and butter are fully melted into a smooth, glossy mixture, it’s ready to be incorporated into the batter. Pour the melted mixture into a mixing bowl, ensuring you scrape every bit from the pan. Whisk the chocolate and butter together until well combined, creating a rich, uniform base. This step guarantees your lava cakes develop that signature gooey center. Be careful not to overmix, as excessive stirring can cause the batter to become dense. Let the mixture cool slightly if it’s too hot before adding other ingredients, preventing them from cooking prematurely. Once combined, your melted chocolate and butter are the foundation of the cake’s decadent texture. Proceed to fold in the remaining ingredients, confident your base will deliver that irresistible molten core.
Step 3. Mise En Place
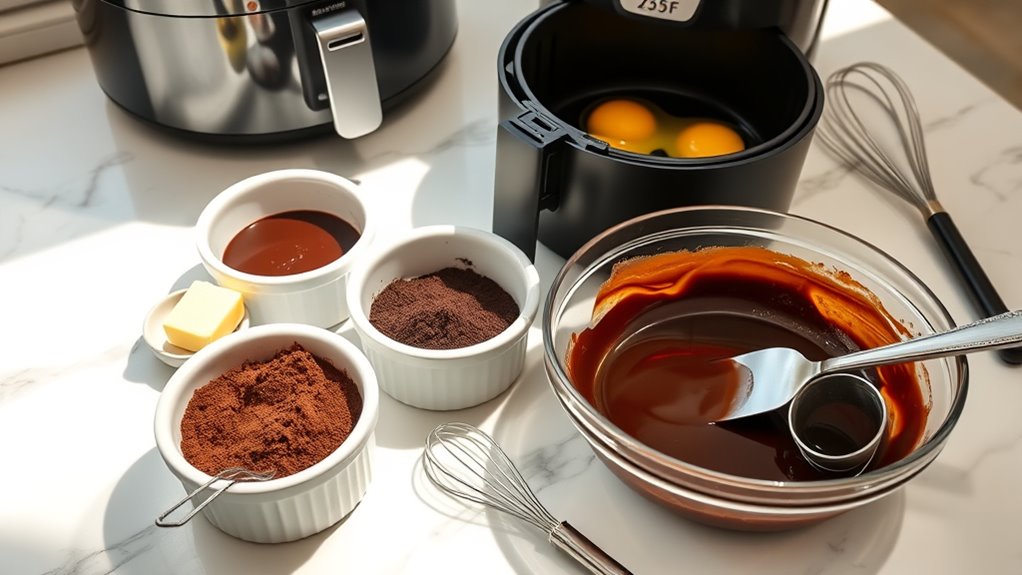
Gather all your ingredients and tools before you start cooking. Measure out your chocolate, butter, eggs, sugar, and flour, and have them ready in separate bowls. Prepare your ramekins or silicone molds, ensuring they’re clean and lightly greased. Keep a whisk or spoon nearby for mixing, along with a spatula to scrape down bowls. Set your oven or air fryer to the correct temperature in advance. Organize your workspace so everything is within reach, which streamlines the process and prevents last-minute searches. Double-check that you have paper towels or a cloth for cleanup. Having your ingredients and tools prepped saves time and keeps you focused, allowing you to work efficiently and confidently through each step of preparing these rich, gooey lava cakes.
Step 4. Chocolate Filling Preparation
To prepare the chocolate filling, start by melting the chocolate and butter together, either in a double boiler or microwave in short bursts, stirring until smooth. Confirm the mixture is fully melted and glossy, with no lumps remaining. Once melted, remove from heat and let it cool slightly. In a separate bowl, whisk eggs and sugar until well combined and slightly thickened. Gradually add the cooled chocolate mixture into the egg mixture, stirring constantly to prevent cooking the eggs. Mix until smooth and uniform. This creates a rich, velvety filling with a glossy texture. Be careful not to overmix, as this can incorporate excess air. The filling is now ready to be poured into your prepared ramekins for baking.
Step 5. Chocolate Filling Poured Into Ramekins
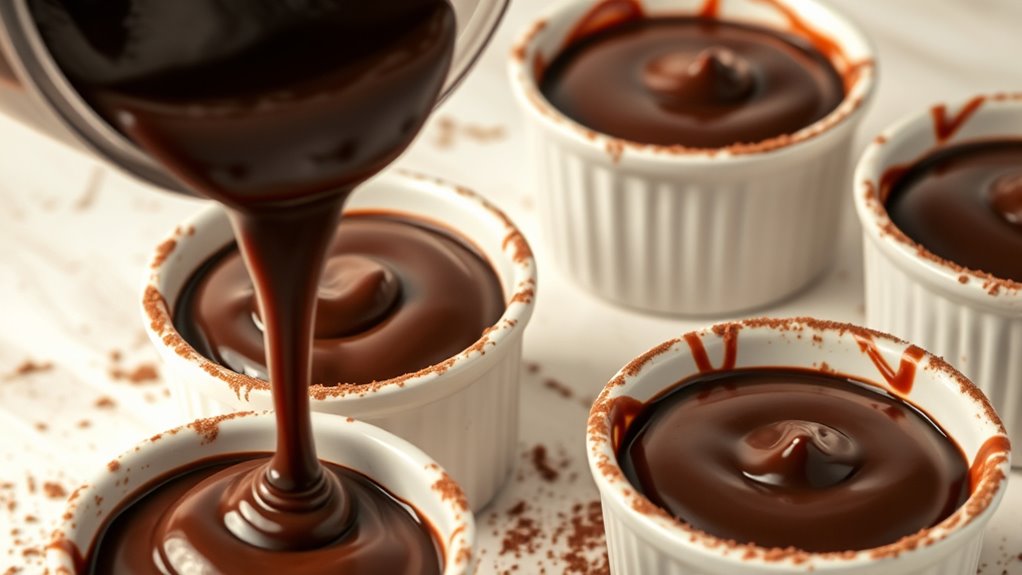
After preparing the chocolate filling, carefully pour it into your ramekins, filling each about three-quarters full. Use a spoon or a small ladle to guarantee precise pouring and prevent spills. Hold the ramekin steady as you pour, stopping once it’s nearly full to leave room for the lava center. This step is essential for achieving the perfect molten core, so avoid overfilling. If you notice any excess batter on the edges, gently wipe it away with a damp cloth for clean edges. Once all the ramekins are filled, tap them lightly on the counter to remove air bubbles and settle the filling. This ensures an even, smooth top and helps the cakes bake uniformly. Now, you’re ready for the next step in creating your decadent lava cakes.
History

The origin of chocolate lava cakes can be traced back to the early 2000s, when chefs sought to create a dessert that combined the richness of molten chocolate with a convenient, individual serving. Legend attributes the invention to French chef Jean-Georges Vongerichten, who supposedly developed the cake at his New York City restaurant. Its popularity quickly grew, thanks to its dramatic presentation and indulgent texture. The concept of a molten center wasn’t entirely new, but the lava cake popularized this idea in a portable, easy-to-make form. Since then, chefs worldwide have adapted the recipe, adding their own twists. Its history reflects a desire for decadent, visually stunning desserts that satisfy cravings for both tradition and innovation.
Final Thoughts

Air fryer chocolate lava cakes offer a quick and effortless way to indulge in a decadent dessert without sacrificing flavor or presentation. They’re perfect for satisfying your sweet tooth in minutes, whether for a special occasion or a spontaneous treat. The ease of preparation means you don’t need advanced baking skills or equipment—just a few simple ingredients and your air fryer. Plus, these lava cakes deliver that rich, gooey center everyone loves, making each bite irresistibly indulgent. Once you try making them, you’ll see how versatile and convenient they are. So go ahead, experiment with flavors or toppings to personalize your dessert. To put it differently, these lava cakes are a foolproof way to impress yourself and others with minimal effort.
Frequently Asked Questions
Can I Substitute Dairy-Free Ingredients in This Recipe?
Like a painter choosing vibrant colors, you can definitely swap in dairy-free ingredients. Use plant-based butter or coconut oil instead of butter, and almond or soy milk in place of dairy milk. For the chocolate, pick dairy-free dark chocolate or vegan chocolate chips. Just keep an eye on the texture and flavor balance, and your lava cakes will turn out just as rich and indulgent, but suitable for dairy-free diets.
How Long Do Lava Cakes Stay Fresh in the Refrigerator?
You can keep lava cakes fresh in the refrigerator for up to 2 days. To maintain their texture and flavor, store them in an airtight container or tightly wrap them with plastic wrap. When you’re ready to enjoy them, reheat in the microwave for about 15-20 seconds to bring back that warm, gooey center. Avoid storing them longer to prevent dryness or staleness.
Can I Freeze These Lava Cakes for Later?
Yes, you can freeze lava cakes for later. Wrap each cake tightly in plastic wrap or aluminum foil to prevent freezer burn, then place them in an airtight container or freezer bag. When you’re ready to enjoy, thaw them overnight in the fridge, then reheat in the microwave or oven. Freezing helps preserve their deliciousness, so you can indulge whenever you crave a rich, molten treat.
What Wine Pairs Best With Chocolate Lava Cake?
When it comes to pairing wine with chocolate lava cake, you’re in for a treat. Think of it as finding the perfect match. A rich, full-bodied red like a Cabernet Sauvignon or a robust Malbec complements the deep chocolate flavors beautifully. If you prefer something sweeter, go for a Port or a late-harvest Zinfandel. These wines balance the richness and enhance the dessert’s indulgence, making every bite even more special.
Are There Gluten-Free Options for This Dessert?
You’re wondering if there are gluten-free options for this dessert. Yes, you can easily make gluten-free chocolate lava cakes by using gluten-free flour or almond flour instead of regular flour. Many recipes also incorporate alternative ingredients like coconut flour or gluten-free baking mixes. Just guarantee all other ingredients, like chocolate and butter, are gluten-free. With a few simple swaps, you’ll enjoy a delicious, gluten-free lava cake without sacrificing flavor.