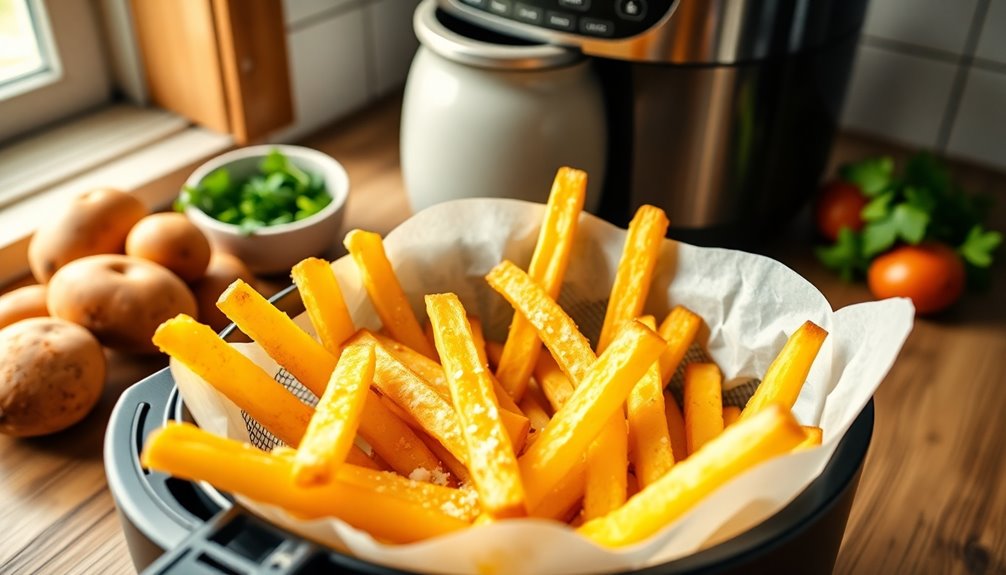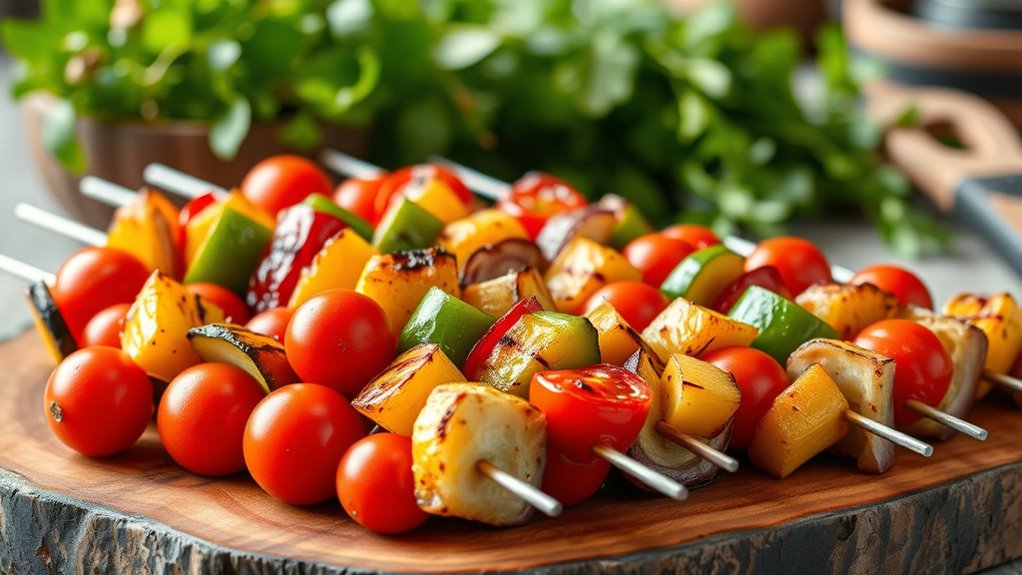

To make flavorful grilled veggie skewers in the air fryer, start by prepping colorful vegetables like peppers, zucchini, and mushrooms. Thread them onto soaked skewers and marinate with herbs, olive oil, lemon juice, garlic, salt, and pepper for 15-30 minutes. Preheat the air fryer, then cook the skewers for about 10 minutes, turning halfway until tender and slightly charred. For tips on perfecting this tasty, healthy dish, continue exploring the detailed steps and tips ahead.
Key Takeaways
- Use colorful vegetables like peppers, zucchini, and cherry tomatoes, threaded onto soaked skewers for even cooking.
- Marinate vegetables in herbs, olive oil, and lemon juice for enhanced flavor and aroma before air frying.
- Preheat the air fryer to 375°F (190°C) and cook skewers for 10-15 minutes, turning halfway for even charring.
- Keep vegetable pieces evenly sized and leave space between skewers for optimal air circulation and crispness.
- Serve immediately with your favorite dips or sides for a quick, healthy, and flavorful meal.

18/8 Stainless Steel Air Fryer Rack for Air Fryers, Detachable Skewer Holder for Chicken Meat Vegetable BBQ, Ultra-Short 3.9" Kabob Skewer Stand 15 Pcs Fit Small Baskets(silver short 15)
- Designed for 3-5QT Air Fryers: Fits small baskets snugly without rattling
- Compatible with popular small air fryers: Instant Pot Vortex, Ninja, Cosori, Philips
- 15 Detachable short skewers included: 3.9-inch skewers for small baskets
As an affiliate, we earn on qualifying purchases.
As an affiliate, we earn on qualifying purchases.
Recipe

To prepare delicious grilled veggie skewers, begin by selecting a variety of fresh vegetables that can withstand grilling and provide a colorful, flavorful combination. Popular choices include bell peppers, zucchini, cherry tomatoes, red onions, and mushrooms. Cut the vegetables into uniform pieces to ensure they cook evenly. Soak wooden skewers in water for at least 30 minutes before use to prevent burning, or opt for metal skewers if preferred. Preheat your grill to medium-high heat, cleaning the grates thoroughly to avoid sticking and to achieve good grill marks. Incorporating proper food safety practices is essential to prevent cross-contamination during preparation and cooking. While the grill heats up, prepare a simple marinade or brush to flavor the vegetables. You can use olive oil, garlic, lemon juice, salt, pepper, and herbs like thyme or rosemary for added taste. Thread the vegetables onto skewers, alternating types for visual appeal and balanced flavor. Brush the skewers with the marinade or oil mixture. Place the skewers on the grill, turning occasionally, until the vegetables are tender and slightly charred, about 10-15 minutes depending on the size of the pieces. For best results, keto-friendly ingredients like olive oil and fresh herbs can be incorporated into your marinades to align with low-carb dietary preferences. To enhance flavor and presentation, consider visual appeal by arranging the vegetables in colorful patterns or shapes. Serve hot as a side dish or main course with your favorite dipping sauce or alongside grilled meats.
Cooking Steps

Next, you’ll prepare your vegetables by cutting and soaking the skewers to prevent burning. Then, marinate the veggies with herbs to add flavor before assembling them onto the skewers. Finally, once everything is ready, you’ll start grilling and watch your skewers cook to perfection.
Step 1. Prepping Vegetables for Skewers
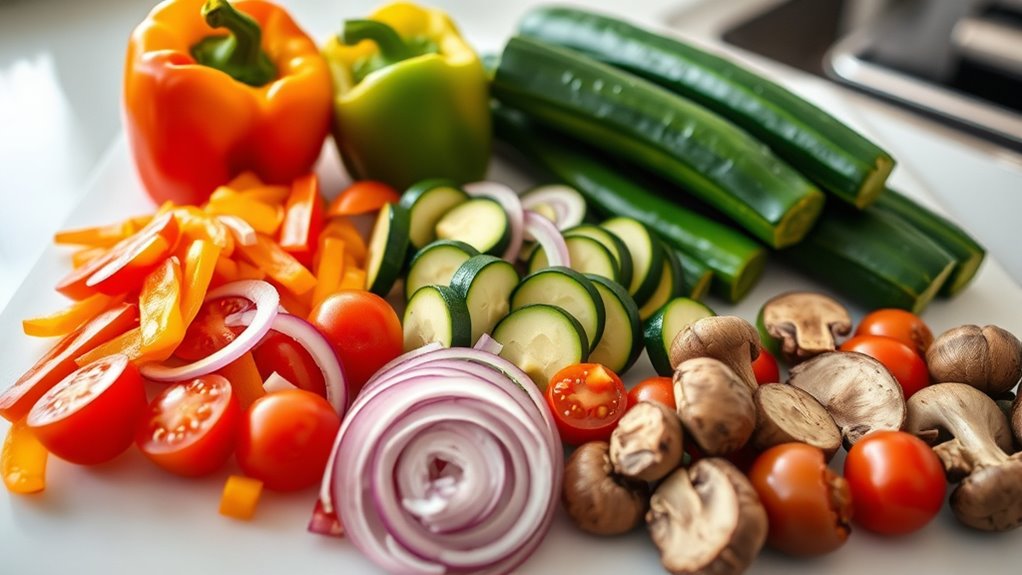
Before assembling your skewers, proper preparation of the vegetables is essential. Start by washing all your vegetables thoroughly to remove dirt and pesticides. Pat them dry with a clean towel or paper towels. Cut larger vegetables, like bell peppers, zucchini, or onions, into uniform pieces about 1 to 1.5 inches wide. This guarantees even cooking and makes assembly easier. Remove seeds from peppers and any tough stems or cores. For cherry tomatoes or small vegetables, you can leave them whole. If using mushrooms, remove stems if desired. Keep the pieces evenly sized so they cook uniformly and fit nicely on the skewers. Properly prepped vegetables will make the skewering process smoother and result in perfectly cooked, flavorful veggie skewers. Uniform vegetable size helps ensure consistent cooking and presentation. Additionally, selecting fresh vegetables enhances the flavor and texture of your skewers, and considering the optimal vegetable prep techniques can further improve your results. Being mindful of even cooking can help prevent some pieces from overcooking while others remain underdone. Incorporating the right cutting methods can also aid in achieving uniformity and better cooking outcomes.
Step 2. Soaking Wooden Skewers

Soaking wooden skewers before threading vegetables helps prevent them from burning or catching fire on the grill. To do this, place the skewers in a large bowl filled with water, making sure they’re completely submerged. Let them soak for at least 30 minutes; this length of time helps absorb enough water to slow down burning. If you’re short on time, even 15 minutes can make a difference. Once soaked, remove the skewers from the water and pat them dry with a paper towel. This step ensures no excess water drips onto your vegetables or grill, and helps the skewers stay sturdy during cooking. Additionally, soaking can help prevent wooden skewers from splintering, ensuring a safer and more enjoyable grilling experience. Soaking is a simple trick that keeps your skewers intact and your grilling process smooth.
Step 3. Marinate Vegetables With Herbs
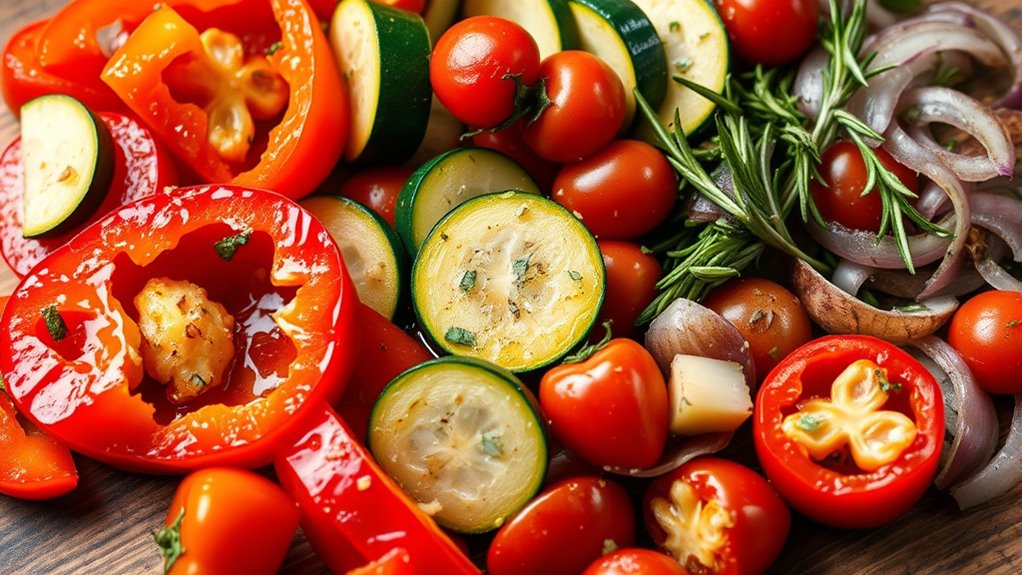
Have you ever wondered how to infuse your vegetables with more flavor? Marinating with herbs is the perfect way to do that. Start by chopping fresh herbs like rosemary, thyme, basil, or parsley. In a small bowl, mix them with olive oil, lemon juice, minced garlic, salt, and pepper. Toss your chopped vegetables—such as bell peppers, zucchini, and mushrooms—in the herb mixture, ensuring each piece is well coated. Let the vegetables marinate for at least 15 to 30 minutes, or longer if you have time, to absorb the flavors. This step enhances the taste and adds a fragrant aroma. Once marinated, your vegetables are ready for skewering and cooking. Remember, the longer you marinate, the more intense the herb flavor becomes.
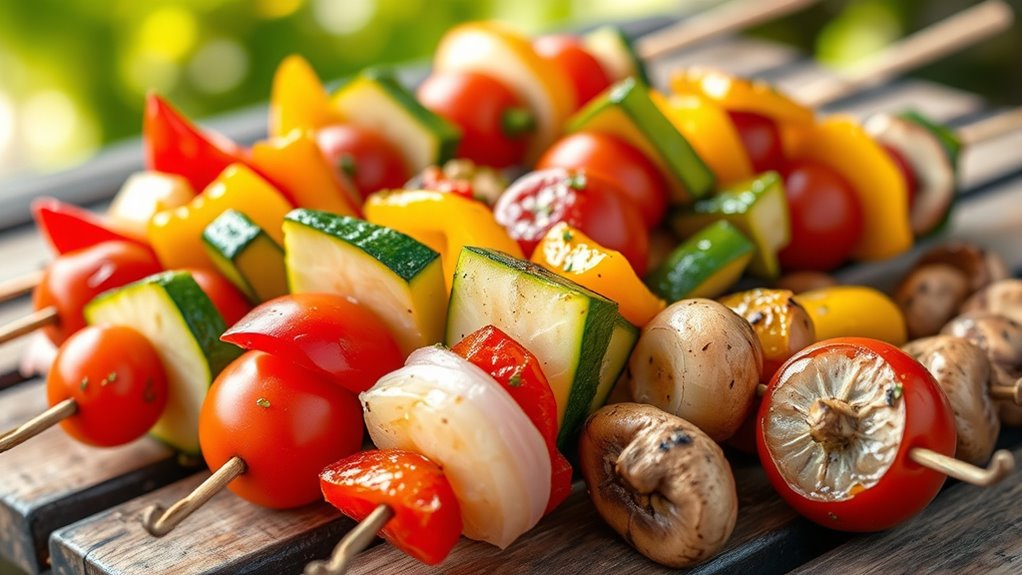
Step 4. Vegetable Skewers Assembly

Once your vegetables are marinated and ready, it’s time to assemble the skewers. Begin by soaking wooden skewers in water for about 30 minutes if you’re using them, to prevent burning. Thread the vegetables onto each skewer, alternating types for color and flavor variety. Be sure to leave a little space between pieces so they cook evenly. Don’t pack them too tightly, as this can hinder airflow and roasting. If you’re using metal skewers, just slide the vegetables on directly. Repeat the process until all vegetables are skewered. Handle each skewer gently to keep the pieces intact. Once assembled, set them aside on a plate or tray, ready for the next step of cooking.
Step 5. Grilling Time Begins
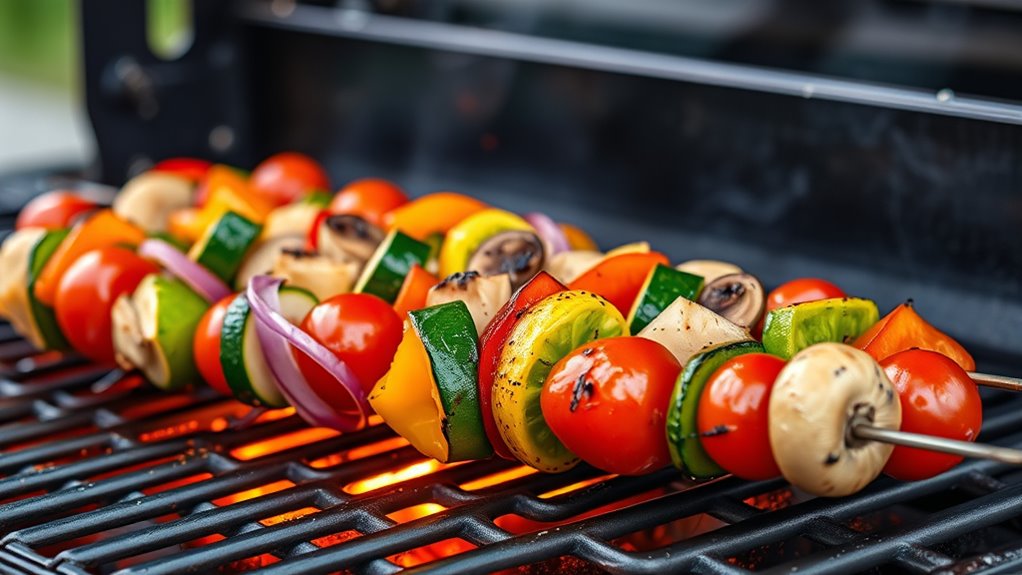
To begin grilling, preheat your grill to medium-high heat, ensuring it’s hot enough to sear the vegetables and develop a nice char. Place the skewers on the grill grates, spacing them out so they cook evenly. Let them cook for about 4-5 minutes per side, turning occasionally to prevent burning and to promote even cooking. Keep an eye on the vegetables; you want them tender with a slight smoky flavor and grill marks. If they start to char too quickly, reduce the heat slightly. Use tongs to handle the skewers carefully, and avoid pressing down on the vegetables, which can squeeze out juices. Once they’re nicely grilled—soft, slightly caramelized, and smoky—remove them from the grill and let rest briefly before serving.
History
The tradition of grilling vegetables on skewers dates back thousands of years, with roots in ancient civilizations that used open flames to prepare food. Early cultures like the Egyptians, Greeks, and Chinese used skewers for cooking meat and vegetables over fires, making portable and efficient meals. In Asia, bamboo skewers became popular for street food, and in the Mediterranean, grilling vegetables became a staple of communal feasts. The technique evolved over centuries, influenced by trade and cultural exchange. Today, these historical practices have transformed into modern grilling methods, including air frying, which mimics traditional flavors with less mess and smoke. Understanding this history helps you appreciate the timeless appeal and cultural significance of veggie skewers, connecting past cooking traditions with your current culinary adventures.
Final Thoughts
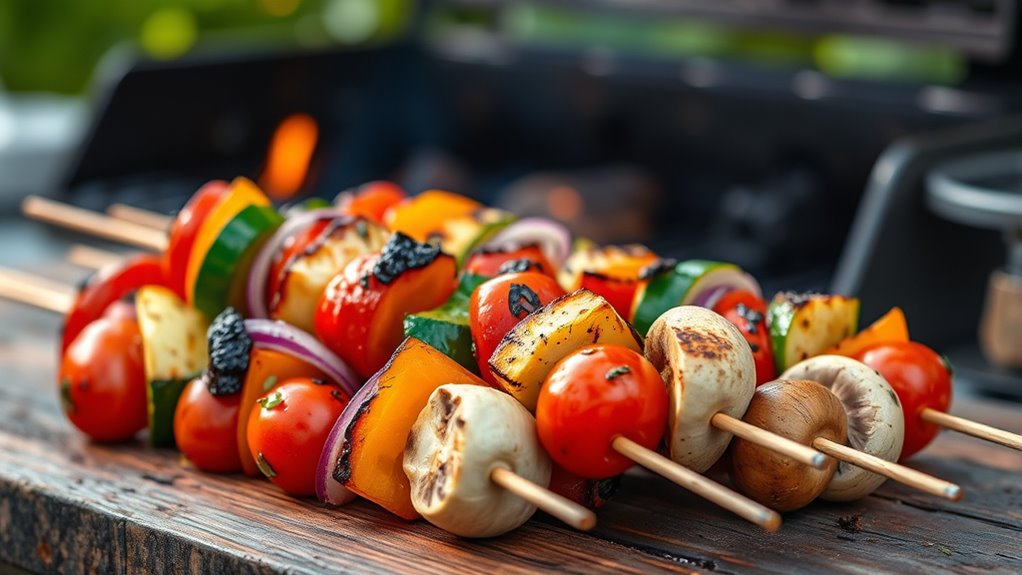
Reflecting on the vibrant history and versatile flavors of grilled veggie skewers reminds us why they remain a popular choice for outdoor cooking. You’ve seen how simple ingredients can create a delicious, colorful meal that appeals to all tastes. Using an air fryer makes this process even easier, offering quick, healthy, and flavorful results without the need for a grill. Whether you’re a seasoned chef or a beginner, these skewers are a versatile addition to your cooking repertoire. They’re perfect for summer barbecues, weeknight dinners, or entertaining guests. With endless customization options, you can cater to everyone’s preferences. Ultimately, grilled veggie skewers in the air fryer are a convenient, tasty, and nutritious way to enjoy vegetables anytime you crave them.
Frequently Asked Questions
Can I Use Wooden Skewers in the Air Fryer?
Using wooden skewers in the air fryer is like walking a tightrope—caution is key. You can use them, but soak the skewers in water for at least 30 minutes beforehand. This prevents them from catching fire or burning. Keep a close eye while cooking and avoid overloading the basket. With proper prep, wooden skewers can safely help you create delicious, perfectly cooked skewers in your air fryer.
What Other Vegetables Work Well Besides Traditional Ones?
You’re curious about vegetables that work well on skewers beyond the usual options. You can try zucchini, cherry tomatoes, bell peppers, mushrooms, or even small potatoes. These vegetables cook quickly and hold their shape, making them perfect for the air fryer. Just cut them into even pieces for consistent cooking, toss with your favorite seasonings, and skewer away. Experimenting with different vegetables keeps your meals exciting and flavorful.
How Do I Prevent Sticking or Burning?
To prevent sticking or burning, start by lightly coating your vegetables with oil, which helps create a barrier and promotes even cooking. Make sure to preheat your air fryer to the right temperature and avoid overcrowding the basket, allowing hot air to circulate properly. Turn the skewers halfway through cooking for even results. Keep an eye on them, especially towards the end, to prevent burning.
Is There a Vegetarian or Vegan Alternative Marinade?
Did you know that plant-based marinades can boost flavor by up to 50%? For a vegan or vegetarian alternative, try a mixture of soy sauce, maple syrup, garlic, and lemon juice. These ingredients add depth without animal products. Feel free to experiment with herbs like thyme or rosemary. This way, you enjoy tasty, ethical skewers that appeal to all diets.
How Do I Store Leftovers Safely?
To store leftovers safely, you should transfer the veggie skewers to an airtight container or wrap them tightly with plastic wrap. Keep them in the refrigerator within two hours of cooking to prevent bacteria growth. Consume the leftovers within 3-4 days for the best quality and safety. When reheating, make sure they reach an internal temperature of 165°F to ensure they’re fully heated through.