To replace a gasket, start by gathering the right tools, materials, and protective gear. Turn off power and disconnect equipment to guarantee safety. Carefully remove the old gasket without damaging surfaces, then clean and inspect them for damage. Select and set the new gasket properly, ensuring it matches the original specs. Reassemble everything, tightening bolts evenly to the recommended torque. Finally, test the system to spot leaks, and if you keep going, you’ll discover the full detailed process.
Key Takeaways
- Gather appropriate tools, materials, and safety gear before starting the gasket replacement process.
- Disconnect all power sources and carefully remove the old gasket, cleaning and inspecting the surfaces thoroughly.
- Choose a compatible new gasket, inspecting it for defects and ensuring proper fit before installation.
- Properly align and install the new gasket, applying sealant if needed, and tighten fasteners to specified torque in a crisscross pattern.
- Test the system for leaks, verify proper sealing, and perform final visual inspections to complete the replacement.
Gather Necessary Tools and Materials

Before you begin replacing the gasket, it’s important to gather all the necessary tools and materials. Start by choosing the right gasket for your specific application, considering gasket material options like rubber, cork, or metal, based on temperature, pressure, and chemical exposure. You’ll need basic tools like a screwdriver or socket wrench, a gasket scraper or putty knife, and cleaning supplies such as a wire brush or solvent. Having a new gasket on hand assures you’re ready to replace the old one properly. Double-check that you have all the required materials before you start, including any sealant or adhesive recommended for your gasket type. Being well-prepared saves you time and prevents interruptions during the replacement process. Proper planning and understanding Volkswagen Tuning can also help ensure compatibility and optimal performance of your vehicle after the repair.
Prepare the Work Area and Safety Measures

Start by clearing your workspace to make certain you have enough room and reduce the risk of accidents. Always wear protective gear like gloves and safety glasses to keep yourself safe during the process. Before you begin, disconnect the power sources to prevent electrical hazards. Additionally, ensure your workspace is well-lit to clearly see all components and avoid mishaps. Halloween decorations can sometimes include electrical parts, so safety precautions are especially important.
Clear the Workspace
Clearing the workspace is essential to guarantee a safe and efficient gasket replacement process. A tidy area helps prevent accidents and makes tool access easier. Start by organizing your workspace to keep all necessary tools within reach. Ensure your work surface is clean and free of debris to avoid contamination. Check your tools for proper maintenance; sharp, clean tools reduce damage and improve efficiency. Remove any unnecessary items that could clutter your work area. By maintaining good workspace organization and tool upkeep, you minimize risks and streamline the task. Keep cords, spare parts, and waste materials properly stored to avoid tripping hazards. A well-prepared workspace sets the foundation for a smooth gasket replacement, saving you time and frustration. Incorporating sound safety practices into your preparation can further enhance safety and efficiency during the process.
Wear Protective Gear
Wearing protective gear is essential to guarantee your safety during gasket replacement. Always put on the right safety equipment, such as gloves, safety goggles, and a long-sleeved shirt. These items protect you from hot surfaces, sharp edges, and harmful chemicals. Before starting, check that your protective gear fits properly and is in good condition. Wearing the correct safety equipment minimizes the risk of injuries and keeps you focused on the task. Remember, safety should always come first, especially when working around engine components or machinery. Taking these precautions helps prevent accidents and ensures a smoother, safer gasket replacement process. Never skip wearing protective gear, as it’s a critical step in maintaining your safety throughout the work. Additionally, understanding personal safety measures is crucial when working with potentially hazardous engine parts.
Disconnect Power Sources
Before beginning gasket replacement, it’s essential to disconnect all power sources to prevent accidental activation or electrical shocks. Ensuring electrical safety reduces the risk of injury and damage to gasket material compatibility. Take these steps:
- Turn off the main power switch and unplug equipment.
- Lock out and tag out electrical panels to prevent accidental re-energizing.
- Use insulated tools to handle electrical components safely.
- Confirm power is off with a voltage tester before proceeding.
- Be aware of potential cybersecurity threats that could compromise your safety systems if not properly managed.
Taking these precautions protects you from electrical hazards and maintains the integrity of gasket materials. Always verify that no residual power remains, especially in systems with capacitors or stored energy. Properly disconnecting power sources is a critical safety measure that keeps your work safe and efficient.
Remove the Old Gasket Carefully
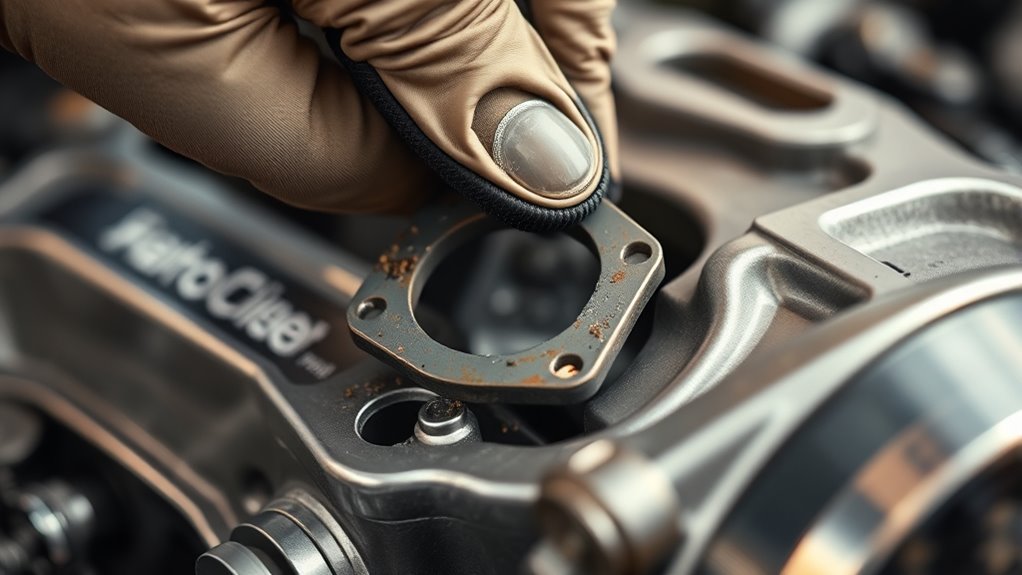
Since old gaskets can be stubborn and messy to remove, it’s important to approach the task carefully to prevent damaging surrounding surfaces. Use a plastic scraper or putty knife to gently loosen the gasket, avoiding metal tools that might scratch or gouge. Check gasket material compatibility to prevent damage when using solvents or heat. Be mindful of environmental considerations—dispose of gasket debris responsibly and avoid releasing harmful substances. Take your time, and don’t rush, to prevent damaging sealing surfaces. Here’s a quick reference:
| Step | Tip | Caution |
|---|---|---|
| Loosen gasket | Use plastic tools to prevent damage | Avoid metal tools that scratch |
| Apply solvent | Ensure compatibility with gasket | Avoid harsh chemicals |
| Scrape gently | Remove residue without harm | Don’t gouge surfaces |
| Dispose properly | Follow environmental guidelines | Avoid releasing harmful debris |
Clean and Inspect the Surfaces
Before installing the new gasket, you need to clean the surfaces thoroughly using appropriate techniques like scraping or solvent wipes. This guarantees a proper seal and prevents leaks. Be sure to inspect the surfaces carefully for any damage or warping that could compromise the gasket’s effectiveness.
Surface Preparation Techniques
To guarantee a proper seal, you need clean and smooth surfaces on both the gasket and the mating component. Proper surface preparation ensures effective surface sealing and maintains gasket compatibility. Start by removing any dirt, oil, or old gasket material using a solvent or cleaner. Lightly sanding or scraping the surface can eliminate corrosion or imperfections that might compromise the seal. Keep these points in mind:
- Use a clean cloth to wipe away debris and residue
- Avoid gouging or scratching the surface
- Check for any corrosion or damage that could affect gasket contact
- Ensure the surface is dry before installing the new gasket
- Surface integrity is essential for achieving a reliable seal and preventing leaks.
Taking these steps ensures an ideal surface, promoting a tight seal and extending gasket life. Proper surface prep is key to preventing leaks and ensuring long-lasting performance.
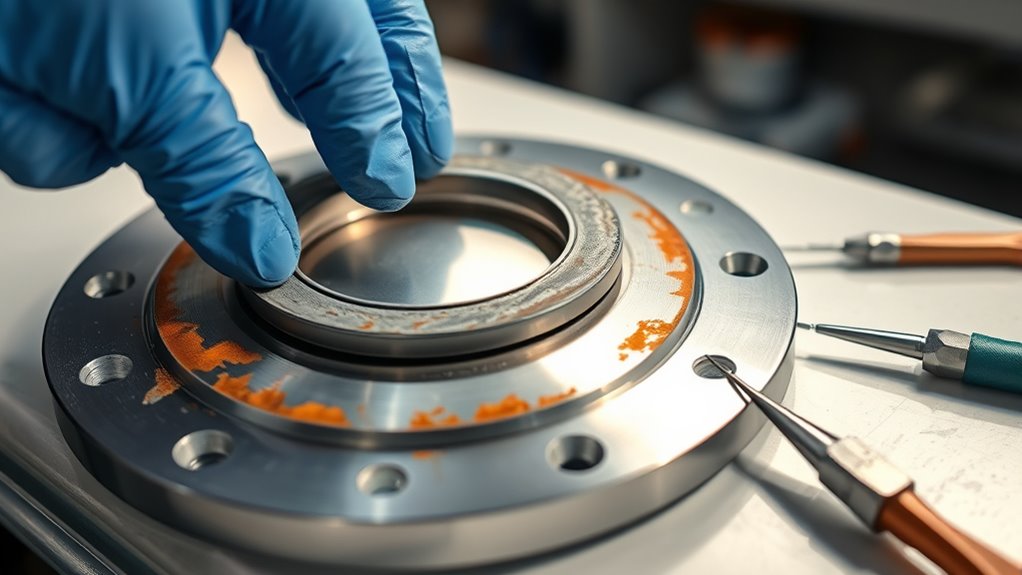
Inspection for Damage
Inspecting the surfaces for damage is a crucial step before installing a new gasket. Carefully examine the flange and mating surfaces for cracks, warping, or corrosion using inspection tools like a straightedge or a feeler gauge. Damaged surfaces can compromise gasket sealing effectiveness, so it’s essential to identify issues early. During inspection, consider the gasket material selection to confirm compatibility with the surfaces and operating conditions. Look for any leftover gasket material or debris that could interfere with sealing. If you find scratches or pitting, clean the area thoroughly and assess whether the surface is repairable or needs replacement. Proper inspection helps you choose the right gasket and ensures a reliable, leak-free seal, preventing future failures. Additionally, verifying the surface flatness and smoothness is vital for optimal filtration and performance, especially when dealing with HEPA filters and other sensitive components.
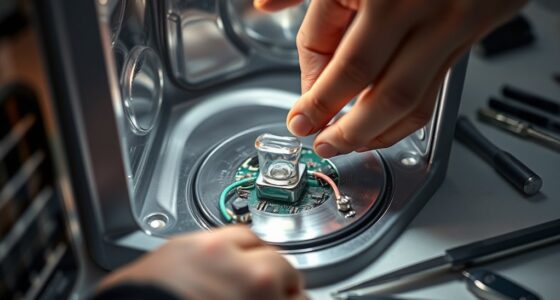
Install the New Gasket Properly

Ensuring the new gasket is installed correctly is essential for a proper seal and preventing leaks. Start by carefully aligning the gasket to match the mating surfaces, paying close attention to gasket shape and bolt holes. Use gasket alignment tools if available to make this easier. Apply a thin, even layer of sealant where needed, following manufacturer instructions—this helps with sealant application without excess. When positioning the gasket, avoid shifting it out of alignment. Double-check that the gasket is seated flat, with no folds or overlaps. Proper installation techniques are key to achieving a reliable seal and ensuring the longevity of your sprayer.
Reassemble and Secure Components

Once the gasket is properly installed, you can begin reassembling the components by carefully positioning each part back into place. Apply sealant where necessary, ensuring even coverage to prevent leaks. As you secure each component, follow the manufacturer’s torque specifications precisely to avoid over-tightening or under-tightening bolts. Use a torque wrench for accuracy, working in a crisscross pattern to distribute pressure evenly. Double-check that all fasteners are tightened to the correct settings, and ensure the gasket remains aligned during reassembly. Proper application of sealant and adherence to torque specifications are critical for a reliable seal. Additionally, understanding the importance of proper juice detox practices can help prevent potential side effects and ensure a safe, effective repair. Take your time to avoid damaging the gasket or misaligning parts, setting the stage for a successful and leak-free repair.
Test the Repair and Check for Leaks

After completing the reassembly, you should start by running the system or engine to allow any sealant to set and fluids to circulate. Then, perform a thorough check for leaks using pressure testing techniques. This helps evaluate the effectiveness of your gasket seal by analyzing fluid dynamics around the repaired area. Look for signs of leaks, drips, or drops of fluid that could indicate a failure.
A high contrast ratio can improve the visibility of leaks in dark areas during inspection. Use a pressure tester to simulate operating conditions. Inspect all gasket contact points visually. Listen for hissing sounds indicating leaks. Monitor fluid levels and pressure gauges.
Frequently Asked Questions
How Long Does Gasket Replacement Typically Take?
Gasket replacement usually takes about 2 to 4 hours, depending on your experience and the gasket type. For best results, follow installation tips like cleaning surfaces thoroughly and applying proper sealant. Keep in mind your vehicle’s maintenance schedule to plan replacements proactively. If you’re new to this, set aside extra time and gather the right tools to avoid rushing, ensuring a proper, long-lasting seal.
Can I Reuse the Old Gasket if It Appears Intact?
You might think about reusing old gaskets if they look intact, but it’s generally not recommended. Carefully inspect the gasket for cracks, deformations, or signs of wear—these are key gasket inspection tips. Reusing old gaskets can lead to leaks or failures later on, so it’s safer to replace them with new ones to ensure a proper seal and avoid costly repairs down the line.
What Are Common Signs of Gasket Failure?
You’ll notice gasket failure through signs like seal deterioration and coolant leaks. If the gasket shows cracks, warp, or becomes brittle, it’s a clear sign it’s failing. Coolant leaks around the gasket area often indicate it’s no longer sealing properly. Don’t ignore these signs, as they can lead to engine damage. Replacing a failing gasket promptly prevents more serious issues and keeps your engine running smoothly.
Are There Specific Gaskets for Different Engine Types?
Think of gaskets as the heart’s valves—each one must fit perfectly to keep your engine running smoothly. For different engine types, you need gaskets designed specifically for engine compatibility, ensuring they match the engine’s unique specifications. Gasket materials vary—rubber, metal, or composite—chosen to withstand heat, pressure, and chemical exposure. Using the right gasket for your engine type guarantees a tight seal and prevents leaks, keeping your engine healthy.
What Safety Precautions Should I Follow During Replacement?
When replacing a gasket, you should prioritize safety. Always wear safety gear like gloves and eye protection to prevent injuries from sharp tools or chemicals. Confirm your work area is clean, well-ventilated, and free of clutter to avoid accidents. Disconnect the vehicle’s battery and allow the engine to cool down before starting. Taking these precautions helps protect you and makes the replacement process smoother and safer.
Conclusion
Now that you’ve replaced the gasket, you’ve restored your equipment like a skilled artist restoring a masterpiece. Just like a gentle breeze clears away clouds, your careful work guarantees everything runs smoothly and leak-free. Remember, taking your time and following each step ensures long-lasting results. With your hands steady and attention to detail, you’ve turned a tricky task into a satisfying success. Keep up the good work—your confidence is the key to a job well done.