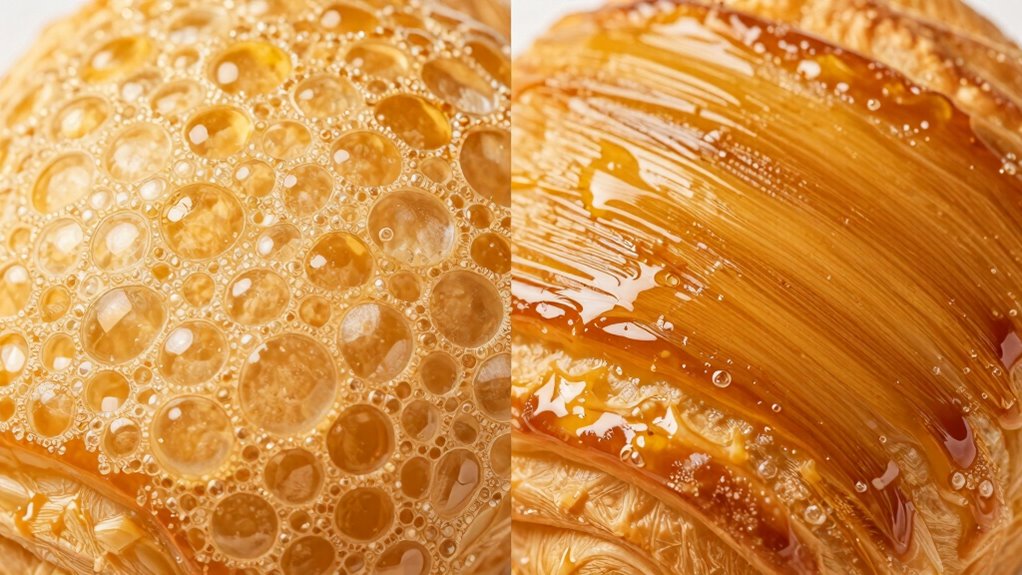
Using oil sprays versus brushing creates a noticeable difference in your food’s crispness. Sprays give a fine, even coat that browns uniformly and results in a lighter, crunchier surface. Brushing applies a thicker layer that may feel richer and develop deeper color but can sometimes lead to sogginess if overdone. The method you choose influences how the surface looks and feels, and understanding these differences can help you achieve the perfect crispy finish—keep exploring to learn more.
Key Takeaways
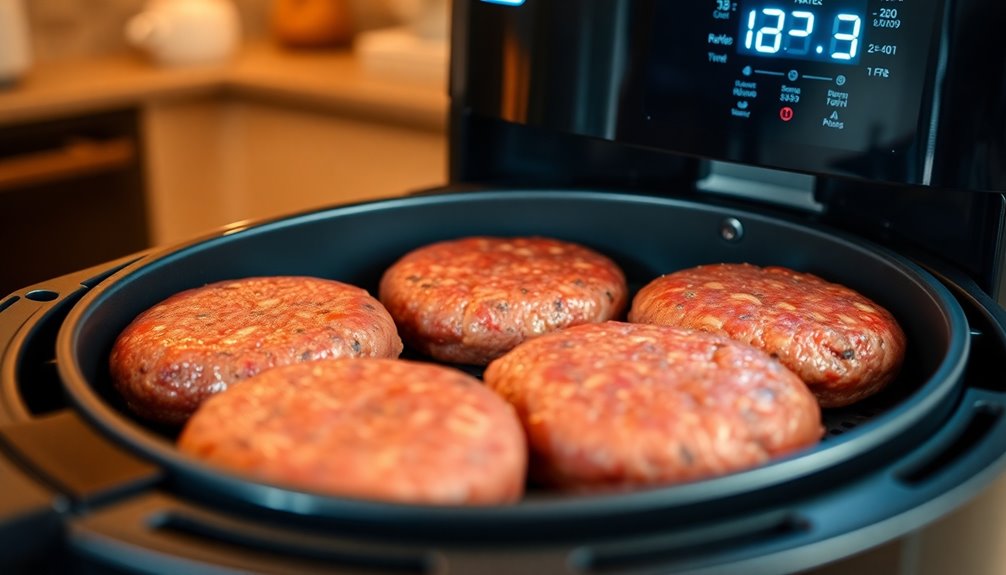
- Oil sprays create a thin, even coating that promotes uniform crispness and better heat transfer during cooking.
- Brushing applies a thicker oil layer, offering more flavor control but potentially leading to greasier, less crispy surfaces.
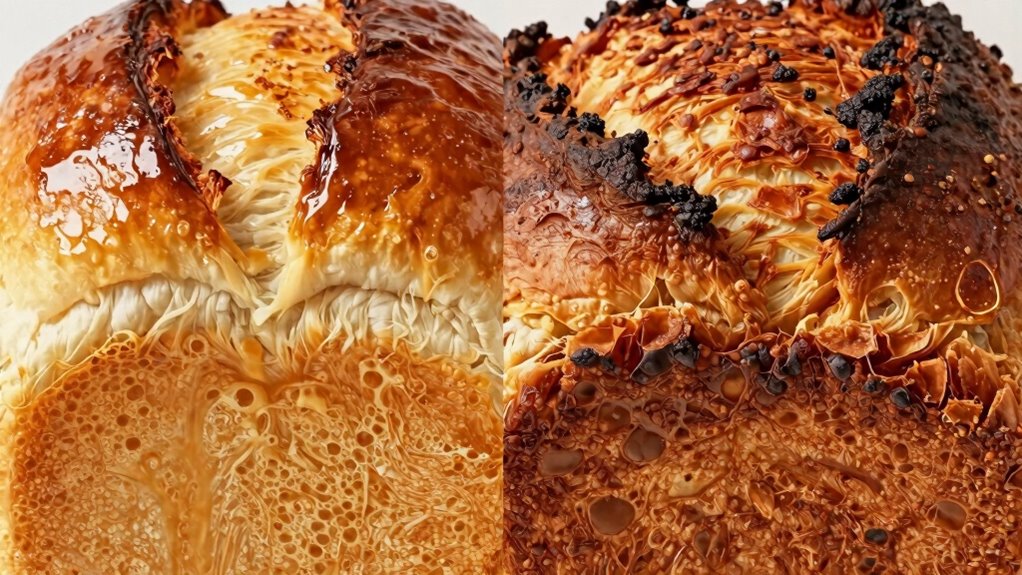
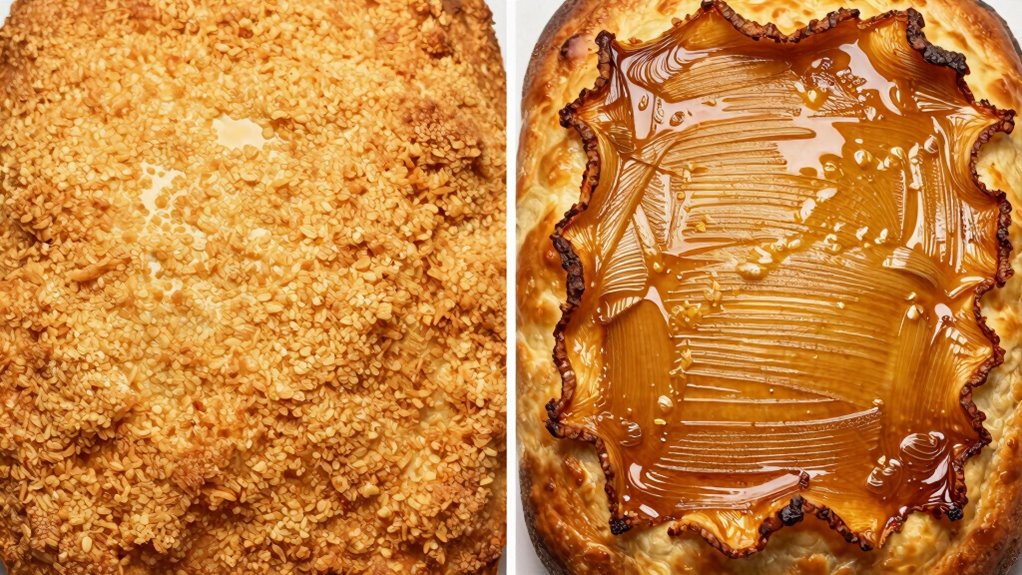
- Visually, crispy foods have golden-brown, matte surfaces with surface cracking, which differ based on oil application method.
- Sprayed surfaces tend to be lighter and more evenly browned, while brushed surfaces may develop deeper, uneven color.
- Proper oil application technique directly influences surface finish, color, and the visible crunch of the final dish.

PAM Baking Non-Stick Cooking Spray, 5 oz.
- Product Quantity: 5 oz. can of PAM Baking Spray
- Easy Cleanup: Non-stick for less scrubbing
- Versatile Use: Ideal for baking brownies, cakes, muffins
As an affiliate, we earn on qualifying purchases.
As an affiliate, we earn on qualifying purchases.
How Oil Sprays and Brushing Differ in Creating Crispy Surfaces

While both oil sprays and brushing help achieve crispy surfaces, they do so through different mechanisms. When you use an oil spray, it delivers a fine, even layer that limits oil absorption into the food, creating a crisp exterior without excess greasiness. This method also promotes better flavor penetration because the thin coating allows heat to transfer more efficiently, enhancing seasoning absorption. On the other hand, brushing applies a thicker layer of oil, which can lead to more oil absorption and a richer flavor. The brush allows for more control over the amount of oil used, but it may result in a less uniformly crispy surface if applied heavily. Ultimately, sprays provide a lighter, more even coating, while brushing offers more control over oil coverage and flavor infusion. Additionally, the consistency of oil application can influence the crispness and overall texture of the final dish. Proper oil application techniques, including even distribution, ensure optimal crispiness and prevent sogginess, with uniform coating playing a key role in achieving consistent results. Recognizing the importance of manual versus automated methods can help optimize your cooking process for better texture outcomes.
What Does Crispy Look and Feel Like? Visual and Textural Clues

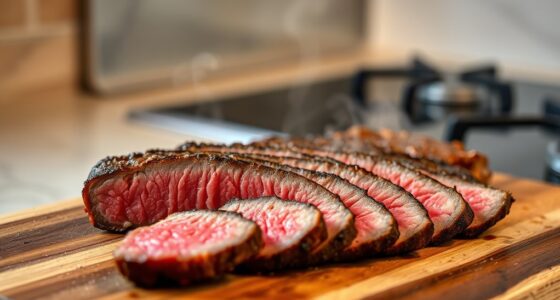
When checking for crispiness, look for a golden-brown color and a dry, flaky surface that signals a well-cooked exterior. Feel the texture—crispy foods should break easily and have a light, airy crunch. Pay attention to surface finish and breakage to determine if the desired crispiness has been achieved. Additionally, assessing personality traits can enhance your understanding of food preferences and cooking styles.
Visual Cues of Crispiness
Crispiness is instantly recognizable through its visual and tactile cues. You’ll notice a distinct texture contrast—surfaces that appear light, golden, and slightly puffed, often with a delicate, airy crust. These visual signs indicate proper crispness, as the surface has dried enough to create that satisfying crunch. Additionally, crisp foods typically show minimal moisture retention; they lack a glossy or damp appearance, instead having a matte finish that hints at dryness. When you touch them, they feel firm yet break easily under gentle pressure. The crackling sound when you bite into or break apart the item confirms this crispness. Together, these visual and tactile cues help you instantly identify whether the food has achieved the desired crisp texture.
Texture and Breakage
To identify a crispy food, focus on its texture and how it responds to gentle pressure. A crispy item often exhibits surface cracking, which indicates a dry, brittle exterior. When you press lightly, it should break apart easily, revealing a delicate internal structure. Oil absorption plays a role in crispiness; foods with less oil tend to stay more brittle and maintain surface cracking, while excess oil can make them soggy or chewy. Feel for that initial crunch under your fingertips—if it feels firm yet crumbly, you’re likely dealing with a well-crisped item. The texture should be firm but not greasy, with breakage happening cleanly rather than tearing or sogging. These clues help you distinguish a truly crispy bite from one that’s just dry or stale. Additionally, the use of proper cooking techniques, like optimal frying or baking temperatures, can significantly enhance food crispiness and help achieve that perfect crunch. Proper cooking temperature ensures the exterior becomes crispy without overcooking the interior, leading to a consistent texture throughout. Maintaining the right oil temperature during frying is crucial for achieving an even, crispy exterior without excess greasiness. Recognizing the visual cues of crispiness can also guide your cooking process and improve your results.
Color and Surface Finish
A crispy food typically exhibits a golden-brown color with a matte or lightly glazed surface, indicating proper cooking and dehydration. When using oil sprays, you’ll notice a more uniform color enhancement, giving the surface a vibrant, appealing hue. Brushed oils may produce a richer, deeper tone, but sometimes result in uneven coloration. The surface gloss also plays a key role: a crispy item often has a subtle sheen that reflects light just enough to highlight its texture without appearing overly greasy. This surface finish helps you identify crispness visually. Overall, the combination of even color enhancement and a delicate surface gloss signals that your food has achieved that perfect crispy look and feel you’re aiming for.
How Applying Oil Changes Browning and Crispiness
Applying oil before cooking can substantially influence how your food browns and becomes crispy. When you use oil, it enhances oil absorption, allowing the heat to transfer more efficiently to the surface. This process promotes even browning and helps achieve a desirable crunch. Oil penetration into the food’s surface creates a barrier that prevents moisture loss, contributing to crispiness. The way you apply the oil—whether through brushing or spray—affects how evenly it coats the surface, impacting browning and texture. A well-distributed layer of oil ensures consistent heat transfer, leading to a more attractive, crispy exterior. Additionally, application techniques can be used to emphasize certain parts of your content, making it more engaging and easier to read. Properly choosing the right application method can also influence how well the oil adheres and penetrates, optimizing browning and crispiness. Understanding the oil absorption properties of different foods can help you tailor your approach effectively, especially considering how the food’s moisture content impacts oil penetration. Ultimately, applying oil strategically enhances browning and crispiness by optimizing oil absorption and penetration, giving your dishes that perfect, appetizing crunch.
When Should You Use Oil Sprays or Brushing for the Best Crisp?
Knowing when to use oil sprays or brushing depends on the food type and your desired crispiness. For delicate items or when a light coating is enough, sprays work best; for thicker layers or more control, brushing is ideal. Consider your cooking method to choose the right approach for the perfect crunch. Incorporating techniques like visual and auditory cues can also help you assess and improve the crispness of your food.
Food Type Compatibility
Choosing between oil sprays and brushing depends heavily on the type of food you’re preparing. For delicate items like vegetables or fish, brushing allows for precise application, enhancing flavor without overwhelming the natural taste. Oil sprays work well for baked goods or crispy snacks where an even, light coating is preferred. Keep in mind that brushing can offer better control over flavor enhancement, especially when adding herbs or spices, and can influence the nutritional impact by allowing you to add specific oils. Conversely, sprays are quick and reduce the risk of excess oil, which matters for calorie-conscious dishes. Match your method to the food’s texture and cooking process, ensuring you maximize crispness without sacrificing flavor or nutritional value. Additionally, considering cooking techniques can help you choose the best application method for optimal crispness and taste. For example, different application methods can affect how evenly the oil coats the surface, influencing the final texture. When selecting between sprays and brushing, it’s also important to consider the type of oil used, as different oils have varying smoke points and health benefits.
Desired Crisp Level
When aiming for the perfect crunch, selecting the right method can make all the difference. If you want a light, even crispness, oil sprays work best because they create a thin, uniform coating, ideal for delicate textures. For a more robust, crunchy exterior, brushing with oil allows you to layer and control the seasoning techniques, enhancing crispness. Consider the oil types too; lighter oils like canola or vegetable work well for sprays, while richer oils like olive or sesame can be brushed on for added flavor and crunch. Your desired crisp level guides your choice: for subtle crunch, opt for sprays; for a stronger, more noticeable crisp, brushing provides better control and depth. Adjust your technique based on how crispy you want each bite to be. Understanding oil types can help you select the best oil for achieving your preferred crispness, especially since the air purifier maintenance practices ensure a clean environment that preserves the quality of your ingredients.
Cooking Method Suitability
To achieve the perfect crisp, selecting the right application method depends on your cooking process and desired texture. Oil sprays are ideal for quick, even coverage, especially when working with seasoning blends that benefit from a light, uniform coating. They’re perfect for roasting vegetables or grilling, where rapid application matters. Brushing allows for more control, making it suitable for delicate tasks or when you want to layer flavors precisely. Use a brush when applying oil to baked goods or dishes that require a thicker, more deliberate coating. Your choice of kitchen tools influences the result, so consider the type of dish, the amount of seasoning, and the texture you want to achieve to determine whether sprays or brushing fits best. Additionally, understanding lease terms can be helpful if you’re considering leasing equipment or appliances to optimize your cooking setup. It’s also important to consider application techniques to ensure your crisp turns out just right. Paying attention to oil application methods helps in achieving consistent results and the desired level of crispness. Incorporating proper smart kitchen tools can also assist in maintaining consistent application and perfecting your cooking process. Moreover, choosing the right carrier oils can impact how evenly the oil coats your ingredients, enhancing the crispness and overall texture.
Troubleshooting Why Your Food Isn’t Crispy Enough

If your food isn’t crispy enough, the issue often lies in how the oil is applied or how the cooking process is managed. Proper seasoning techniques can enhance flavor and promote even browning, contributing to crispiness. Make certain you’re using just enough oil to coat the surface without oversaturating, which can hinder crisping. When applying oil, consider the method—spraying offers a light, even layer, while brushing allows control over coverage. Additionally, the cooking temperature matters; too low, and moisture won’t evaporate properly, reducing crispness. Adjusting your technique to balance seasoning, oil application, and heat will help you achieve a crunchier texture. Remember, consistent application and proper seasoning not only improve crispiness but also boost flavor enhancement, making your dishes more satisfying.
Tips for Perfect Crispy Results With Oil Sprays or Brushing
Achieving perfectly crispy results hinges on how you apply oil, whether by spray or brushing. Start with seasoning techniques that enhance crispiness, like a light dusting of cornstarch or rice flour before oiling. When using oil sprays, make certain even coverage by holding the spray at a distance and moving consistently. For brushing, use a silicone brush to control the amount of oil and reach into nooks and crannies. Consider ingredient variations; thicker cuts or denser coatings may need a slightly different application method to crisp up properly. Adjust your oil amount based on the food and seasonings to prevent sogginess. Proper application, combined with thoughtful seasoning techniques and ingredient choices, guarantees a beautifully crispy finish every time. Understanding the importance of even coverage ensures your crispy results are consistent and appealing.
Frequently Asked Questions
Can Oil Sprays or Brushing Affect Cooking Time?
Yes, oil sprays or brushing can affect cooking time. When you apply oil with a spray, it creates a thin, even layer that heats quickly, potentially reducing cooking time. Brushing on oil often results in a thicker coat, which might slow down heat transfer. So, your choice of oil application influences how fast food cooks, making it an important factor in timing your dishes perfectly.
Are There Health Differences Between Oil Sprays and Brushing?
You might think oil sprays are healthier, but they can contain additives or propellants, impacting health implications. Brushing on oil lets you control the amount, potentially offering better nutritional differences by reducing excess fat intake. While both methods have similar basic health impacts, choosing natural oils and avoiding processed sprays can make a significant difference, helping you cook healthier and minimize unwanted additives.
Which Method Is More Eco-Friendly for Achieving Crispiness?
Brushing your oil onto food is more eco-friendly because it reduces environmental impact and resource consumption compared to aerosol sprays. Sprays often use propellants that harm the environment, while brushing minimizes waste and uses less oil overall. By choosing to brush, you actively cut down on packaging waste and energy use, making it a more sustainable method for achieving crispiness without compromising flavor or texture.
Does the Type of Oil Impact the Crispness Outcome?
Yes, the type of oil affects the crispness outcome. Heavier oils like olive or sesame tend to absorb more, which can lead to less crispiness but richer flavor infusion. Lighter oils, such as canola or avocado, absorb less and help achieve a crunchier texture. Your choice influences oil absorption and flavor infusion, so select accordingly to get the crispiness you want, balancing flavor and texture perfectly.
How Do I Prevent Sticking When Using Oil Sprays or Brushing?
To prevent sticking, you’ll want to maximize non-stick properties and minimize oil absorption. Lightly spray or brush a thin, even layer of oil—using just enough to coat the surface without excess. Guarantee your cooking surface is properly preheated, which helps the oil create a barrier. Regularly clean your cookware to remove residue that can cause sticking. With these steps, you’ll enjoy easier release and better crispness every time.
Conclusion
So, next time you aim for that perfect crispy finish, remember: whether you spray or brush, it’s about knowing your surface and your goal. Think of each method as a brushstroke on a masterpiece—each adding its unique touch. With a little practice, you’ll turn simple ingredients into eye-catching, crispy delights. After all, isn’t the joy of cooking just as much about the art as it is about the taste? Happy crispy creations!