To make delicious, crispy lunch meal prep with an air fryer, start by preheating it to 400°F. Coat your chicken or vegetables with seasoned breadcrumbs or panko for extra crunch, and cook in a single layer, flipping halfway through. Use quick techniques like tossing seasoned veggies with oil and spices for flavor. With a little prep, you can create versatile lunches fast and easily. Keep exploring to discover more tips and tasty ideas for your meal prep.
Key Takeaways
- Use preheated air fryer at 400°F for even cooking and crispy textures.
- Coat proteins and vegetables with seasoned breadcrumbs or panko for extra crunch.
- Properly season vegetables with olive oil, salt, and spices before air frying.
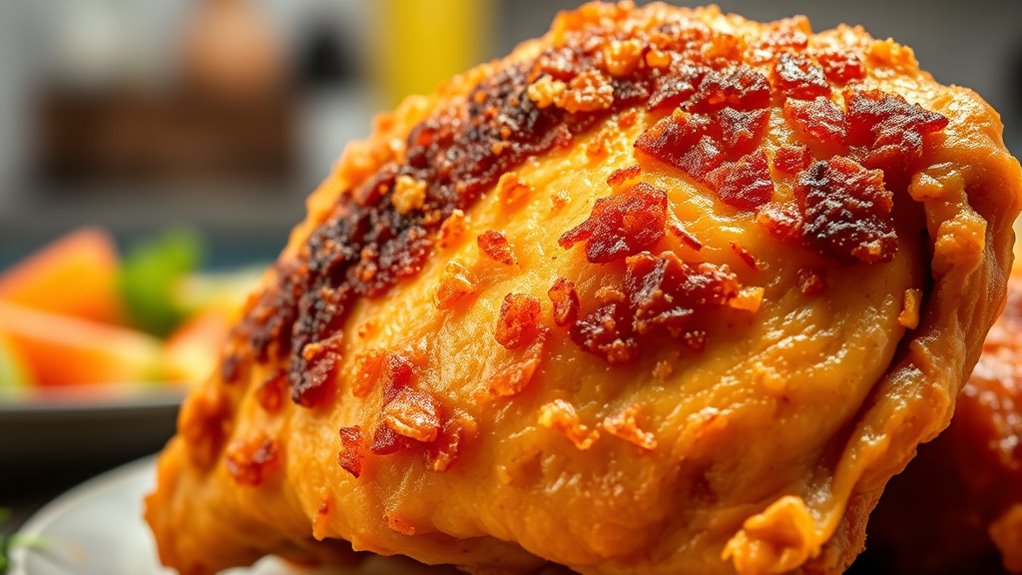
- Cook chicken thighs at 400°F for 18-22 minutes, flipping halfway for optimal crispiness.
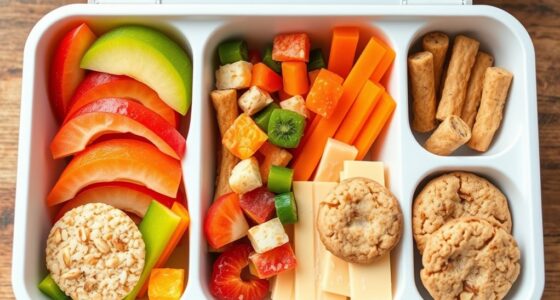
- Portion cooked meals into containers and add fresh herbs or lemon for flavorful, grab-and-go lunches.
As an affiliate, we earn on qualifying purchases.
Recipe
Here’s a delicious air fryer meal prep recipe that you can try.
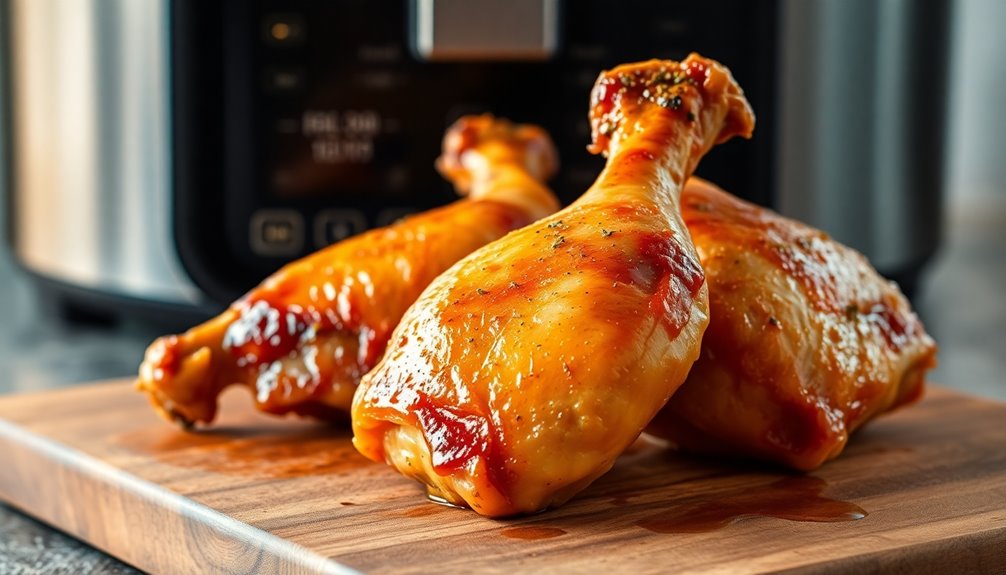
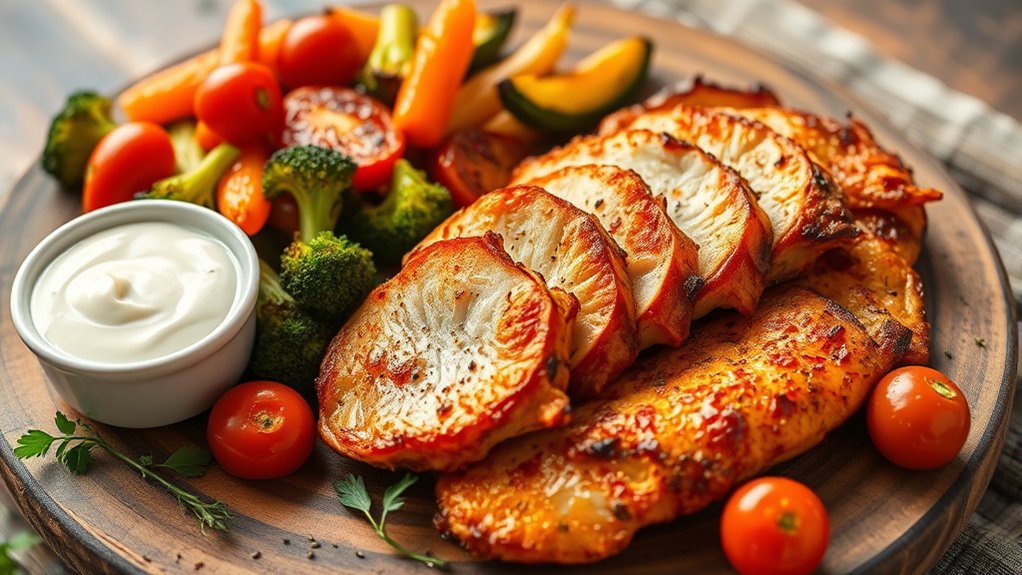
This recipe features crispy, flavorful chicken thighs paired with seasoned vegetables, making it perfect for a quick and healthy meal prep. The air fryer guarantees that the chicken is juicy on the inside with a wonderfully crispy exterior, while the vegetables retain their vibrant colors and crunch. Preparing this dish in advance allows you to enjoy delicious, homemade meals throughout the week with minimal effort.
Enjoy crispy chicken thighs and vibrant vegetables—perfect for quick, healthy meal prep all week long.
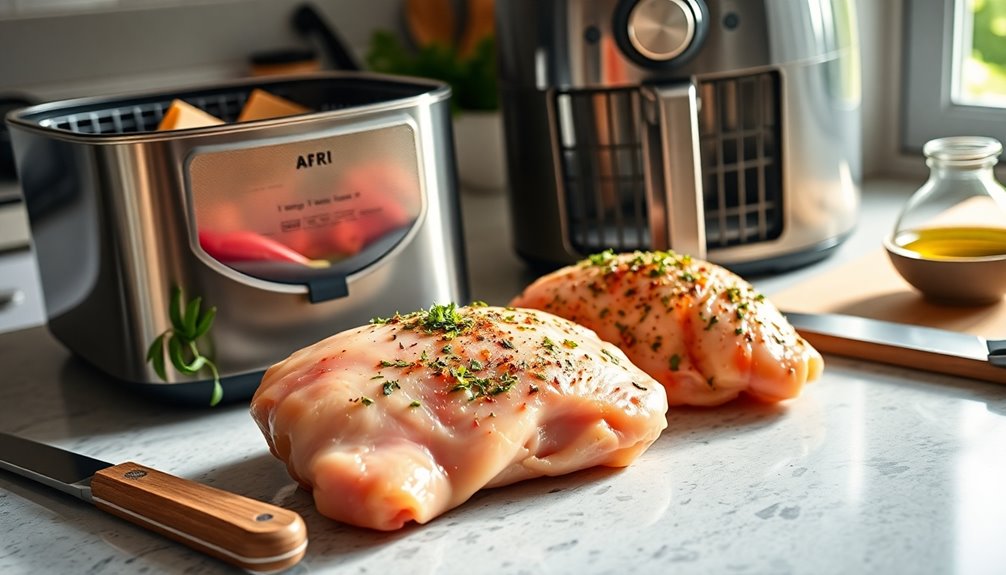
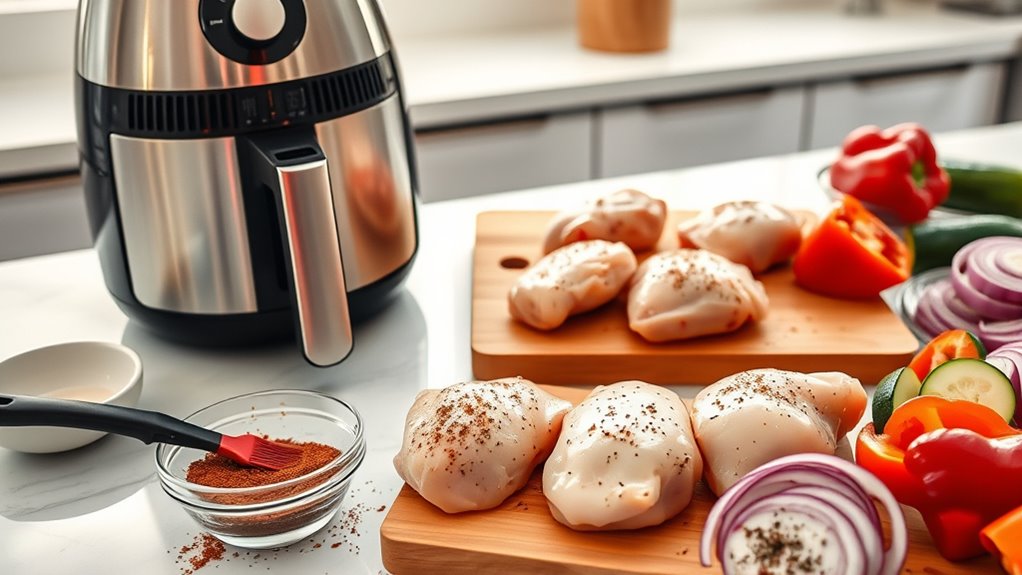
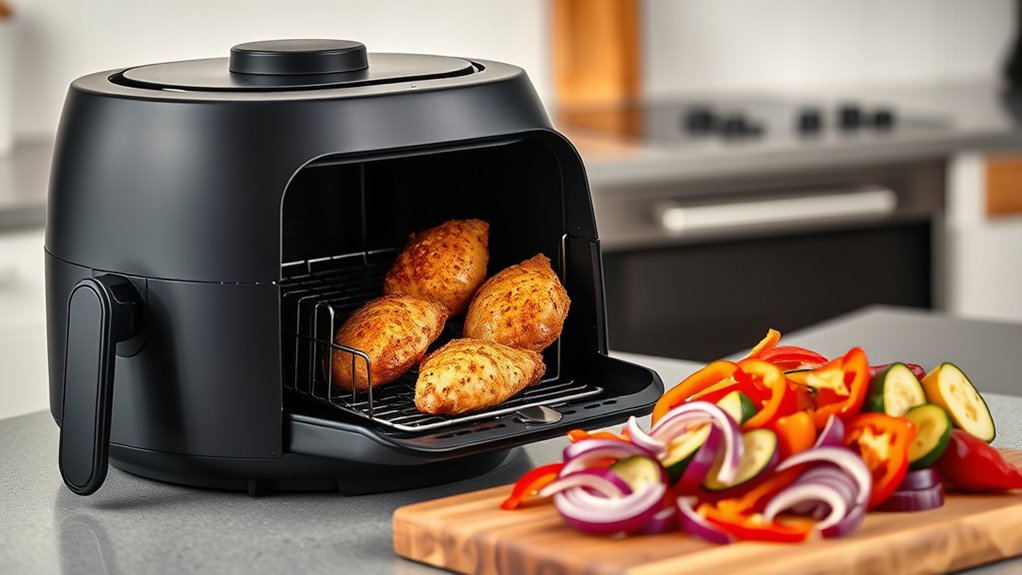
To start, you’ll need to season your chicken thighs with a blend of herbs and spices, then cook them in the air fryer until golden and cooked through. Meanwhile, seasoned vegetables such as bell peppers, zucchini, and red onions can be tossed in olive oil and spices before being air fried to perfection. Once everything is cooked, portion out the chicken and vegetables into meal prep containers for a convenient, nutritious lunch or dinner.
Ingredients:
- 4 bone-in or boneless chicken thighs
- 2 tablespoons olive oil
- 1 teaspoon paprika
- 1 teaspoon garlic powder
- 1 teaspoon onion powder
- 1/2 teaspoon dried thyme
- 1/2 teaspoon black pepper
- 1/2 teaspoon salt
- 1 red bell pepper, sliced
- 1 zucchini, sliced
- 1 red onion, sliced
- Optional: lemon wedges for serving
Cooking Instructions:
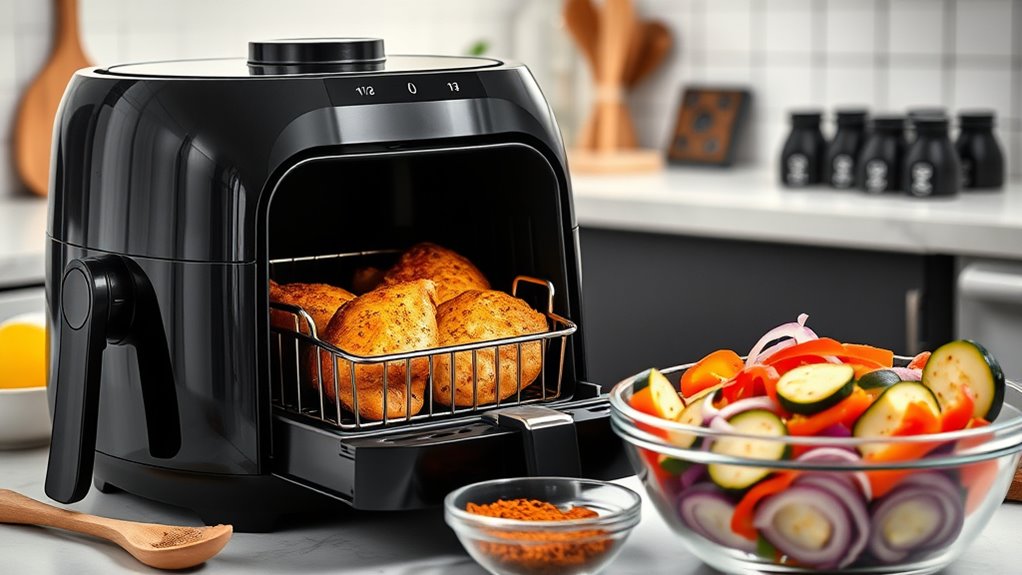
Preheat your air fryer to 400°F (200°C). In a small bowl, mix paprika, garlic powder, onion powder, thyme, black pepper, and salt. Rub the chicken thighs with olive oil and then evenly coat them with the spice mixture. Place the seasoned chicken thighs in the air fryer basket, skin-side down if using bone-in. Cook for about 18-22 minutes, flipping halfway through, until the chicken reaches an internal temperature of 165°F (74°C). Meanwhile, toss the sliced vegetables with a tablespoon of olive oil and a pinch of salt and pepper. After the chicken is done, remove it from the air fryer and set aside to rest. Add the vegetables to the air fryer basket and cook at 400°F for 8-10 minutes, shaking halfway through, until tender and slightly charred. Serve the chicken alongside the vegetables, or divide into meal prep containers for later. Incorporating healthy cooking techniques like air frying can help preserve nutrients and reduce added fats compared to traditional frying methods. Being aware of air frying benefits can help you make healthier choices in your meal prep routine. Additionally, experimenting with seasoning blends can elevate the flavor profile of your dishes and keep your meals exciting.
Extra Tips:
When cooking in the air fryer, avoid overcrowding the basket to ensure even cooking and crispiness. If making multiple servings, cook the chicken and vegetables in batches or use a larger capacity air fryer. For extra flavor, consider adding a squeeze of lemon or a sprinkle of fresh herbs like parsley before serving. Also, always check the internal temperature of the chicken to ensure it’s fully cooked and safe to eat. Using a meat thermometer helps achieve perfect results every time. Additionally, understanding AI job roles such as AI ethicists and cybersecurity professionals can provide insight into the evolving landscape of tech careers. Recognizing asset division laws specific to your state can also streamline the process and prevent legal surprises.
Cooking Steps
Start by preheating your air fryer to guarantee even cooking. Season your vegetables beforehand and add breadcrumbs or panko to create a crispy, crunchy coating. When done right, you’ll achieve a perfect, crispy crust every time. Using the correct tip size can also help improve the crispiness and overall finish of your meal. Additionally, ensuring proper contrast ratio in your setup can help you better monitor cooking progress and prevent overcooking. Regularly checking wire connections can also help maintain consistent performance and avoid interruptions during cooking. Maintaining proper kitchen organization can further streamline your meal prep process. Consulting local resources and tools can provide additional tips for optimizing your meal prep process.
Step 1. Preheat Air Fryer
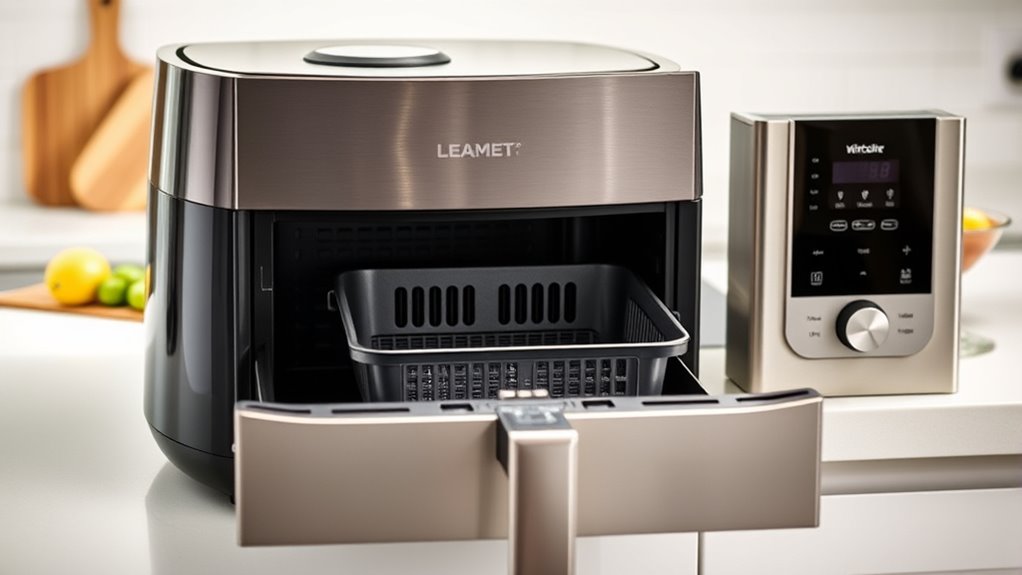
Before you begin cooking, it’s important to preheat your air fryer to guarantee even results. Preheating helps make certain your food cooks uniformly and develops a crispy exterior. To do this, turn on your air fryer and set it to the recommended temperature for your recipe, usually between 350°F and 400°F. Let it run for about 3-5 minutes until it reaches the desired heat. This step is especially vital for meal prep, as it saves cooking time and assures consistent texture. Avoid skipping preheating, as it can lead to uneven cooking or soggy textures. Once preheated, add your ingredients promptly to keep the temperature steady. This simple step sets the foundation for delicious, perfectly cooked meals every time.
Step 2. Season Vegetables Before Cooking
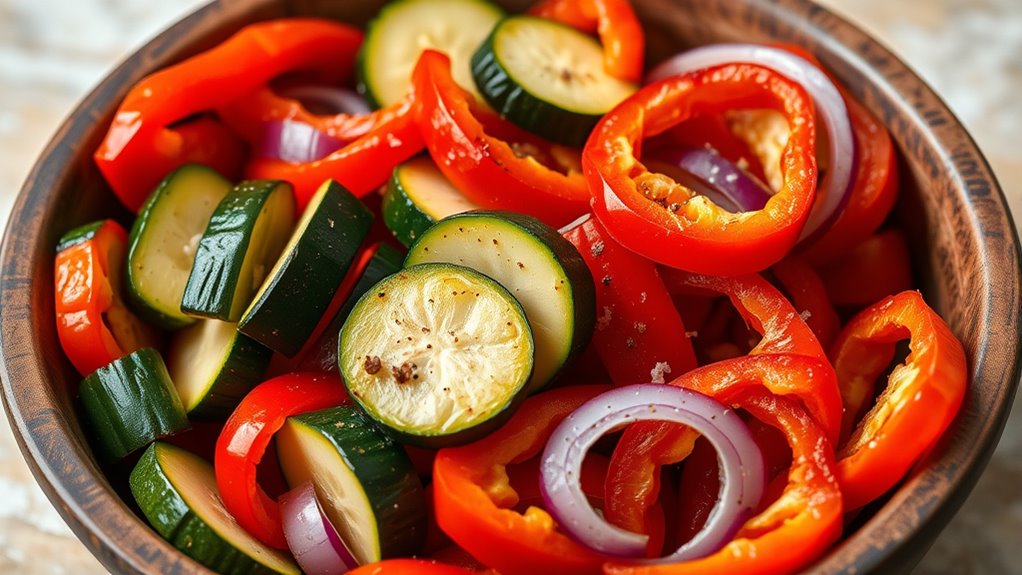
Seasoning vegetables before cooking guarantees they develop flavorful, well-rounded tastes and improve their overall texture. To do this, toss your chopped vegetables with olive oil, salt, pepper, and any other seasonings you like—garlic powder, paprika, or herbs work well. Make sure each piece is evenly coated so the flavors seep in during cooking. This step not only enhances taste but also helps the vegetables caramelize nicely in the air fryer. Let the seasoned vegetables sit for a few minutes if you have time—it allows the flavors to meld. Proper seasoning ensures your veggies are delicious on their own and complements the other ingredients in your meal prep. Remember, well-seasoned vegetables are the key to a tasty, satisfying lunch.

To add a crispy texture to your air fryer vegetables, toss them with a layer of breadcrumbs before cooking. Use plain or seasoned breadcrumbs, depending on your flavor preference. Place the vegetables in a large bowl, then sprinkle the breadcrumbs over them. Toss gently to evenly coat each piece without overloading. This step creates a crunchy exterior that enhances texture and flavor. Be sure not to use too much, or the coating might become soggy. Spread the coated vegetables in a single layer in the air fryer basket, ensuring space for air circulation. This method helps the breadcrumbs adhere better and develop a satisfying crunch during cooking. Keep an eye on them to prevent burning, especially if using seasoned or flavored breadcrumbs.
Step 4. Crisp Coating With Panko

For an extra crispy coating, replace traditional breadcrumbs with panko. Panko’s larger, lighter flakes create a crunchier texture that holds up well in the air fryer. To prepare, set up a breading station with three shallow dishes: one with beaten eggs, another with panko seasoned with salt, pepper, and optional spices, and a third with flour. Dip your chicken or vegetables into the flour, ensuring even coverage, then into the egg, and finally coat generously with panko. Press the panko onto the surface to ensure it sticks well. Place the coated pieces in a single layer in the air fryer basket, leaving space between each piece for maximum crisping. This method guarantees a golden, crunchy crust every time.
Step 5. Crispy Coating Achieved
Once you’ve arranged your coated pieces in the air fryer, it’s time to turn up the heat and achieve that perfect crispy coating. Set the temperature to 375°F (190°C) and cook for 10-15 minutes, shaking the basket halfway through. Keep an eye on the pieces to prevent over-browning. The hot air circulates rapidly, transforming your coating into a golden, crunchy layer. If you want extra crispiness, lightly spray the pieces with cooking spray before cooking. After the timer rings, check for doneness; the coating should be firm and crisp. Let the pieces rest for a minute, then serve immediately to enjoy that satisfying crunch. You’ll love how your air-fried meal combines tenderness inside with a crispy exterior.
History
Have you ever wondered when the concept of air frying first emerged? It all started in the 1990s when engineers and appliance manufacturers sought healthier cooking methods. The goal was to replicate the crispy texture of deep-frying without using large amounts of oil. Early devices used rapid air circulation and high temperatures to cook food evenly, mimicking traditional frying. Over time, these inventions evolved into compact, user-friendly countertop appliances. The technology gained popularity in the early 2010s, fueled by health-conscious consumers craving crispy yet low-fat meals. Today, air fryers are a staple in many kitchens, transforming how you prep and enjoy lunch. Their history reflects ongoing innovation aimed at making healthier, faster, and more convenient cooking accessible to everyone.
Final Thoughts

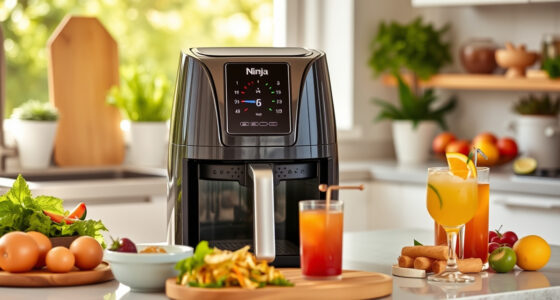
As air fryer technology continues to evolve, it’s clear that this appliance has become a versatile and time-saving tool in modern kitchens. With its ability to cook a variety of meals quickly and healthily, you can enjoy diverse lunch options without the hassle of traditional methods. Meal prepping with an air fryer helps you stay organized, save time during busy weekdays, and maintain a healthier diet. Plus, it’s easy to clean and energy-efficient. As you experiment with different recipes, you’ll discover how simple it is to create flavorful, satisfying lunches in advance. Embracing this technology means you can enjoy fresh, homemade meals more often, making your weekly meal prep more enjoyable and less stressful.
Frequently Asked Questions
Can I Freeze Air Fryer Meal Prep Lunches?
Yes, you can freeze meal prep lunches made in the air fryer. To do so, let your food cool completely, then store it in airtight containers or freezer bags. When you’re ready to eat, reheat the meals in the air fryer or microwave until hot. Freezing helps preserve your meals and makes lunchtime quicker and easier, especially if you prepare in advance. Just make sure to label and date your containers.
How Long Do Meal Prep Lunches Stay Fresh?
You wanna know how long your meal prep lunches stay fresh? Generally, you can keep cooked meals in the fridge for 3 to 4 days. To maximize freshness, store them in airtight containers and reheat thoroughly. If you want to keep them longer, freezing is a good option—just consume within 1 to 3 months for the best taste and safety. Always check for signs of spoilage before eating.
What Are the Best Storage Containers for Air Fryer Meals?
Think of your storage containers as treasure chests for your delicious air fryer meals. You want sturdy, leak-proof options that keep flavors locked in and prevent spills. Glass containers with airtight lids are like loyal guardians, preserving freshness. Silicone or BPA-free plastic containers also work well—they’re flexible and durable. Choose containers that fit your fridge and microwave, making your meal prep journey smooth and rewarding.
Are There Any Allergen-Free Air Fryer Lunch Ideas?
When looking for allergen-free air fryer lunch ideas, you can easily customize recipes to suit your needs. Focus on whole, unprocessed ingredients like vegetables, lean meats, and gluten-free grains. Avoid common allergens like nuts, dairy, and soy. You might try seasoned chicken with roasted vegetables or shrimp with zucchini noodles. Experiment with herbs and spices for flavor without allergens, creating safe, delicious meals for your lunch.
How Can I Customize Recipes for Dietary Restrictions?
Think of customizing recipes like tuning a musical instrument—you adjust each string until it’s just right. For dietary restrictions, swap out ingredients to suit your needs, like using almond milk instead of dairy or gluten-free grains. Check labels carefully, experiment with spices, and don’t be afraid to try new substitutions. Your personalized meal will hit the right note, satisfying your taste buds and keeping your restrictions in harmony.