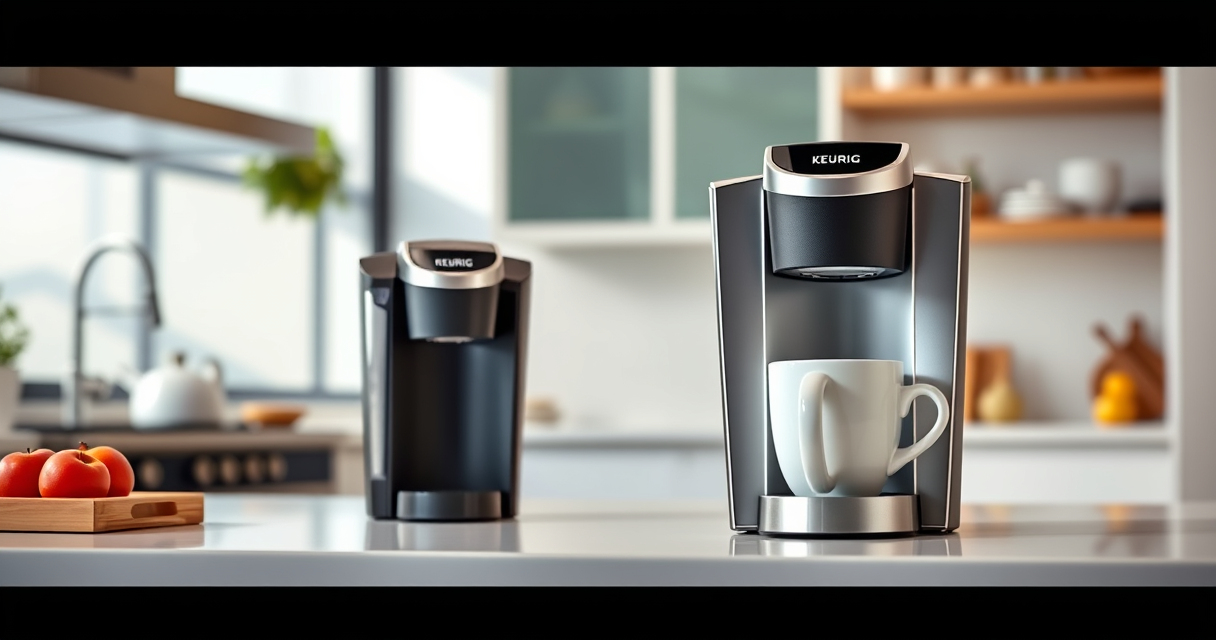
If your Keurig K-Mini is brewing bitter, stale, or off-tasting coffee, mineral buildup and residue are often the culprits. Regular cleaning and descaling can restore your brew’s flavor and ensure your coffee maker performs at its best.

Get kitchen gear delivered free — and shop member deals
- Fast, free delivery on millions of items
- Access to Prime Big Deal Days deals on October 6–7
- Prime Video, Amazon Music and more included
Follow these simple, safe steps to troubleshoot and fix common taste issues, helping you enjoy fresh, delicious coffee every time.
Key Takeaways
| Regular descaling improves taste | Mineral deposits can cause bad flavors; descaling removes these buildup. |
| Clean the brew unit regularly | Residue and oils can taint the flavor; proper cleaning maintains freshness. |
| Use quality water | Hard water contributes to mineral buildup; filtered water can help. |
| Replace water filters periodically | Filters remove impurities that can affect taste. |
Step 1: Empty and Refill the Water Reservoir
Start by emptying the water reservoir and filling it with fresh, filtered water. This prevents stale water from affecting your brew’s flavor.
Step 2: Clean the Brew Unit and Needle
- Unplug your Keurig for safety.
- Remove the water reservoir and drip tray for cleaning.
- Use a paperclip or the Keurig needle cleaning tool to clear any clogs in the needle that punctures the K-Cup.
Step 3: Descale Your Keurig
Descaling removes mineral buildup inside the machine. Use a descaling solution like the Keurig Descaling Solution or equivalent.
- Pour the descaling liquid into the water reservoir.
- Fill the reservoir with water to the max line.
- Run multiple brew cycles without a K-Cup, until the reservoir is empty.
Step 4: Run Rinse Cycles
After descaling, run 2-3 rinse cycles with just water to clear out any residual descaling solution.
Additional Tips and Warnings
- Always use filtered water for better taste and to reduce mineral buildup.
- Clean the needle and brew unit weekly to prevent clogs.
- Do not use vinegar or harsh chemicals—stick to recommended descaling solutions.
The Products in This Guide

Keurig K-Mini Single Serve K-Cup Pod Coffee Maker
- ✔ Weight: 4.5 lbs
- ✔ Power: 1400W
- ✔ Warranty: 1 year

My K-Cup® Reusable Coffee Filter
- ✔ Use: Ground coffee
- ✔ Cleaning: Dishwasher safe
- ✔ Size: Fits standard K-Cup holder
Keurig K-Mini Single Serve K-Cup Pod Coffee Maker
The Keurig K-Mini is a compact, efficient coffee maker that benefits greatly from regular maintenance. Using the appropriate cleaning routines, it can serve up fresh-tasting coffee consistently.
Pros:
- Compact size fits small spaces
- Easy to clean and descale
- Removable drip tray
- Compatible with reusable filters
Cons:
- Limited brew size options
- Requires frequent refilling for multiple cups
Best for: Small spaces and quick, daily coffee needs
Not ideal for: Users needing larger brew capacities or specialty features
Bottom line: A compact, easy-to-maintain coffee maker perfect for small spaces.
My K-Cup® Reusable Coffee Filter
The My K-Cup Reusable Coffee Filter allows you to brew your favorite ground coffee with your Keurig, providing a customizable and eco-friendly alternative to pods.
Pros:
- Environmentally friendly
- Cost-effective
- Customizable strength
- Easy to clean
Cons:
- Requires ground coffee prep
- Might need extra cleaning
- Not suitable for all models
Best for: Those who prefer ground coffee and want to reduce waste
Not ideal for: Users who prefer quick pod brewing or lack ground coffee
Bottom line: A versatile choice for brewing ground coffee with Keurig.
Frequently Asked Questions
Why does my Keurig taste bad even after cleaning?
Mineral deposits or residual oils may cause off-flavors. Regular descaling and cleaning with rinse pods can restore taste.
How often should I descale my Keurig?
Descale your Keurig every 3-6 months, depending on water hardness and usage.
Can I use vinegar instead of descaling solution?
While vinegar can work, it is not recommended by Keurig as it may damage components. Use approved descaling solutions for safety.
What’s the best way to clean the needle?
Use a paperclip or the Keurig needle cleaning tool to gently clear clogs in the needle that punctures K-Cups.
Enjoy Fresh Coffee Again by Maintaining Your Keurig
Regular cleaning, descaling, and using quality water are key to keeping your Keurig K-Mini brewing great-tasting coffee. With these simple steps, you can prevent flavor issues and extend the life of your machine. Consistent maintenance not only improves flavor but also ensures your coffee maker operates safely and efficiently.
Affiliate disclosure: As an Amazon Associate we earn from qualifying purchases. Prices and availability are accurate as of the time of publishing.
Halloween Picks
halloween
As an affiliate, we earn on qualifying purchases.