For quick weekly breakfast prep using an air fryer, focus on batch cooking versatile items like chicken breasts, egg dishes, or breakfast sandwiches. Preheat your air fryer to 375°F, season and place ingredients in a single layer, then cook for about 18-20 minutes, flipping halfway. Store leftovers in airtight containers, then reheat for a crispy, healthy start to your mornings. Keep experimenting with flavors, and you’ll discover simple ways to streamline your breakfast routine—more helpful tips are just ahead.
Key Takeaways
- Plan and prepare versatile breakfast recipes like eggs, chicken, and breakfast sandwiches using the air fryer for quick weekly meal prep.
- Use proper equipment, seasonings, and layering techniques to ensure evenly cooked, flavorful breakfast dishes.
- Store leftovers in airtight containers and reheat in the air fryer to maintain freshness and crispiness.
- Incorporate herbs and cheese for added flavor and variety throughout the week.
- Take advantage of the air fryer’s health benefits and quick cooking time to streamline busy morning routines.

Hamilton Beach Breakfast Sandwich Maker with Egg Cooker Ring, Customize Ingredients, Perfect for English Muffins, Croissants, Mini Waffles, Perfect White Elephant Gifts, Silver (25475)
- Ideal Gift for Any Occasion: Great for birthdays, parties, and holidays
- Fast Breakfast in 5 Minutes: Quickly prepares sandwiches for busy mornings
- Make Homemade Breakfast Sandwiches: Enjoy fresh, hot sandwiches at home
As an affiliate, we earn on qualifying purchases.
As an affiliate, we earn on qualifying purchases.
Recipe

Here’s a recipe for a delicious and easy weekly meal prep using an air fryer.
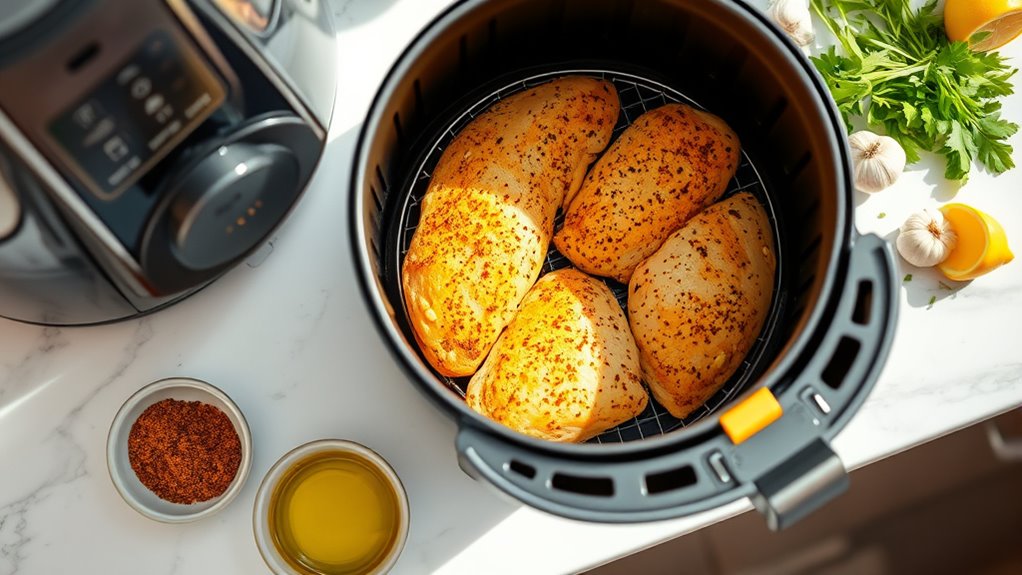
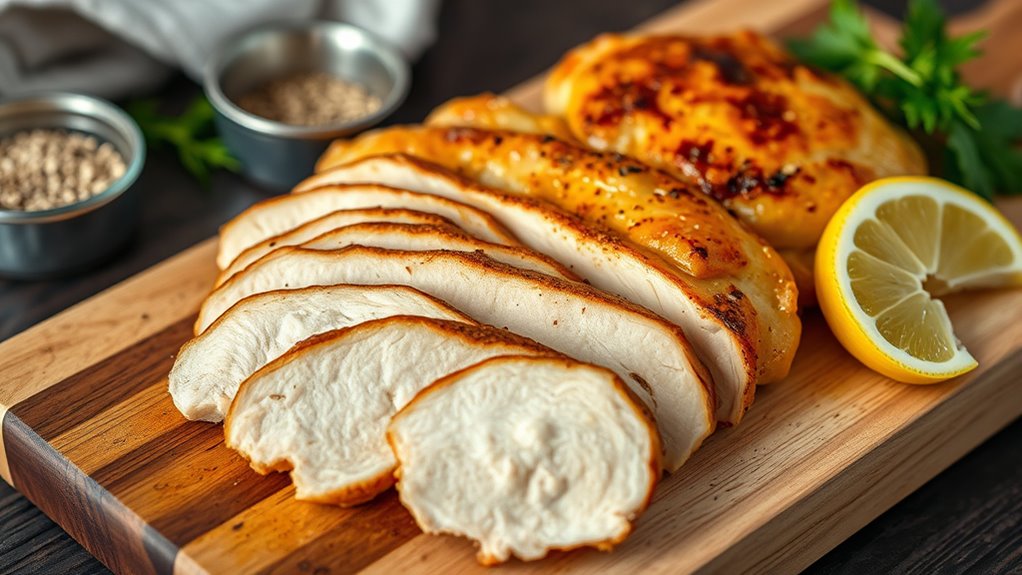
Cooking with the air fryer is a fantastic way to prepare healthy, flavorful meals with minimal effort and clean-up. This recipe will help you create perfectly crispy, tender chicken breast that can be used for salads, sandwiches, or main courses throughout the week. The air fryer ensures that the chicken is cooked evenly and retains its juiciness, making it a versatile addition to your meal prep rotation.
Before starting, make sure your air fryer is clean and preheated. This step helps guarantee even cooking and crispiness. The recipe involves simple seasoning and a quick cook time, making it ideal for busy weekdays. Once cooked, you can store the chicken in airtight containers and reheat as needed, enjoying fresh-tasting meals every day.
Ingredients:
- 4 boneless, skinless chicken breasts
- 2 tablespoons olive oil
- 1 teaspoon garlic powder
- 1 teaspoon paprika
- 1 teaspoon salt
- ½ teaspoon black pepper
- ½ teaspoon dried thyme (optional)
- Lemon wedges (for serving)
Cooking Instructions:
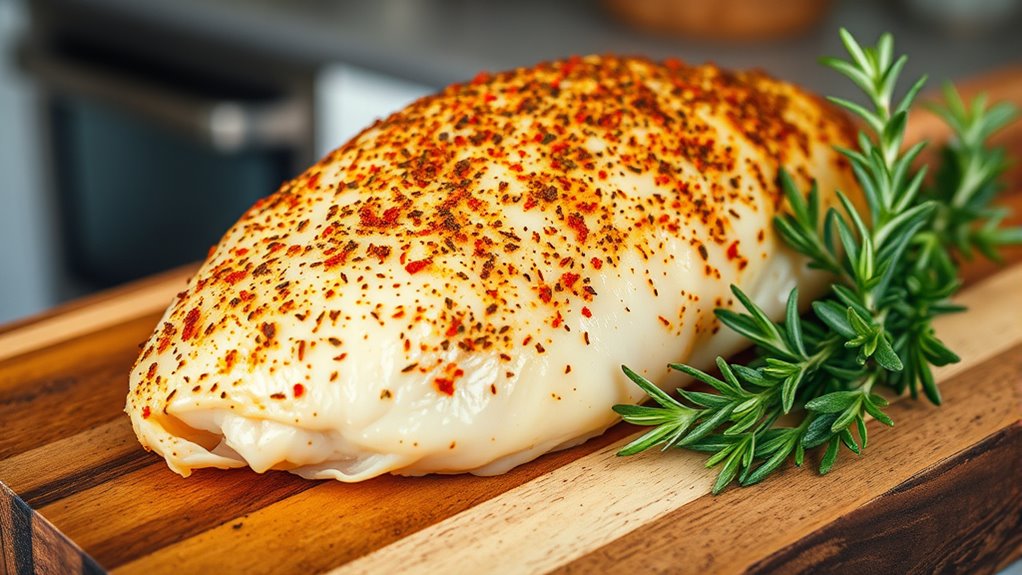
Begin by patting the chicken breasts dry with paper towels. In a small bowl, mix together the garlic powder, paprika, salt, pepper, and thyme. Rub the olive oil all over the chicken breasts, then evenly coat them with the spice mixture. Preheat your air fryer to 375°F (190°C). Place the seasoned chicken breasts in the air fryer basket in a single layer, ensuring they are not overcrowded. Cook for 18-20 minutes, flipping halfway through, until the internal temperature reaches 165°F (74°C) and the chicken is golden and crispy on the outside. Remove from the air fryer and let rest for a few minutes before slicing or shredding.
Extra Tips:
For best results, use a meat thermometer to check the internal temperature and avoid overcooking. You can customize the seasoning by adding herbs like rosemary or cumin, or spice blends such as Cajun seasoning for variety. If cooking multiple batches, keep the cooked chicken warm in a low oven or covered with foil. Store leftovers in airtight containers in the refrigerator for up to 4 days, and reheat in the air fryer for a few minutes to restore crispiness.
Cooking Steps
Start by preheating your air fryer basket to guarantee even cooking. Then, grease the basket lightly to prevent sticking and arrange your egg mixture evenly inside. Finish by layering cheese on top and sprinkling herbs for added flavor. Color accuracy is important for ensuring your breakfast looks as good as it tastes, especially if you’re plating or sharing photos.
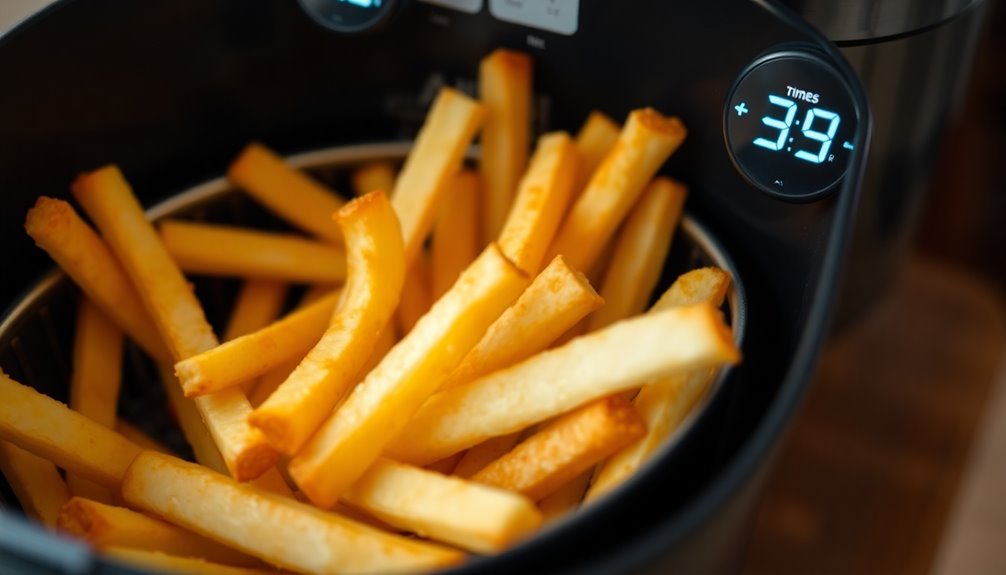
Step 1. Preheat Air Fryer Basket
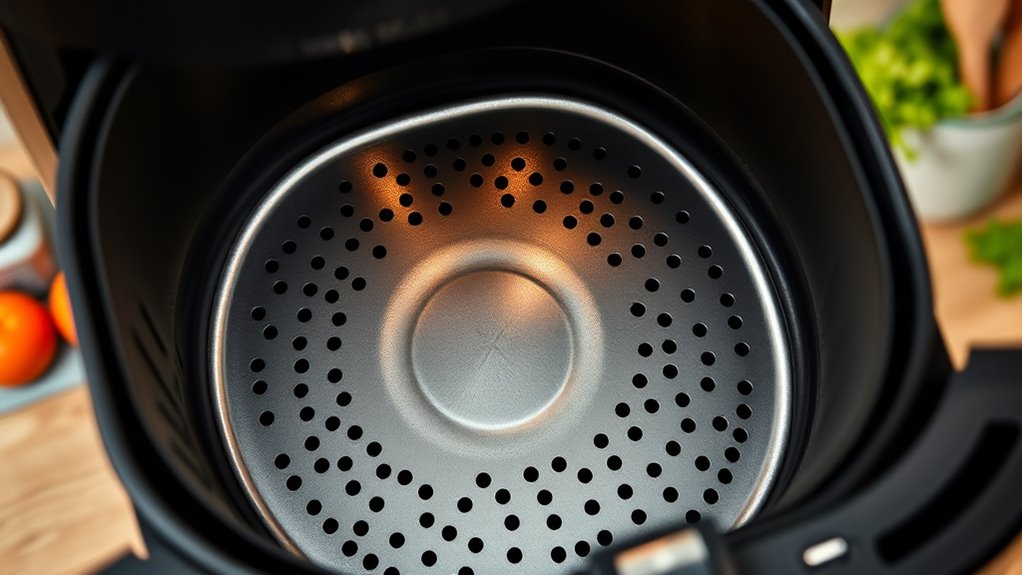
Preheating the air fryer basket guarantees even cooking and better results for your meal prep. To do this, turn on your air fryer and set it to the desired temperature, usually around 350°F (175°C) for breakfast items. Let it run empty for 3-5 minutes. This warms the basket and helps prevent sticking. Preheating assures your food cooks evenly, giving you consistent textures and flavors. It also reduces cooking time, so your breakfast is ready faster. Once preheated, carefully add your ingredients to the basket. Avoid overcrowding, as this can hinder proper air circulation. Proper maintenance and air circulation are essential for optimal performance of your air fryer. Incorporating sound healing science principles, such as maintaining a consistent temperature, can further enhance your cooking results. Additionally, understanding Kia Tuning concepts like suspension upgrades and airflow improvements can inform better practices for appliance efficiency and longevity. Regular preheating also contributes to better food texture, ensuring crispiness and tenderness in your breakfast items. Paying attention to cooking science helps optimize your results and prolongs the lifespan of your appliance.
Step 2. Grease the Air Fryer Basket
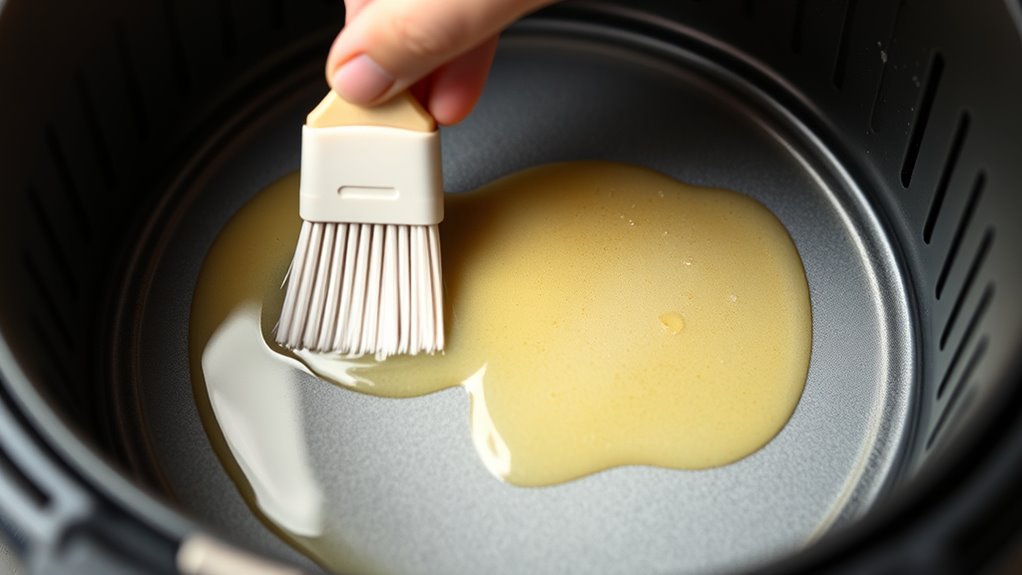
To prevent sticking and make cleanup easier, it’s important to grease the air fryer basket before adding your food. Use a light coating of cooking spray, oil, or a pastry brush with melted butter. Spray the basket evenly, focusing on the bottom and sides, but avoid over-saturating, as excess oil can cause smoke or uneven cooking. If you’re using a brush, gently spread a thin layer across the surface. This step helps ensure your egg dishes release easily and prevents residue buildup. Remember, a well-greased basket promotes even cooking and simplifies cleanup afterward. Additionally, understanding the importance of filter replacement in maintaining air purifier performance can inspire you to approach your cooking with care and intention. Proper preparation makes your meal prep smoother and more enjoyable. Regularly inspecting and maintaining your equipment, such as greasing the basket, is similar to dream interpretation—both involve paying attention to details to achieve better results. For optimal results, consider the material options of your air fryer basket, as different materials can affect heat distribution and ease of cleaning.
Step 3. Arrange Egg Mixture Evenly

Once you’ve greased the basket, pour your egg mixture into it, then use a spatula or the back of a spoon to spread it out evenly. Make sure the mixture covers the entire bottom surface without any thick or thin spots. Distributing it evenly helps ensure uniform cooking and prevents overcooked or undercooked areas. Gently tap the basket on a flat surface to settle the mixture and remove air bubbles. Use your spatula to smooth out any uneven parts, especially around the edges. Taking these steps guarantees a consistent layer of eggs, making it easier to portion and enjoy your meal later. A flat, even layer also prevents spills or uneven heat distribution during cooking. Once your mixture is level, you’re ready to move on to the next step.
Step 4. Layer With Cheese Topping
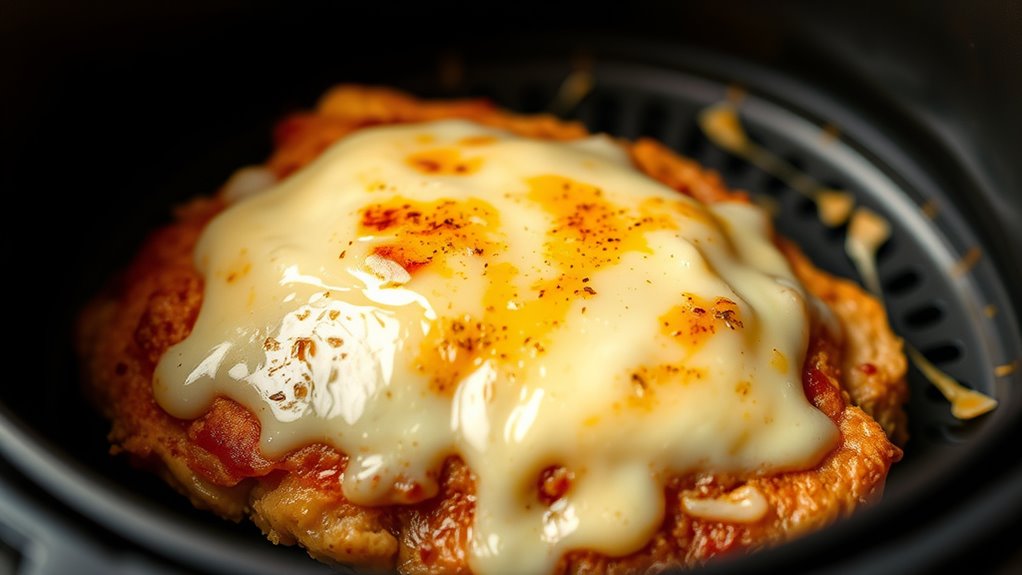
After you’ve spread the egg mixture evenly, sprinkle a generous layer of cheese over the top. Use your favorite shredded cheese, such as cheddar, mozzarella, or a blend, to add flavor and richness. Make sure the cheese covers the entire surface for even melting and a cheesy crust. Gently tap the pan or dish to help settle the cheese and prevent uneven distribution. If you like, you can add a little extra cheese in the center for a gooey core. Avoid pressing down too hard to keep the cheese loose and airy. Once topped, the cheese will melt beautifully in the air fryer, creating a golden, bubbly crust that seals in moisture and enhances the overall taste of your breakfast prep.
Step 5. Add Herbs for Flavor
Adding herbs is a simple way to elevate your dish with fresh, vibrant flavor. Sprinkle chopped herbs like parsley, chives, or basil over your prepped ingredients before placing them in the air fryer. Herbs add a layer of brightness and aroma that transforms your meal from basic to flavorful. You can also mix herbs into any accompanying sauces or toppings for an extra punch. Be mindful not to overload your dish, as too much can overpower other flavors. Fresh herbs work best; however, dried herbs can be used sparingly if fresh aren’t available. Incorporate herbs towards the end of cooking or after, so their delicate flavors stay intact. This small addition makes a noticeable difference in the overall taste of your breakfast.
History

The history of air frying dates back several decades, rooted in the desire to create healthier cooking methods that use less oil. The concept emerged in the early 2000s when appliance manufacturers sought alternatives to deep frying. They developed rapid air technology, which circulates hot air around food to produce crispy textures without excess oil. This innovation gained popularity due to health concerns and the need for convenient, quick cooking solutions. Over time, air fryers became more affordable and versatile, making them a common kitchen appliance. Today, you can use an air fryer for a wide range of meals, including breakfast options, thanks to continuous advancements in design and technology. This evolution reflects a shift toward healthier, more efficient cooking practices.
Final Thoughts
Air fryers have revolutionized home cooking by making healthier, faster, and more convenient meals accessible to everyone. With their versatility, you can prep breakfast options that save time during busy mornings while still enjoying tasty, crispy dishes. By incorporating weekly meal prep, you reduce daily stress and ensure balanced eating. Remember, experimenting with different ingredients and flavors keeps breakfast interesting and helps you discover new favorites. Investing in an air fryer means you’re embracing a practical kitchen tool that simplifies your routine. Overall, with a bit of planning, you’ll enjoy nutritious, delicious breakfasts without the hassle. So go ahead, take advantage of this appliance and make your mornings smoother and more enjoyable.
Frequently Asked Questions
Can I Customize Meal Prep for Dietary Restrictions?
Yes, you can customize your meal prep for dietary restrictions. You just need to select ingredients that fit your needs, like gluten-free grains or plant-based proteins. With an air fryer, you can easily adapt recipes by adjusting seasonings or swapping out ingredients. Planning ahead helps you stay on track, ensuring your meals meet your dietary goals while still being delicious and convenient.
How Long Do Prepped Breakfasts Stay Fresh?
Imagine your prepped breakfasts as delicate blooms in a garden, needing the right conditions to stay vibrant. Typically, you should enjoy them within 3 to 4 days when stored properly in airtight containers in the fridge. If you want to extend freshness, consider freezing items like breakfast sandwiches or muffins, which can last up to a month. Always check for signs of spoilage before eating to keep your mornings safe and delicious.
Are Air Fryers Suitable for Large Family Servings?
Air fryers can be suitable for large family servings if they have a spacious capacity, like 5.8 quarts or more. You might need to cook in batches if your air fryer is smaller, which takes extra time. For bigger families, consider a larger model or multiple units. This way, you can prepare meals quickly and efficiently without sacrificing portion sizes or quality.
What Are the Best Storage Containers for Meal Prep?
Did you know 80% of meal preppers prefer glass containers for safety and freshness? When choosing storage containers, opt for BPA-free, airtight options that are microwave and freezer safe. You should look for containers with secure lids and stackable designs to maximize space. These choices guarantee your meals stay fresh longer, prevent spills, and make reheating easier, helping you stay organized and efficient throughout your week.
Can I Reheat Prepped Breakfast in the Air Fryer?
Yes, you can reheat prepped breakfast in the air fryer. Just place your meal in an oven-safe container or directly in the basket, set the temperature to around 350°F, and heat for 3-5 minutes. Keep an eye on it to avoid overcooking. This method helps retain crispness and flavor better than microwave reheating. Make sure your food is evenly spaced for consistent reheating results.