
To prevent leaks, regularly inspect your silicone sealant for cracks, gaps, or discoloration. Keep surfaces clean and dry before resealing, and remove any old or damaged sealant with proper tools. Apply new silicone smoothly, ensuring full contact with surfaces, and allow it to cure completely. Maintaining the seal with routine checks and prompt repairs can extend its life. More tips can help you master long-lasting sealant upkeep.
Key Takeaways
- Regularly inspect silicone sealants for cracks, gaps, or discoloration to detect early signs of deterioration.
- Clean surfaces thoroughly before reapplying sealant, removing dirt, old residue, and contaminants for optimal adhesion.
- Use compatible, high-quality silicone sealant and apply it evenly in a continuous bead to prevent leaks.
- Maintain proper curing conditions and avoid exposure to harsh chemicals or UV rays that can degrade the sealant.
- Store unused sealant properly and perform routine checks to replace or reseal compromised areas promptly.
Understanding the Importance of Silicone Sealant Maintenance

Maintaining silicone sealant is essential because it directly affects the durability and effectiveness of your seals. When you prioritize proper upkeep, you extend the sealant’s longevity, ensuring it continues to protect against leaks and moisture. Environmental factors, such as exposure to sunlight, temperature fluctuations, and moisture, can accelerate deterioration if left unaddressed. These elements can cause the sealant to crack, shrink, or peel prematurely, reducing its sealing capabilities. Regular maintenance helps you identify early signs of wear caused by these environmental influences. By understanding how environmental factors impact your silicone sealant, you can take proactive steps to uphold its integrity, save money on repairs, and ensure the long-term protection of your home or workspace. Proper cookie management can also help you stay informed about website updates and security measures related to maintenance tips.
Identifying Signs of Sealant Deterioration

Recognizing the early signs of silicone sealant deterioration is essential to prevent costly repairs and maintain a secure seal. Environmental factors like UV exposure, moisture, and temperature fluctuations can accelerate sealant breakdown. Additionally, poor sealant compatibility with surrounding materials may cause it to crack or peel. Look out for these signs:
- Cracks or splits in the sealant surface
- Discoloration or mold growth
- Loss of elasticity or flexibility
- Gaps or separation from surfaces
Regular inspection of the sealant can help identify issues before they lead to leaks, especially when considering the type of sealant used, which impacts durability.
Tools and Materials Needed for Sealant Inspection and Repair
To inspect and repair your silicone sealant effectively, you’ll need the right tools and materials. Essential inspection tools include a scraper and a flashlight, which help you identify issues clearly. For repairs, gather sealant applicators, cleaning supplies, and fresh silicone to guarantee a proper, lasting fix.
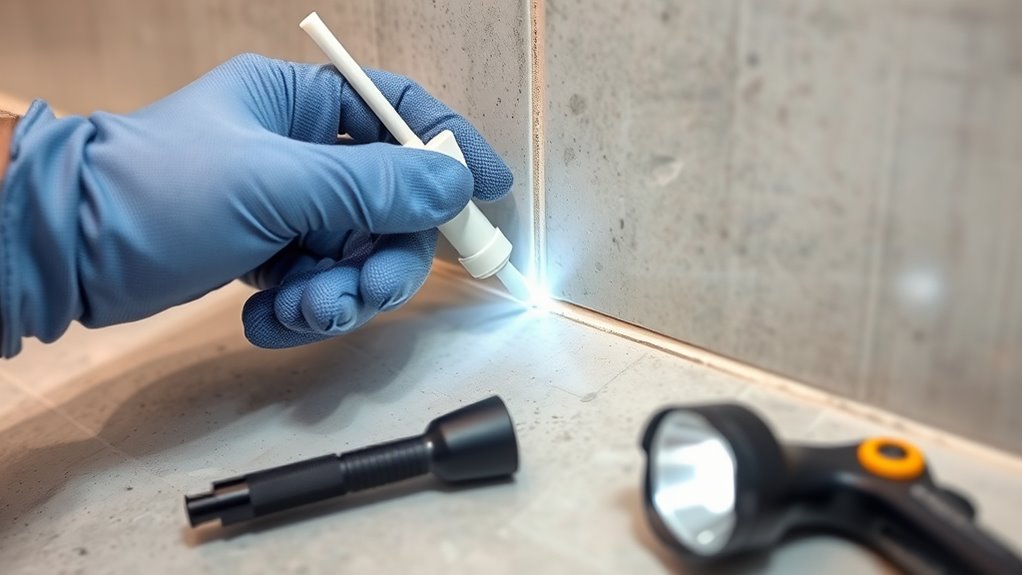
Tools for Seal Inspection
Inspecting and repairing silicone seals requires the right tools and materials to guarantee a thorough and effective job. Proper tools help you assess sealant flexibility and ensure accurate inspector calibration. First, a silicone sealant gauge or flexometer allows you to measure sealant flexibility directly. Second, a calibrated flashlight helps reveal cracks or gaps not visible to the naked eye. Third, a mirror on an extendable handle provides a clear view of hard-to-reach areas. Finally, a digital caliper ensures precise measurements during inspection. These tools help identify issues early, maintain seal integrity, and prevent leaks. Using the right equipment guarantees your inspections are accurate, and sealant remains resilient under stress and temperature changes. Additionally, understanding sealant properties such as adhesion and elasticity can improve the effectiveness of repairs.
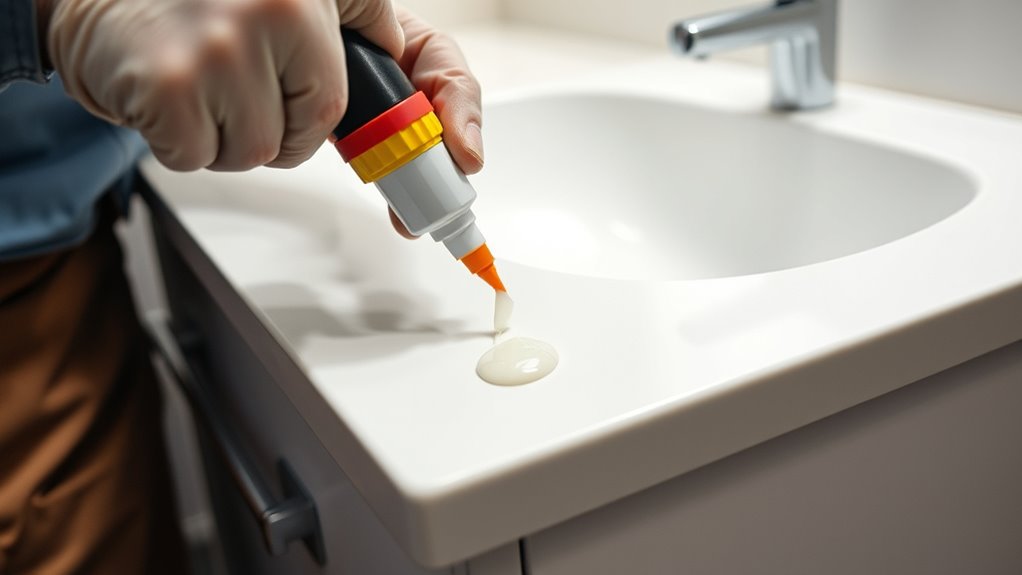
Sealant Repair Materials
Having the right sealant repair materials on hand is vital for effective maintenance. First, verify your sealant is compatible with the existing material to prevent adhesion issues or damage. Choose a high-quality silicone sealant suited for your specific application, whether for bathrooms, windows, or other surfaces. Proper application techniques are essential; clean and dry the area thoroughly before applying new sealant. Use a caulking gun for precise control and smooth out the bead for a professional finish. Keep tools like a utility knife, putty knife, or scraper nearby to remove old sealant and prep the surface. Having these materials and understanding sealant compatibility and application techniques ensures a durable, leak-free repair. Additionally, ensuring proper maintenance and cleaning of your sealant can prolong its effectiveness and prevent future leaks.
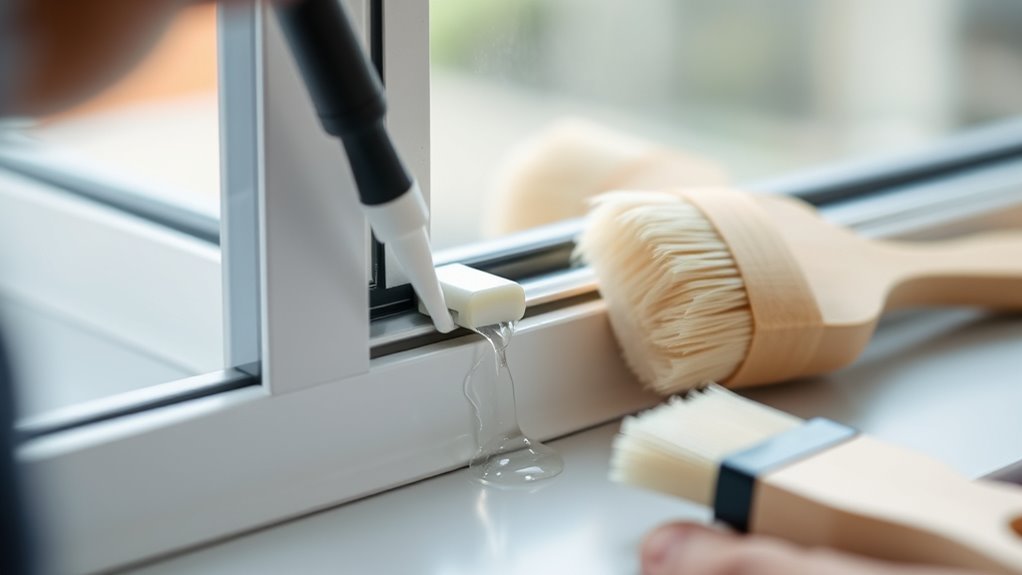
How to Properly Clean and Prepare Surfaces Before Reapplying Sealant
Before reapplying sealant, you need to clean and prepare the surface thoroughly. Use proper cleaning techniques to remove dirt, grease, and old sealant residue. Follow the necessary preparation steps to guarantee a strong, lasting bond once you apply the new sealant. To enhance the durability of your repair, ensure the surface is free of debris and contaminants that could compromise adhesion.
Surface Cleaning Techniques
Proper surface preparation is essential for a successful sealant repair, and cleaning is the first step in that process. To guarantee proper adhesion and avoid future leaks, you need to thoroughly clean the area. Start by removing dirt, grease, and old sealant with a suitable cleaner. Use a gentle scrub brush or cloth to avoid damaging the surface. When cleaning, consider the environmental impact—use eco-friendly products whenever possible. For color matching, confirm the surface is free of stains or residues that could affect the sealant’s appearance. Here are some key techniques:
- Use a mild, environmentally safe cleaner
- Avoid harsh chemicals that could harm the surface or environment
- Rinse thoroughly to remove all residues
- Dry completely before applying new sealant
- Ensure the surface is free of dust and allergens to improve adhesion and prevent future issues
Surface Preparation Steps
To guarantee a strong bond when reapplying sealant, you must carefully prepare the surface after cleaning. First, ensure the surface is free of dust, grease, or old sealant residues, which can hinder silicone compatibility and reduce surface adhesion. Lightly roughen smooth surfaces with fine-grit sandpaper or a cleaning pad to enhance adhesion points. Wipe the area with a solvent like isopropyl alcohol to remove any remaining oils or contaminants. Make sure the surface is completely dry before applying new sealant. Proper surface preparation creates a clean, stable base that promotes better silicone compatibility and ensures durable, leak-proof seals. Skipping these steps can compromise adhesion, leading to future leaks or seal failure. Additionally, understanding retirement planning strategies can help you allocate resources effectively for home maintenance or upgrades in the long term. Always follow manufacturer instructions for the best results.
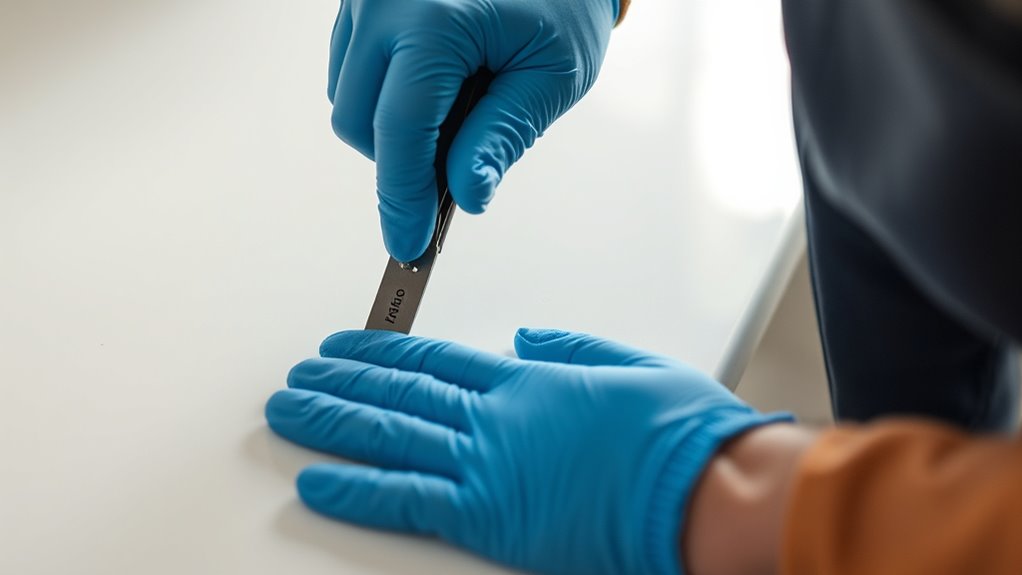
Step-by-Step Guide to Removing Old or Damaged Sealant

Removing old or damaged sealant is a essential first step to guarantee a successful replacement. First, identify the sealant type—silicone, latex, or polyurethane—as each requires different removal techniques. Environmental factors, like mold or grime, can affect how easily the sealant comes off. To remove it effectively:
Removing old or damaged sealant is crucial for a successful replacement.
- Use a utility knife or blade scraper to carefully cut along the sealant edges.
- Gently pry or lift the sealant with a putty knife or plastic scraper.
- Apply a suitable solvent or sealant remover, based on the type, to dissolve stubborn areas.
- Wipe the surface clean with a cloth and ensure all residue is gone before proceeding.
This process ensures a clean, smooth surface for the new sealant, preventing future leaks.
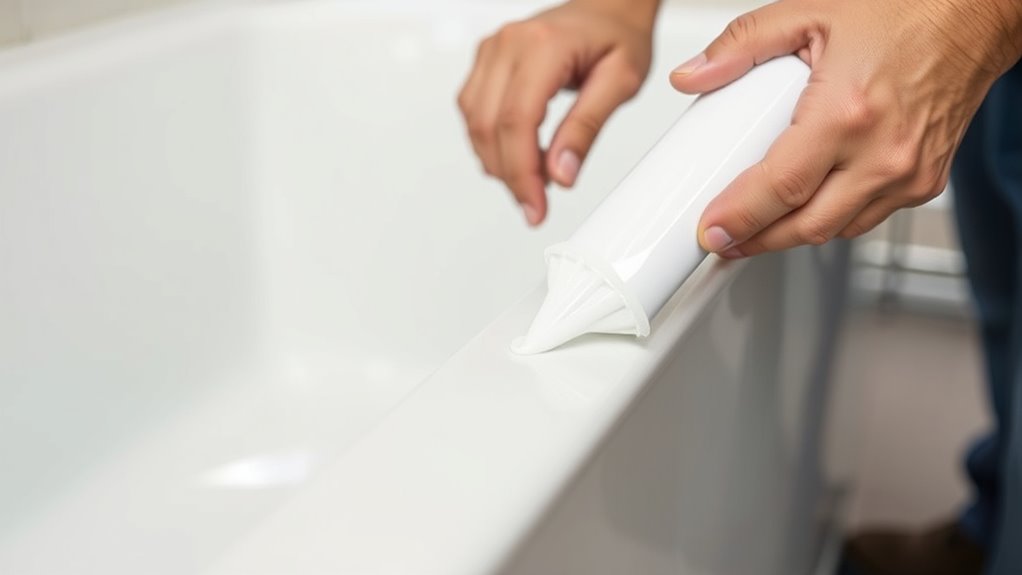
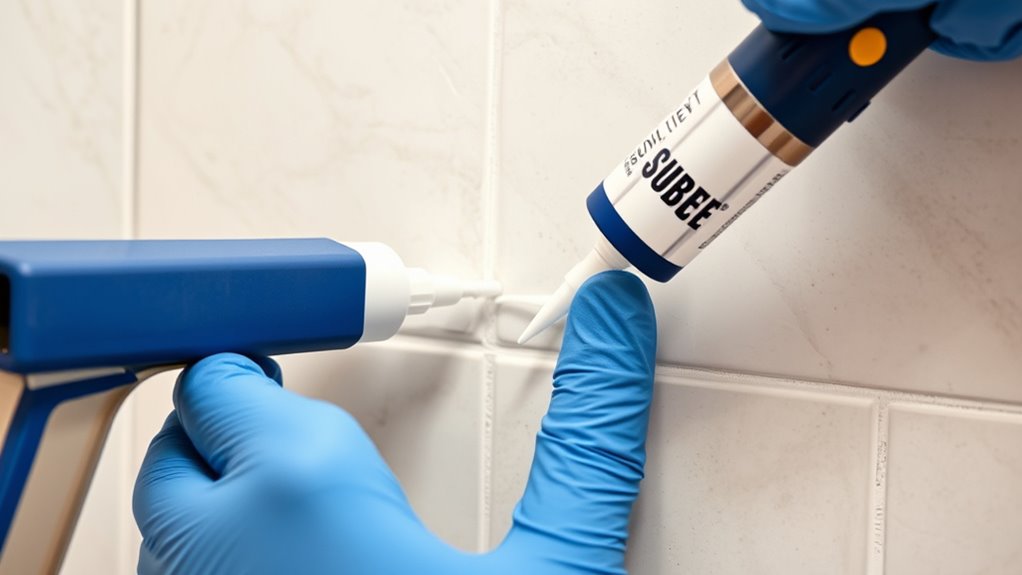
Applying New Silicone Sealant for a Secure Seal
Are you ready to apply the new silicone sealant for a reliable, long-lasting seal? First, verify the silicone sealant you choose is compatible with the surface material to prevent adhesion issues. Clean the area thoroughly, removing any dust, grease, or old sealant residue. Proper surface preparation is essential for humidity control, which helps the sealant cure evenly and effectively. When applying, use a steady hand to create a smooth, continuous bead along the joint or crack. Avoid gaps or lumps, as these can lead to leaks later. Take your time to apply the sealant evenly, ensuring complete coverage. Once finished, smooth the sealant with a finger or tool to enhance adhesion and appearance. Proper application guarantees a secure, durable seal that resists moisture and humidity. Adequate curing conditions are crucial to ensure the longevity of the sealant and prevent future leaks.
Tips for Ensuring a Neat and Effective Sealant Application
Achieving a neat and effective sealant application starts with proper preparation and attention to detail. First, choose the right sealant color options that match your surface for a seamless look, especially when sealing in outdoor areas. Second, clean and dry the surface thoroughly to guarantee proper adhesion. Third, use painter’s tape along edges to create clean lines and prevent messes. Fourth, apply the sealant in a smooth, continuous motion, avoiding gaps or bubbles. Keep a damp cloth handy to wipe away excess sealant immediately. For outdoor sealing, selecting the correct color and finish helps blend the sealant with its environment, providing a cleaner appearance and better protection. Additionally, understanding the importance of consistent messaging can enhance the overall effectiveness of your sealing project by ensuring your surface remains protected over time. Following these tips ensures your sealant application looks professional and functions effectively.
Preventative Measures to Extend the Lifespan of Silicone Seals
To guarantee your silicone seals last as long as possible, adopting preventative measures is essential. Start by choosing the right sealant color options that match your environment, which can help hide wear and tear over time. Proper sealant storage tips are vital; keep unused sealant in airtight containers and store them in cool, dry places to prevent curing or deterioration. Apply sealants within their recommended temperature ranges to ensure ideal adhesion and flexibility. Regularly cleaning surfaces before application prevents debris from compromising the seal. Additionally, avoid exposure to harsh chemicals or UV rays, which can degrade silicone. These preventative steps help maintain seal integrity, reduce the need for repairs, and prolong the lifespan of your silicone seals effectively.
Regular Inspection Schedules to Maintain Leak-Free Environments

Regular inspection schedules are crucial for maintaining leak-free environments and ensuring your silicone seals perform at their best. Consistent checks help you catch issues early, leveraging sealant versatility and sealing innovations to prevent leaks. By inspecting seals regularly, you can identify cracks, gaps, or deterioration before they become major problems. Incorporating color accuracy considerations can also help detect subtle seal deterioration that might otherwise go unnoticed. To maximize effectiveness, focus on these key areas:
- Check for signs of wear or damage during routine inspections.
- Ensure seals remain properly seated and free of debris.
- Test for leaks periodically, especially after extreme temperature changes.
- Replace or reseal compromised areas promptly to maintain integrity.
Implementing these steps keeps your silicone seals performing at their highest level and prolongs their lifespan, reducing the risk of costly leaks and repairs.
Frequently Asked Questions
How Often Should Silicone Seals Be Inspected for Optimal Performance?
You should inspect your silicone seals at least once a year to guarantee peak performance. During inspection, look for signs of deterioration or leaks. If needed, perform sealant removal carefully to replace old or damaged seals. Practice proper application tips, like cleaning surfaces thoroughly before reapplying sealant, to ensure a tight, long-lasting seal. Regular checks help catch issues early and prevent costly repairs later.
Can Environmental Conditions Affect Silicone Sealant Longevity?
Environmental conditions can markedly impact silicone sealant longevity. Think of it as a shield facing the elements—you’ll notice UV degradation and temperature fluctuations wearing down the material over time. Exposure to direct sunlight accelerates deterioration, while extreme temperature swings cause expansion and contraction. To keep your sealant performing its best, consider using weather-resistant formulations and inspecting seals regularly, ensuring they stay resilient against nature’s relentless forces.
What Are Common Mistakes to Avoid When Applying Silicone Sealant?
When applying silicone sealant, avoid common mistakes like applying excess amount, which can cause messy finishes and poor adhesion. Make sure you prepare the surface properly, and don’t rush the process. Inadequate curing time is another mistake; it prevents the sealant from forming a strong, waterproof bond. Follow manufacturer instructions carefully, ensuring proper application and curing for the best results and leak prevention.
Are There Specific Silicone Products Recommended for Different Applications?
Think of silicone formulations as different tools for unique jobs; choosing the right one is like selecting the perfect brush for a masterpiece. For bathroom seals, opt for waterproof, mold-resistant silicone. In contrast, high-temperature applications need heat-resistant formulas. Your application techniques matter too—apply evenly and smoothly. By matching silicone products to specific tasks, you create a seamless barrier, preventing leaks and ensuring your work stands the test of time.
How Can I Dispose of Old Silicone Sealant Safely?
You should dispose of old silicone sealant safely by following proper disposal safety guidelines. Check if your local recycling methods accept silicone, as some facilities recycle it, reducing waste. If recycling isn’t available, seal the leftover silicone in a plastic bag before discarding it in the trash. Never pour silicone down drains or onto the ground, as it can harm the environment. Always follow local regulations for responsible disposal.
Conclusion
Regularly inspecting and maintaining your silicone seals can prevent costly leaks and damage. For example, if you catch a small crack early—like in a bathroom shower—you can reapply sealant before water seeps behind tiles, avoiding mold and structural issues. By following proper cleaning, removal, and application steps, and scheduling routine checks, you’ll keep your seals in top condition. This proactive approach guarantees a leak-free environment and long-lasting, effective seals.